Create a data repository branch
After creating a data repository, you may want to create a branch. A branch will allow you to isolate any edits and changes you make locally, keeping them separate until they are ready to be reviewed and merged into the master data repository.
1
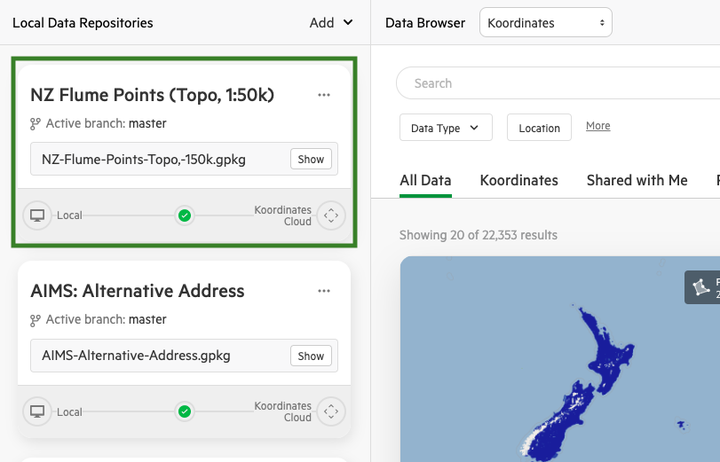
Select a data repository
You'll find your data repositories listed on the left hand side of the Koordinates App.
2
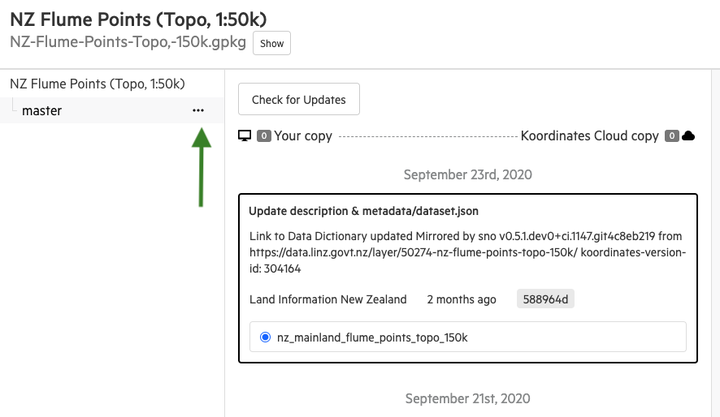
Click ellipses next to 'Master'
If the ellipses aren't immediately visible, move your cursor over 'Master'.
3
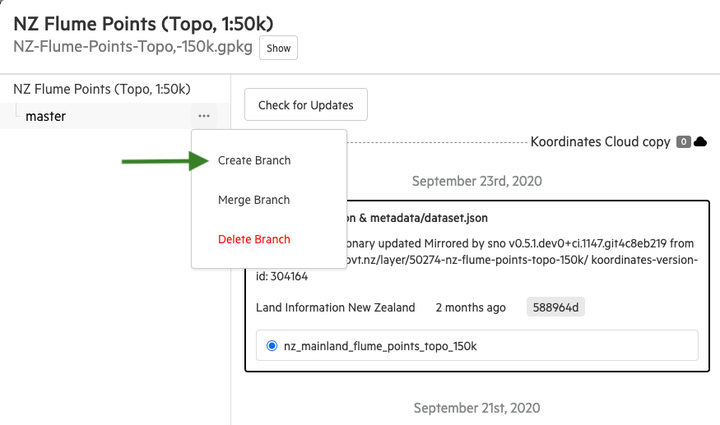
Select 'Create Branch'
4
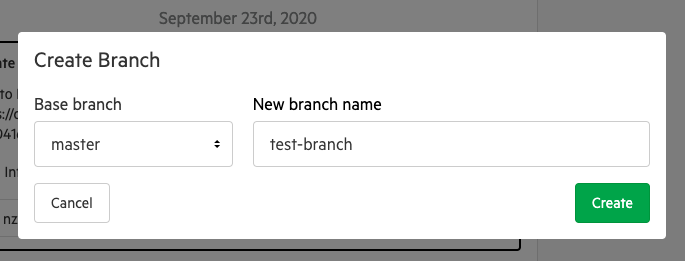
Name your branch and click 'Create'
You can also choose to designate a 'Base branch' if you already have multiple branches in this data repository. This option will default to 'master.'
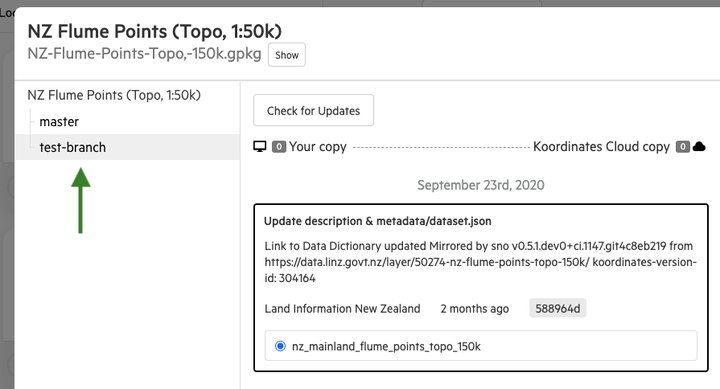
Your new branch will now be available to use on the left-hand side of the data repository modal.
