Create a geospatial layer from a table
If you have tabular data — such as a CSV, XLS, or ODS file — you have the option of importing it as a geospatial vector layer.
Geometry requirements
Koordinates will automatically detect supported data tables, which will need to have a defined geometry. There are two ways to define geometry when importing a layer from tabular data:
- Using X and Y (or longitude and latitude) of points in your table. These X and Y values must be numbers. Please note that if you're importing data from a CSV, you will need to include a .csvt file for Koordinates to read that these values are numbers. Defining geometry using X and Y values will always lead to a 'point' vector layer.
- Alternatively, you can select a single string attribute which can contain a “Well Known Geometry” (commonly abbreviated as WKT). WKTs are a way of describing a feature geometry in text, and can be (Multi-)Point, (Multi-)Line or (Multi-)Polygon.
Please note that Koordinates does not support more complex geometry types when creating geospatial layers from tabular data.
Supported file formats
You will have the option of importing data tables as geospatial data for the following formats:- Comma Separated Value format, or CSV
- Excel Binary File format, or XLS
- Open Office format, or ODS
For CSV imports, you will have the additional option of importing tabular data as a document. Learn more about documents in Koordinates.
Data types in Koordinates
The choice to import a data table as a geospatial data layer will impact how the data is presented in the data portal to users, as well as the options users have during the export process:
- Geospatial vector data can be previewed in the data portal, and spatially queried by users.
- Data tables can be viewed and searched by users, but cannot be spatially queried.
- Documents can be downloaded, but not otherwise queried or exported to spatial or tabular data formats.
Creating a geospatial layer from a table
Note that this guide excludes most of the additional steps you may wish to complete prior to importing data, such as adding XML metadata, setting access rights, and assigning a license. For more information on importing data, browse our 'Import Data' documentation.
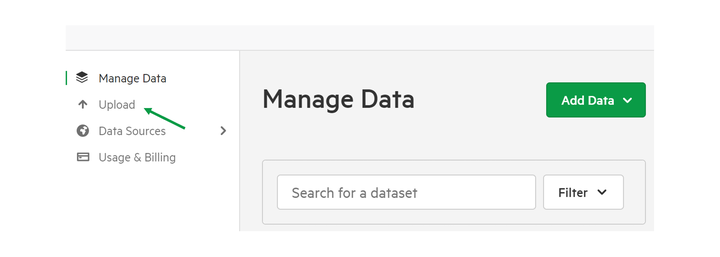
1. Select 'Upload'
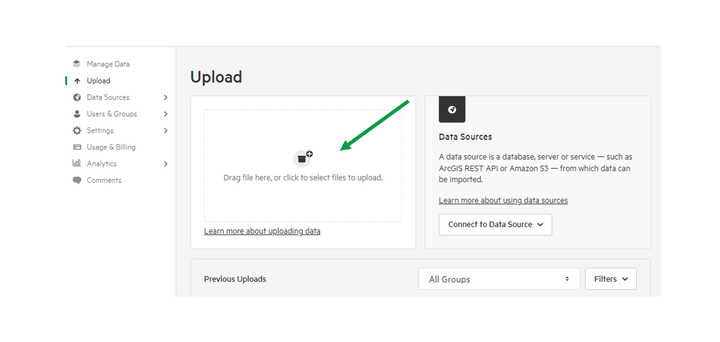
2. Drag-and-drop your tabular data into the box provided
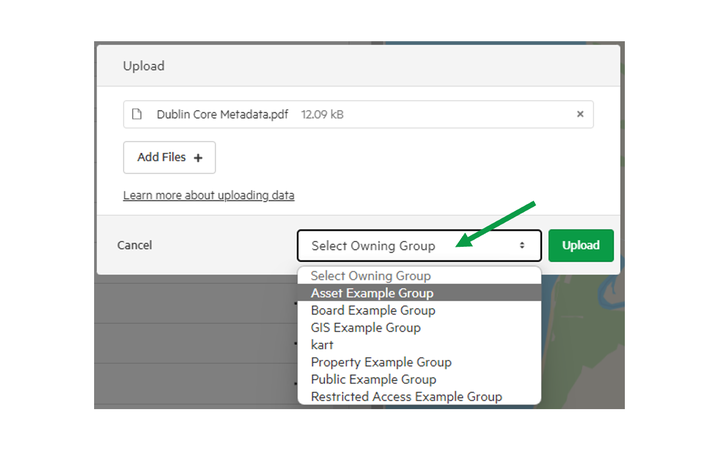
3. Select your owning group and click 'Upload'
4. Select files you wish to import
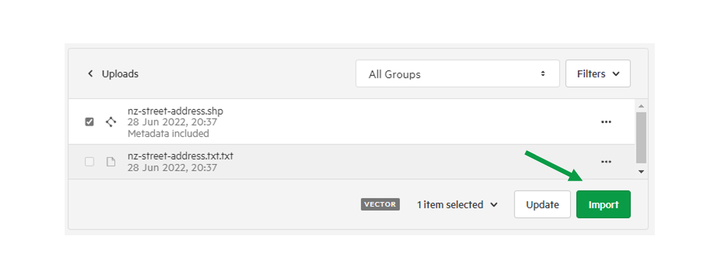
5. Select 'Layer' from the 'Import As' options
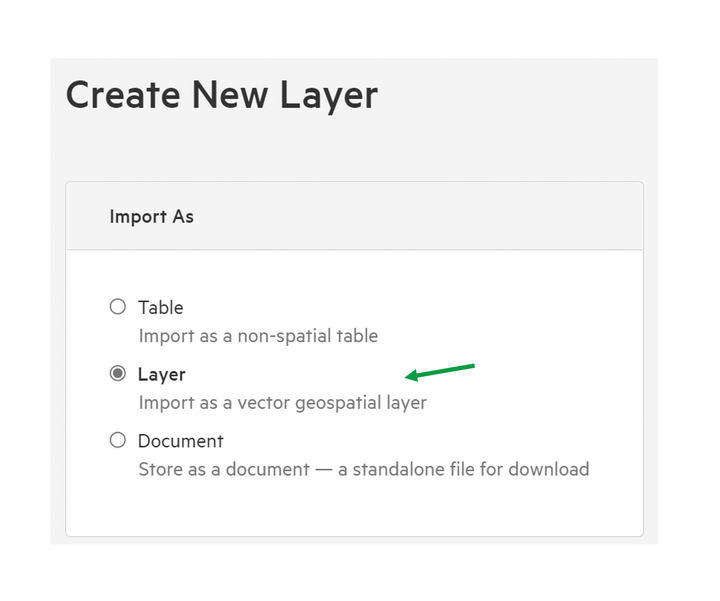
Alternatively, you can choose to import your data as a table or — for CSV imports — as a document.
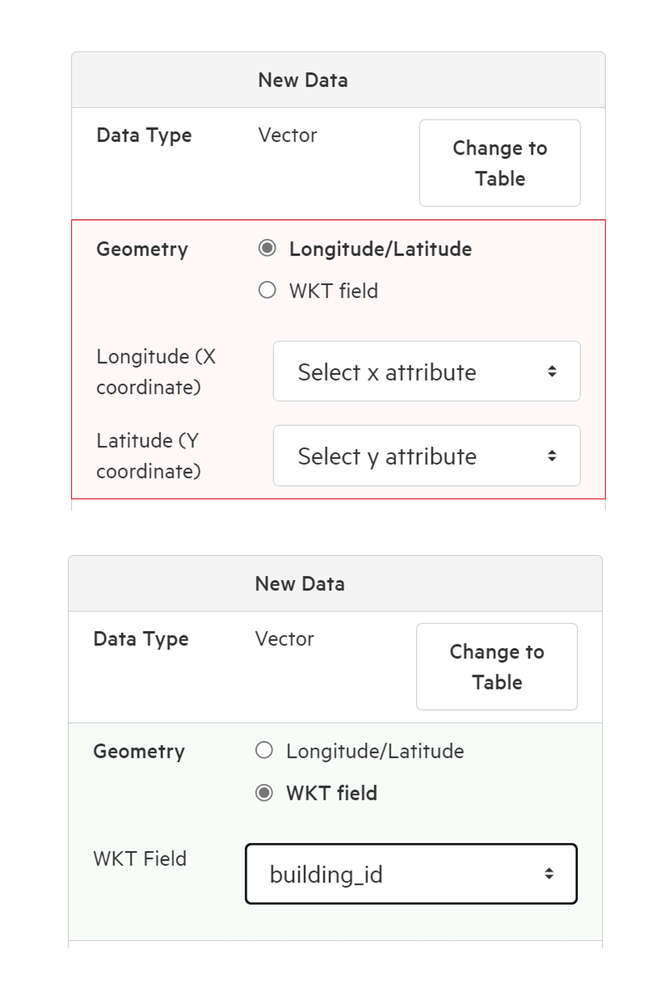
6. Select field used to define geometry
Use the dropdown menus to determine which fields Koordinates should use to define X and Y attributes (for geometry defined by longitude and latitude) or WKT value (for geometry defined by WKT).
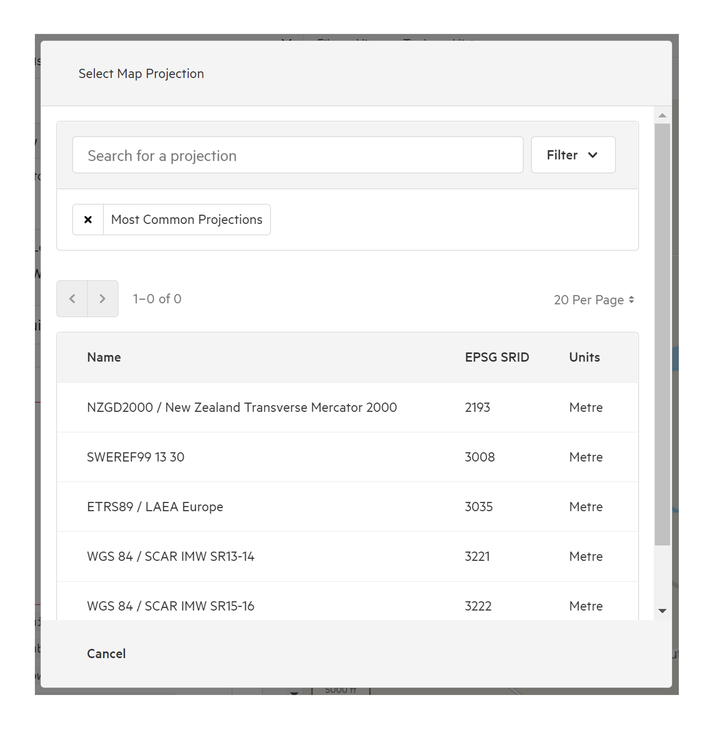
7. Click 'Choose Projection'
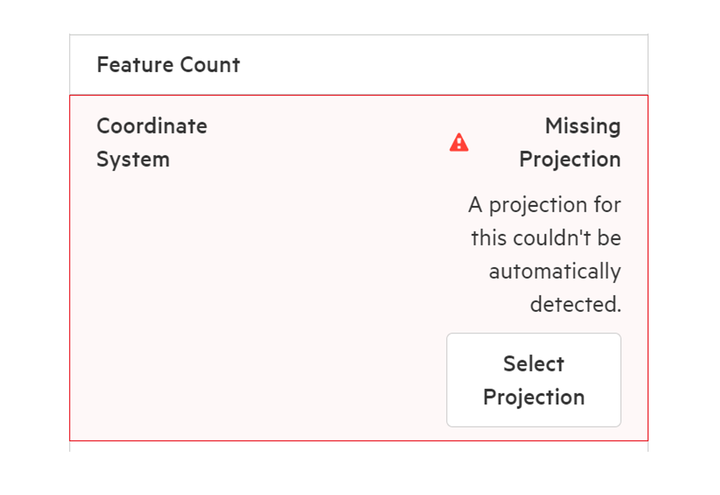
Because your tabular data typically won't come with a predefined projection, you'll need to assign a projection prior to import.
Choose from the most common projections, or search supported projections from our database. Note that Koordinates supports most projections in the EPSG database.
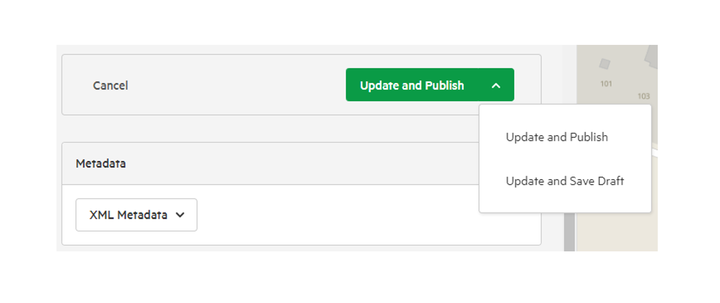
8. Select 'Import and Publish' or 'Import as Draft'