Edit attribute columns during import or update
During the process of importing or updating data, you are able to make changes to your attribute columns. Supported changes include:
- Editing attribute column names;
- Deleting attribute columns; and,
- Moving attribute columns higher or lower in the column list.
Note that editing attribute columns can only be performed while importing new data or updating existing data from a data source.
In this guide, we outline how to edit attribute columns during data import from a connected data sources. Note, though, that that the process for editing attribute columns is identical for data updates and data uploads.
1. Add Data
You have two options for adding data to your Data Service:
- Manually upload data. Learn more about how to upload data here
- Connect a Data Source. Learn more about how to connect a Data Source here.
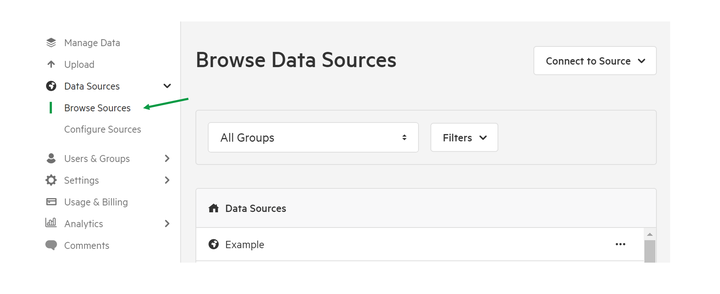
2. Click 'Data Sources' and select 'Browse Sources'
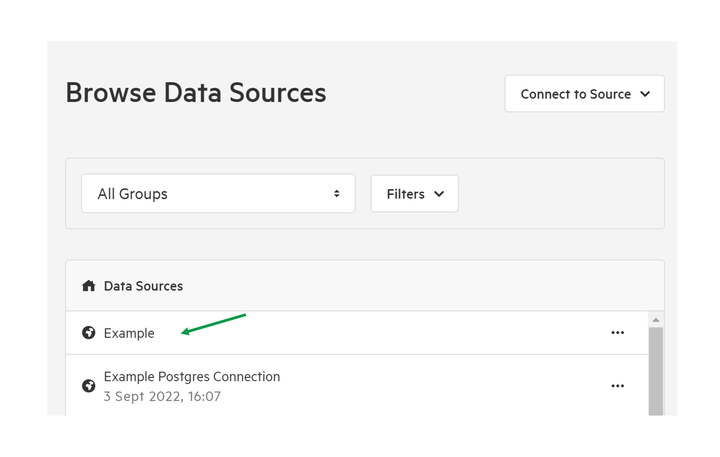
3. Select data source to import
From the source, then select the data layers to be imported.
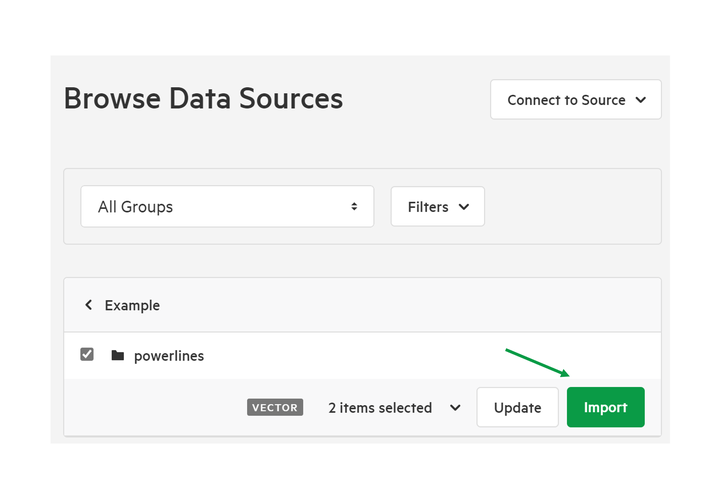
4. Click 'Import'
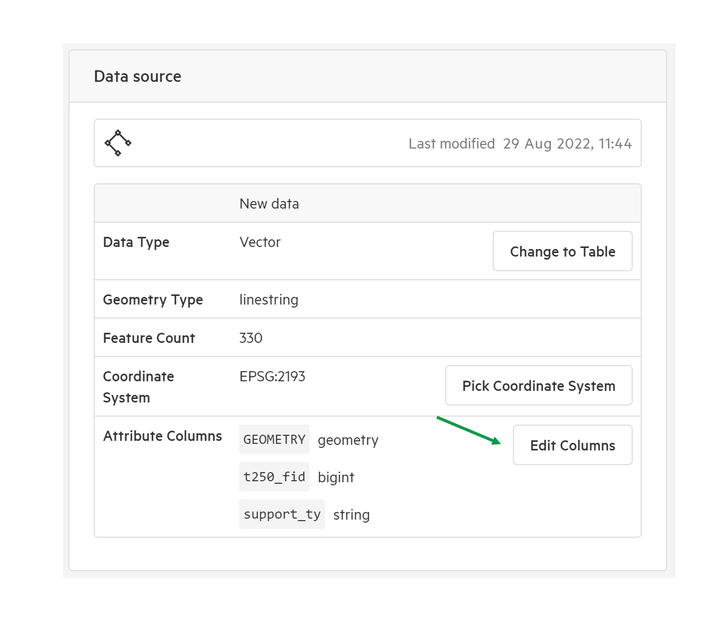
5. Scroll down to 'Data Source' section and Click 'Edit Columns'
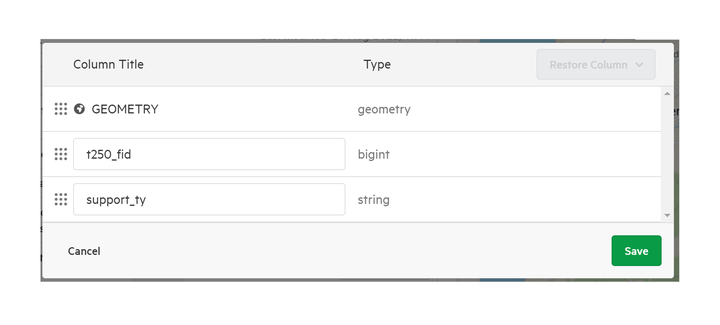
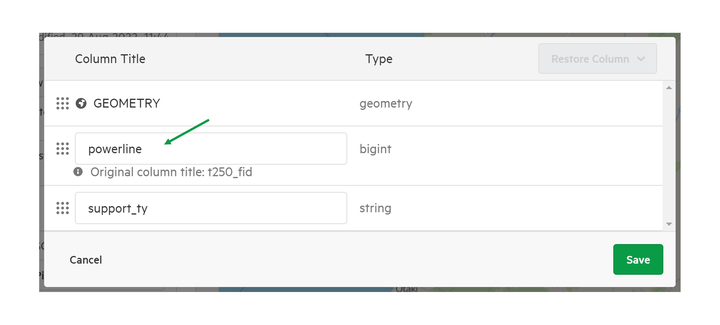
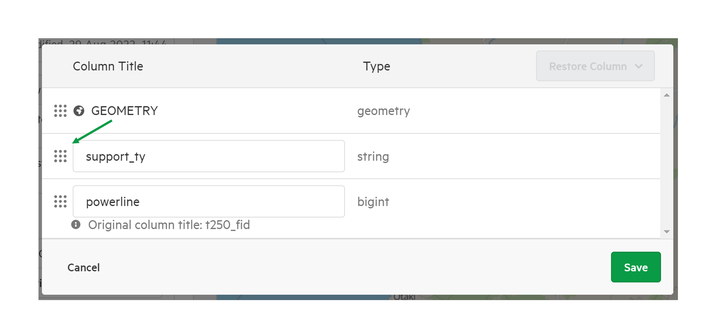
6. Click title field of attribute column to rename
You can still see the old title beneath the text field, in case you wish to revert your changes.
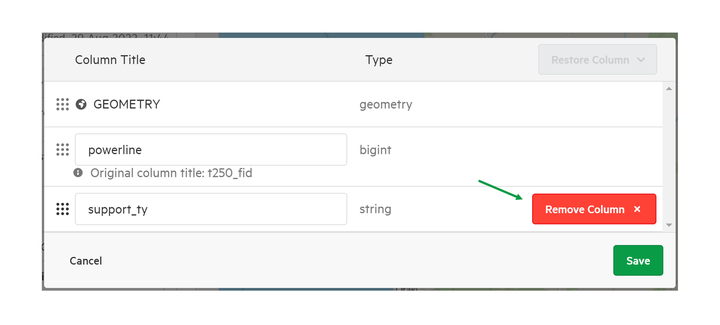
7. Click 'Remove column' to delete an attribute column
The red box will confirm that you are about to delete an Attribute Column.
8. Click 'Restore Field' to restore any removed attribute columns.

9. Drag square dots to change the order of your attribute columns
You can drag individual attribute columns higher or lower as needed.
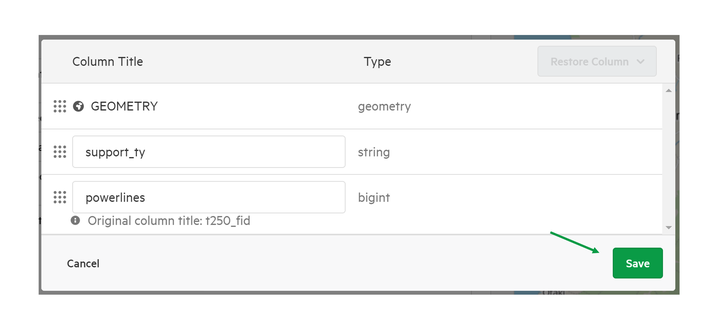
10. Click 'Save' to save changes
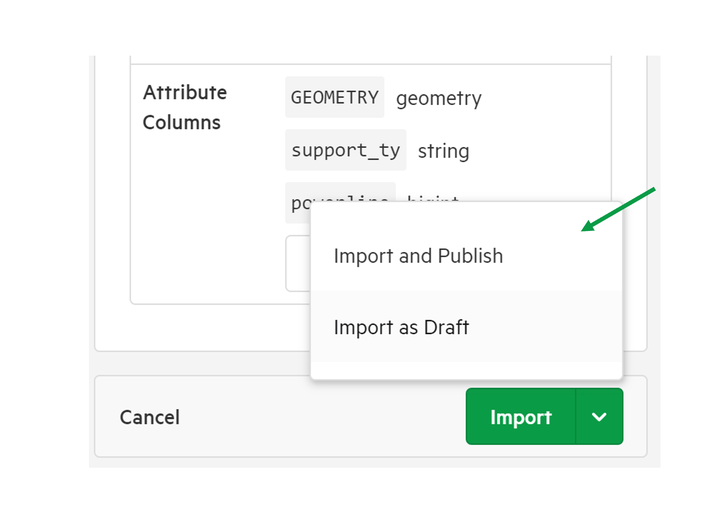
11. Finally, click 'Import and Publish'
After making any other changes to your dataset — including title, description, metadata, and permissions — click 'Import and Publish.' Your data will now be published with your edited attribute columns.
Alternatively, click the drop-down next to the 'Import and Publish' button and select 'Import as Draft.' This will enable colleagues to check your changes prior to final publication.