Connect to an Amazon S3 data source (AWS Web Console method)
In this guide, we explain how to import data to your Koordinates data service from an Amazon S3 data source (otherwise known as an S3 'bucket').
This method involves using the AWS Web Console Wizard, which may be preferred for more advanced AWS users. For most users, we recommend the CloudFormation Template method, which we have documented here.
How it works
Instead of providing Koordinates with usernames, passwords or other sensitive credentials, you will create an AWS 'Role', and grant Koordinates permission to use that role. You control the role, and so you have absolute control over what resources Koordinates can access through it.
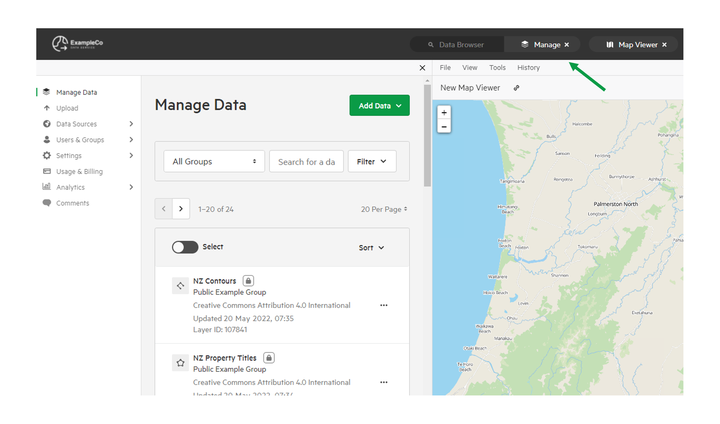
1. Select 'Manage' from the top navigation menu.
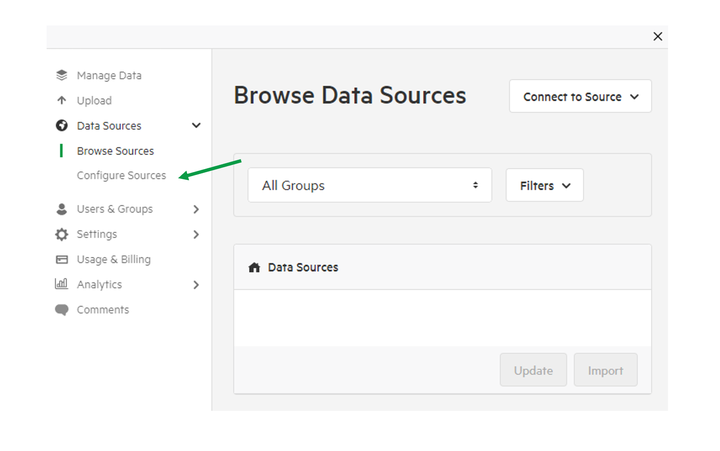
2. Click 'Data Sources' and select 'Configure Sources'
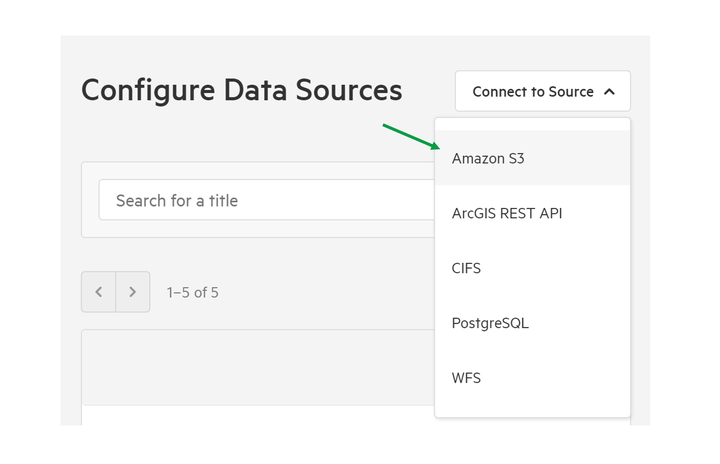
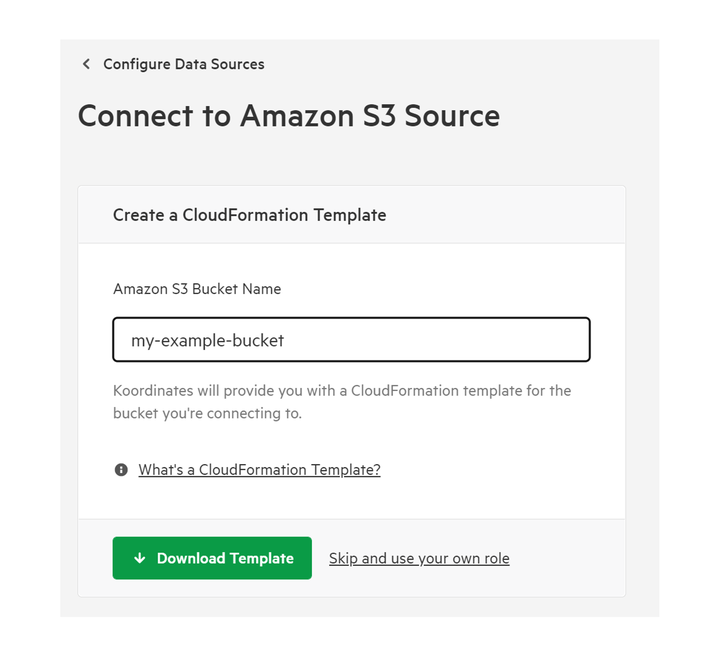
3. Click 'Connect to Source' and select 'Amazon S3'
4. Enter the name of your S3 bucket
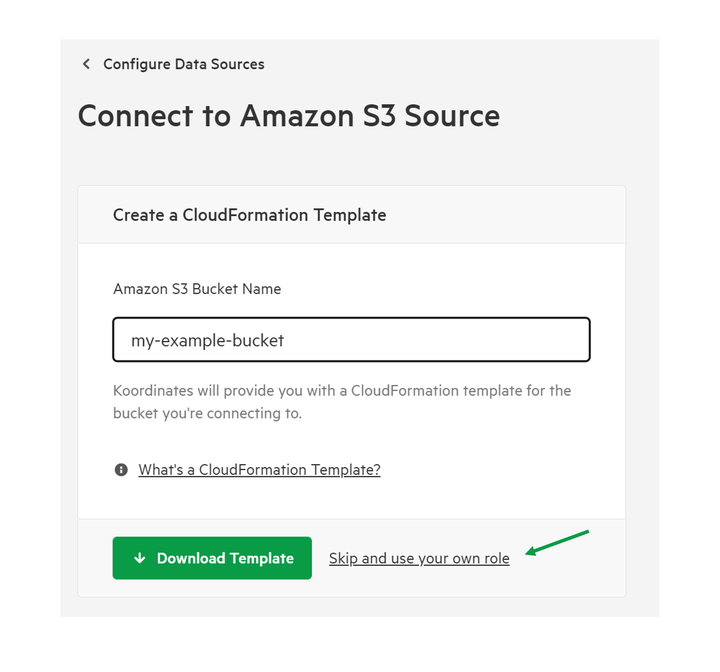
5. Click 'Skip and use your own role'
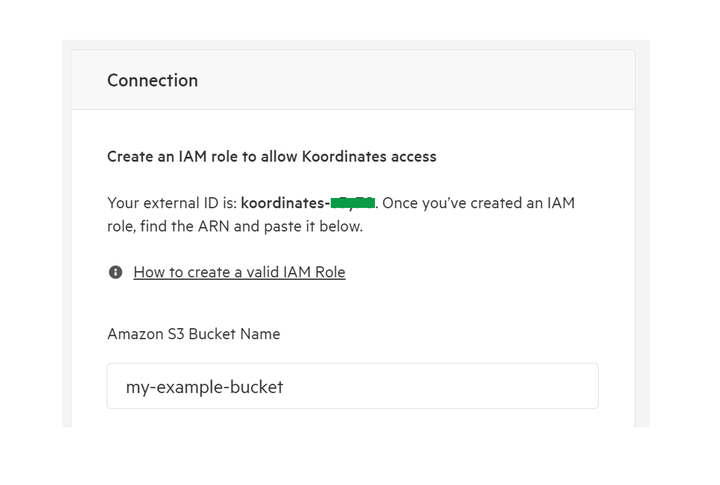
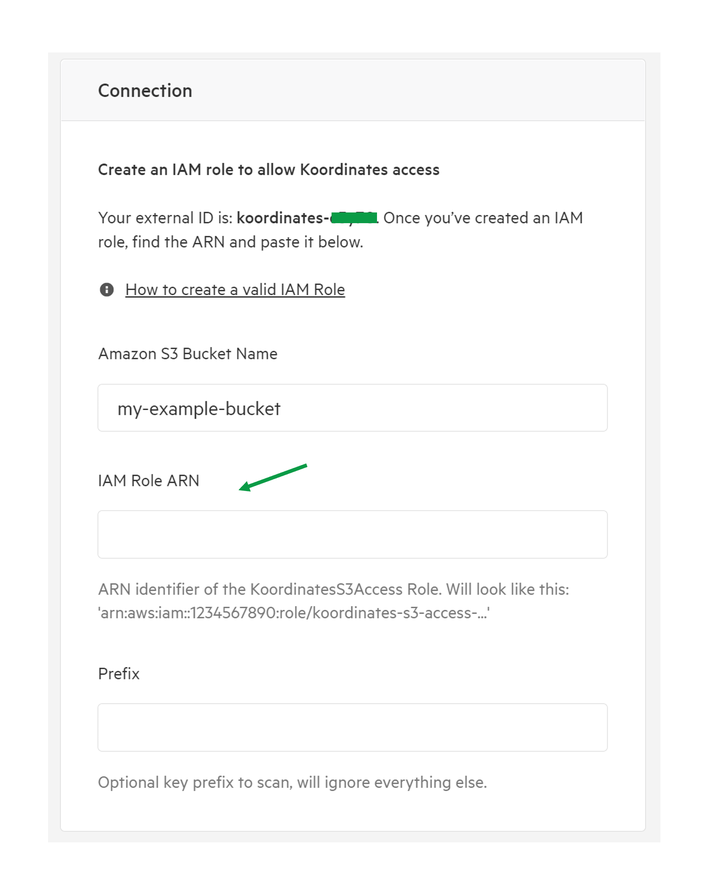
6. Copy 'External ID' value
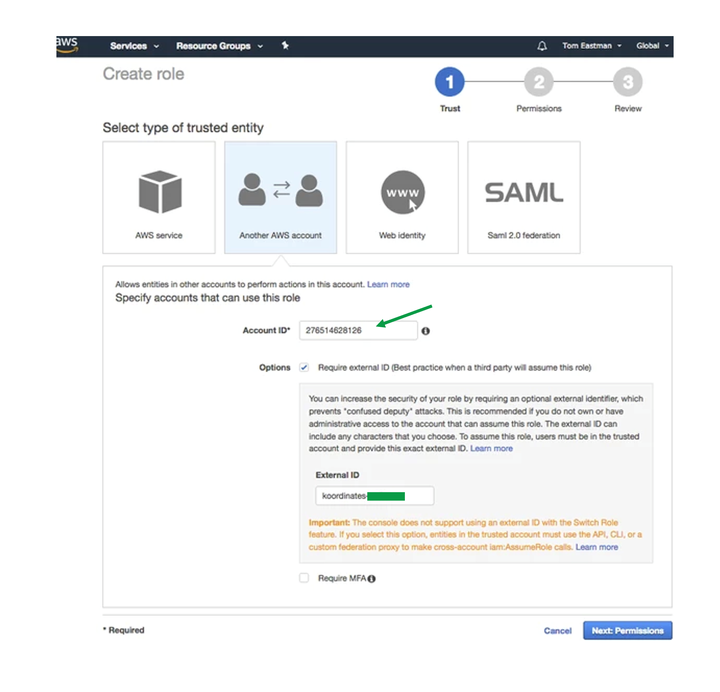
7. Navigate to Create Role in your AWS console
8. Select Another AWS Account
- At "Account ID", provide the Account ID for Koordinates: 276514628126.
- At "Options" tick "Require external ID."
- Provide the External ID provided to you by Koordinates.
- Do not check "Require MFA."
9. Click Next: Permissions and attach a permissions policy
We require s3:GetObject and s3:ListBucket permissions for each S3 bucket, and for all objects in each bucket you wish to connect to your Koordinates data service.
For, example, a permissions policy for "my-example-bucket" would look like:
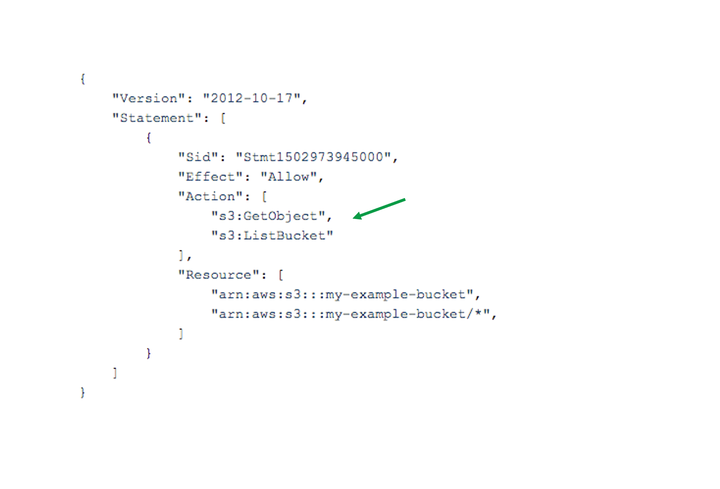
If you intend to scan multiple buckets, you can add multiple buckets to the same policy, or you could create multiple policies and attach them to the same role.
You can also use the 'Visual Editor' to quickly grant permissions, as an alternative to the JSON editor in the AWS Web Console.
10. Click Next: Review
11. Set the role name as "koordinates-s3-access"
To provide additional security, we prevent the scanner from assuming any role that doesn't begin "koordinates-s3-access."
You also have the option at this point of providing a meaningful description of the role.
12. Complete a final review before clicking Create Role
- Double check that the "Trusted entities" lists "The account 276514628126".
- Ensure that 'Policies' includes the policy you created granting the role access to the S3 resources.
13. Return to 'Connect an Amazon S3 Source' and paste the Role ARN value
You can also stipulate a directory for us to scan. This prefix tells Koordinates which parts of your S3 bucket to scan, and which parts to ignore.
Leave this blank if you want Koordinates to scan the entire S3 bucket.
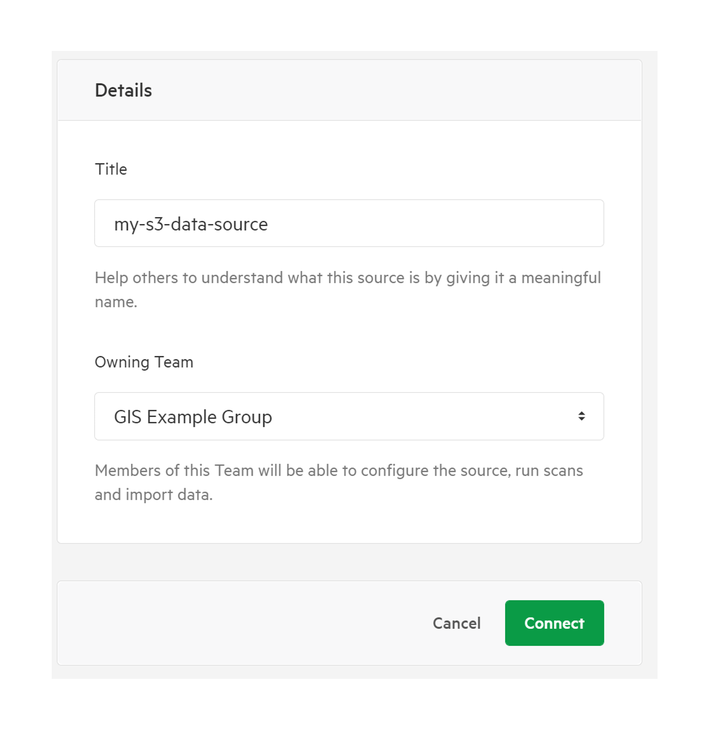
14. Add a title and owning-group, and click Connect