
Importing point cloud data
For other kinds of data, see Manually upload and import data.
Point cloud data needs a few extra steps to import and manage.
1. Open the Data Manager and select Upload
Section titled “1. Open the Data Manager and select Upload”Select Manage in the navigation menu, then select Upload.
2. Add your files
Section titled “2. Add your files”Drag your files into the Upload window, or select the box to browse for them. If your point cloud is split into tiles, put them all in one ZIP file.
3. Choose the group to upload to, and select Start upload
Section titled “3. Choose the group to upload to, and select Start upload”The group you choose will own the upload. Koordinates uploads the files, then scans them to check they include the information it needs. When it’s finished, the upload opens on the Uploads tab.
4. Select the point cloud tiles and select Import as one dataset
Section titled “4. Select the point cloud tiles and select Import as one dataset”Tick the tiles you want to import. If the ZIP file contains other types of data as well (such as metadata documents), Koordinates asks you to choose a data type: choose the point cloud. You can attach the other documents after you’ve imported the data.
Inspecting individual tiles
Section titled “Inspecting individual tiles”To be imported together, tiles must share the same coordinate reference system (CRS), point data record format (PDRF) and record length. If Koordinates says the tiles you’ve selected can’t be combined, inspect them to find the problem: select a tile’s name in the upload to open the inspector, which shows details such as its data type, format, CRS and fields. Compare these details across tiles to find the mismatch.
5. Check the repository details
Section titled “5. Check the repository details”After you select Import as one dataset, the import page opens, where you’ll be able to review and update the data and repository properties.
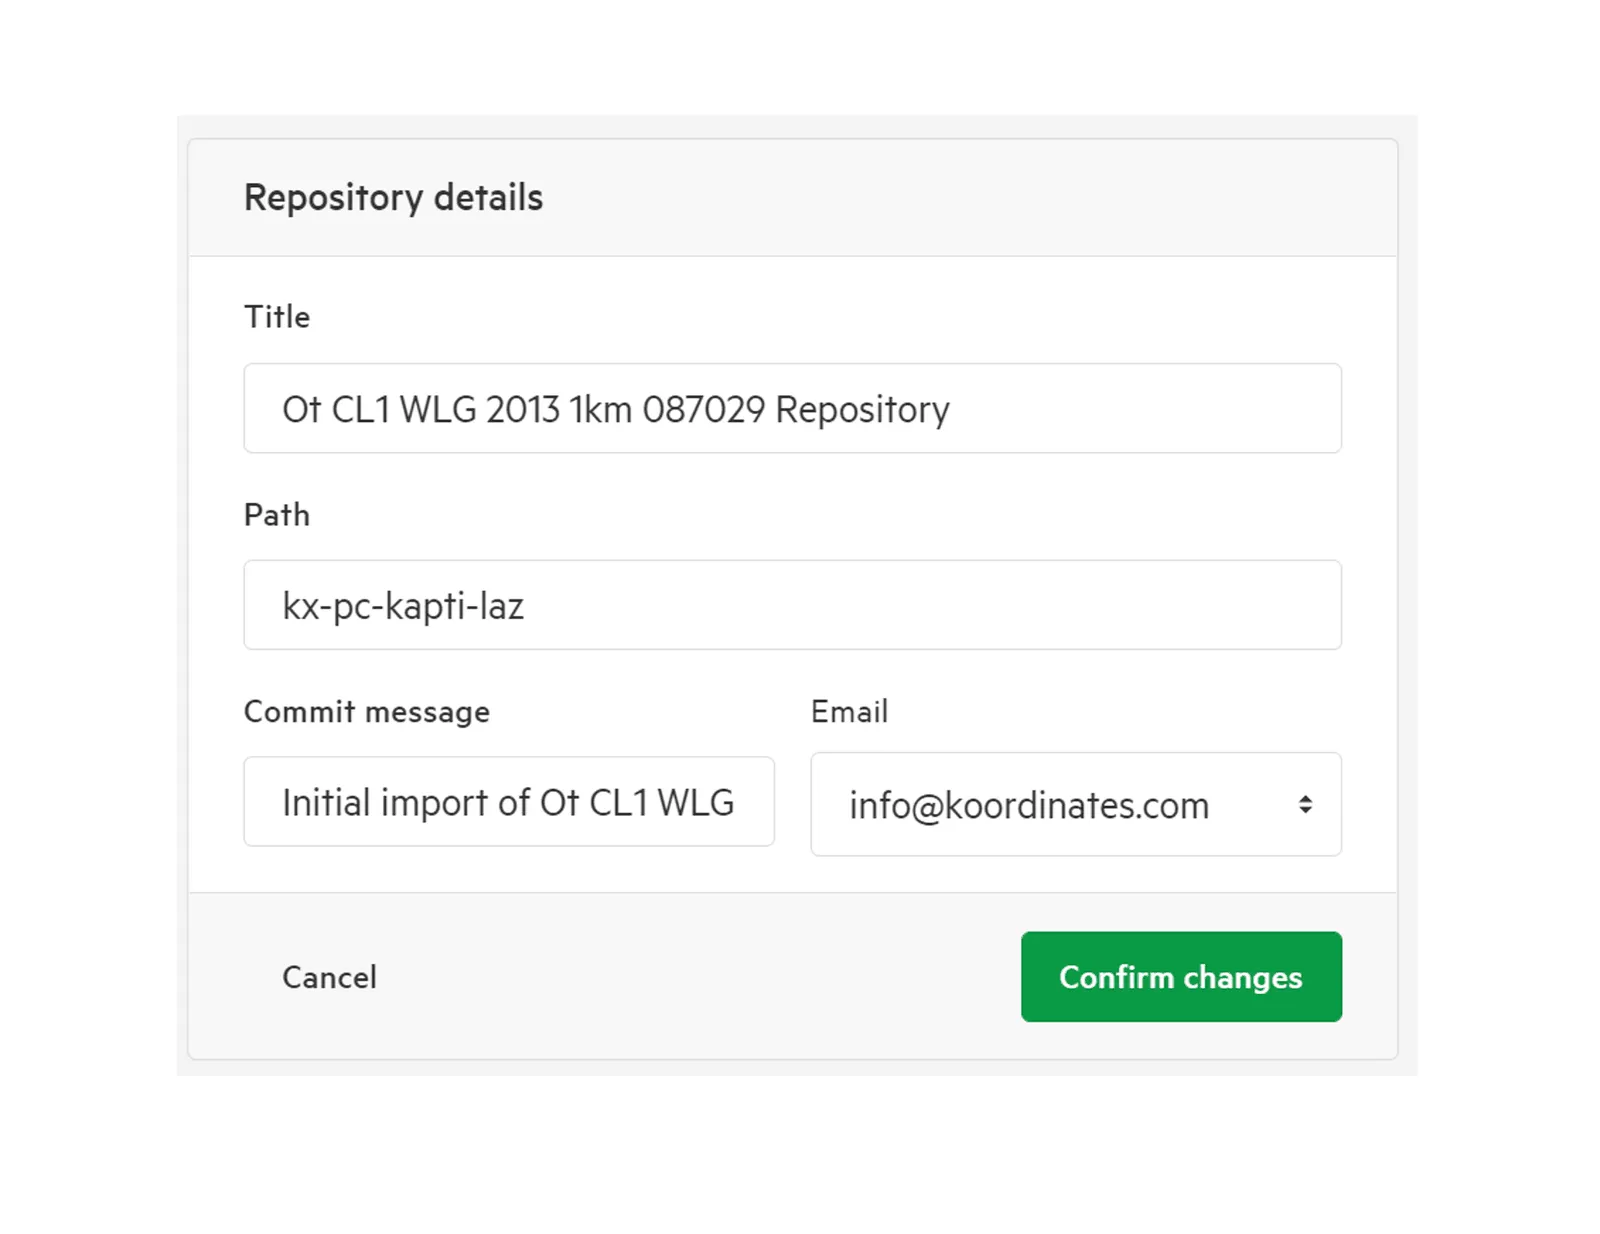
As there is a repository connected to the dataset, you can view and update the repository information.
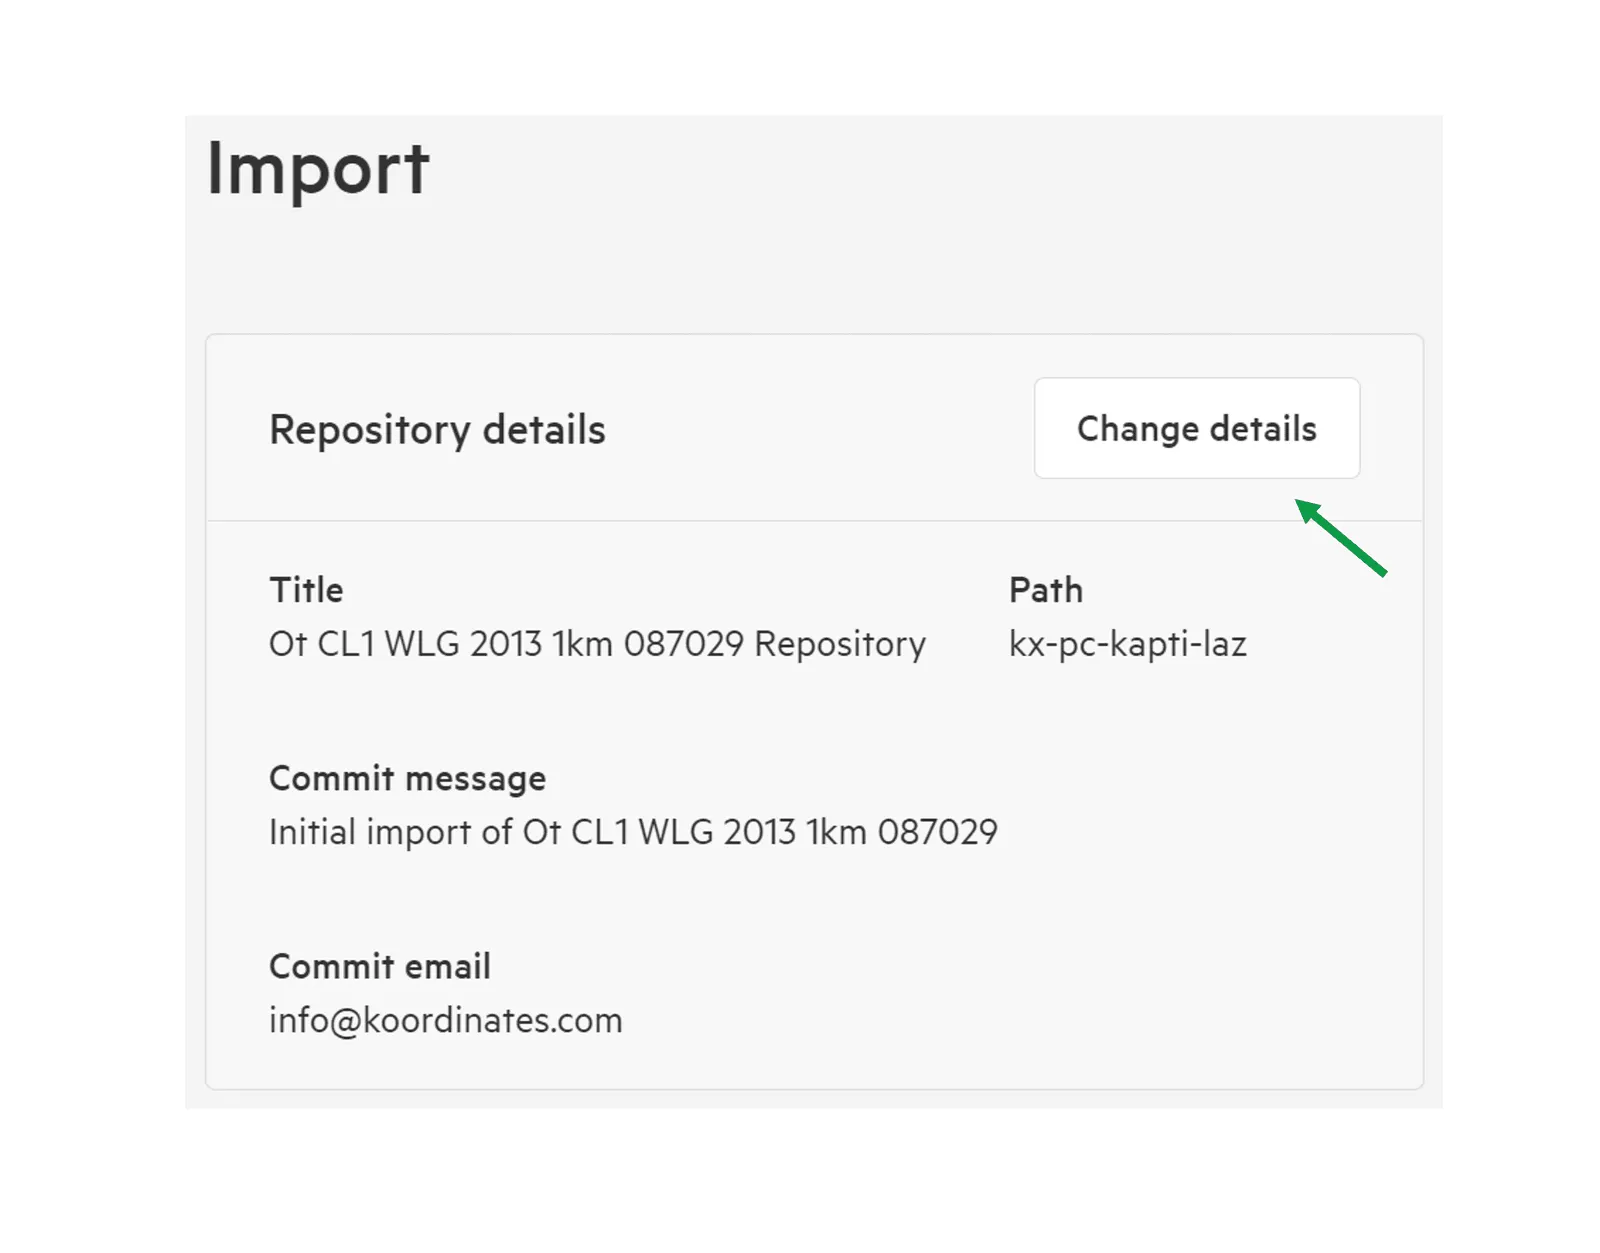
These include the Title, the default Commit message, and the Email associated with the commit.
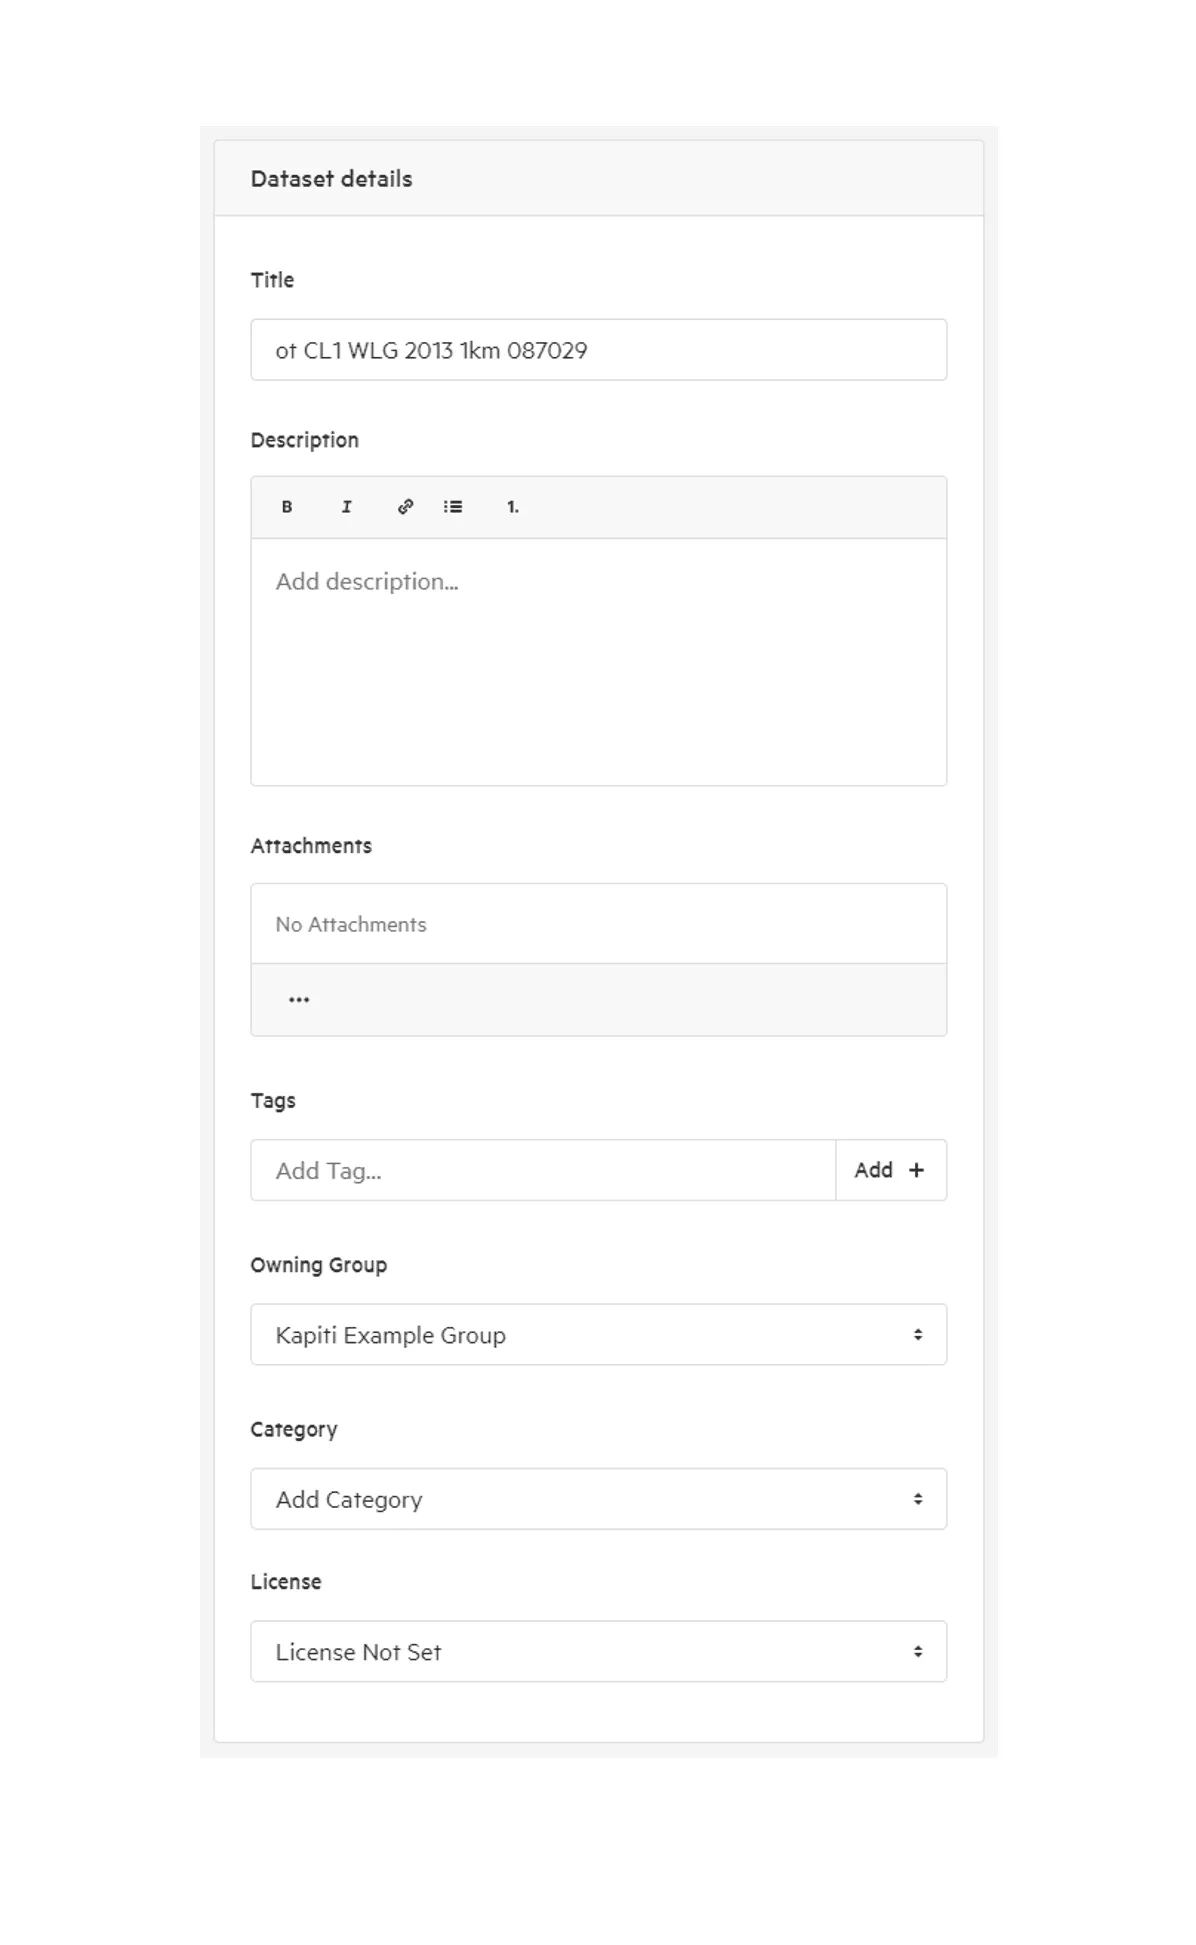
6. View and amend the dataset details
Section titled “6. View and amend the dataset details”You can update the title, description, attachments, tags, owning group, category and licence.
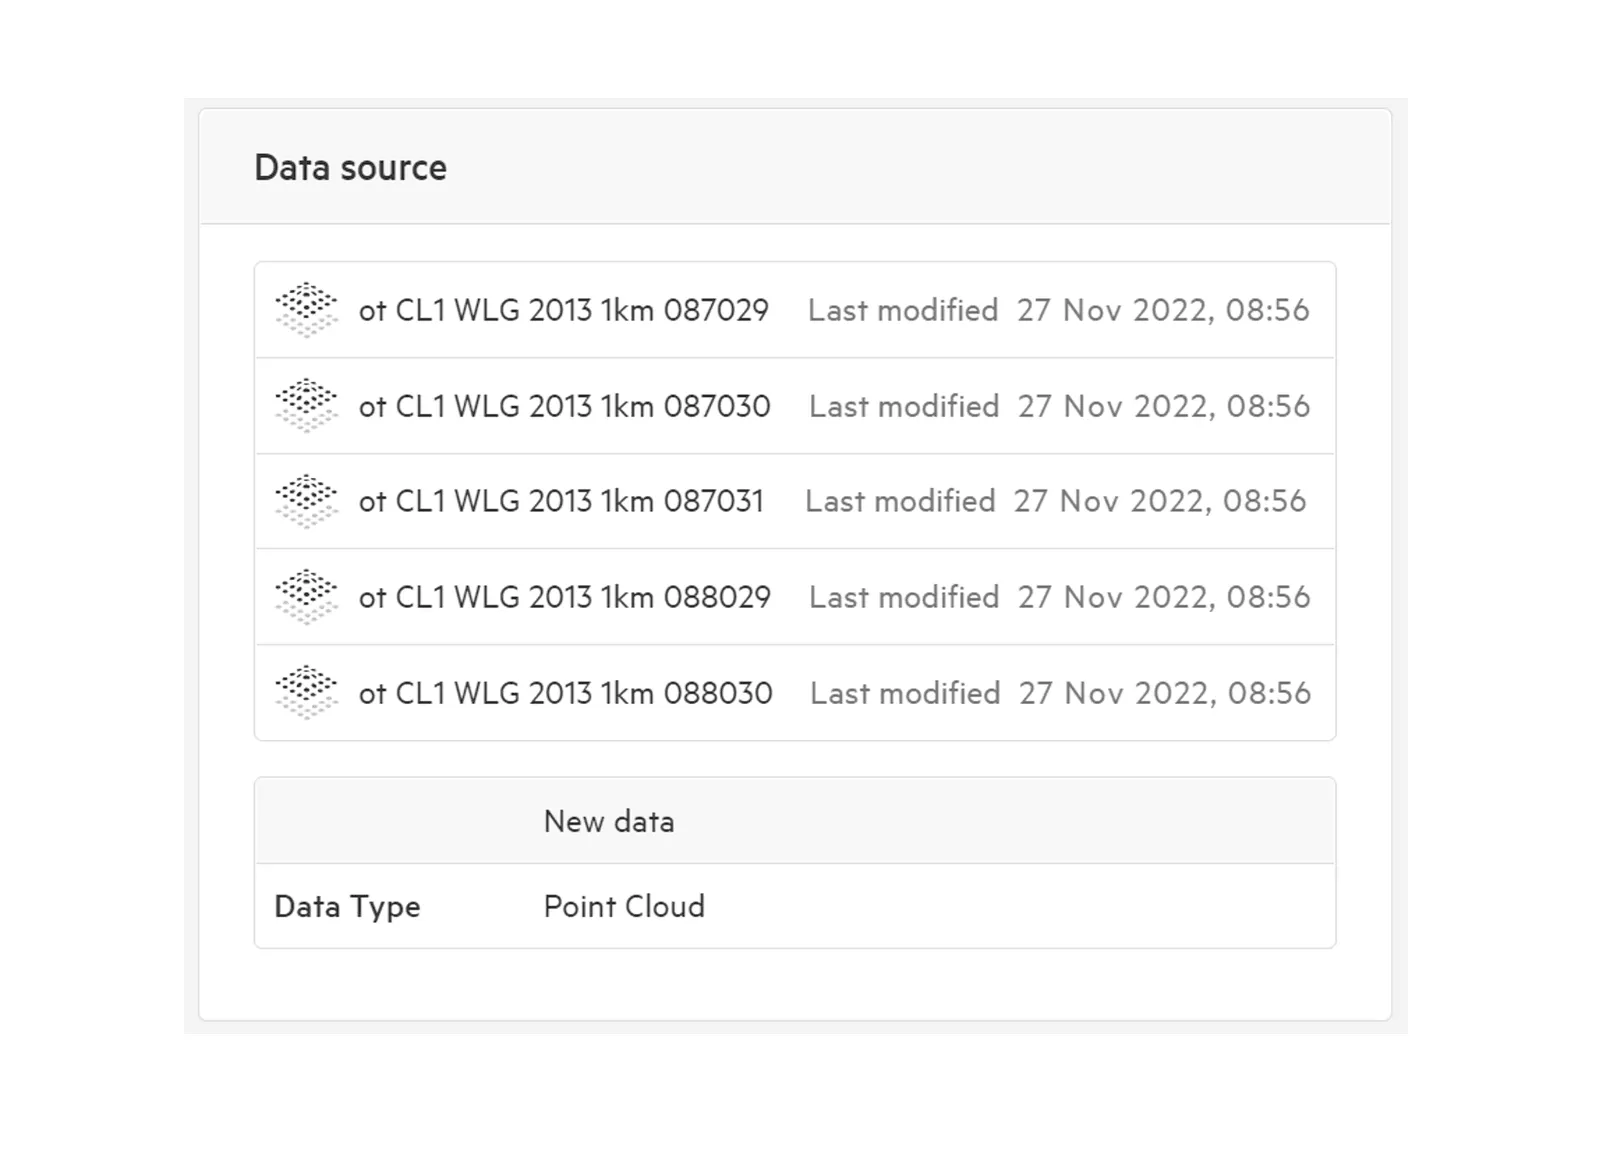
You can review the data sources associated with the point cloud.
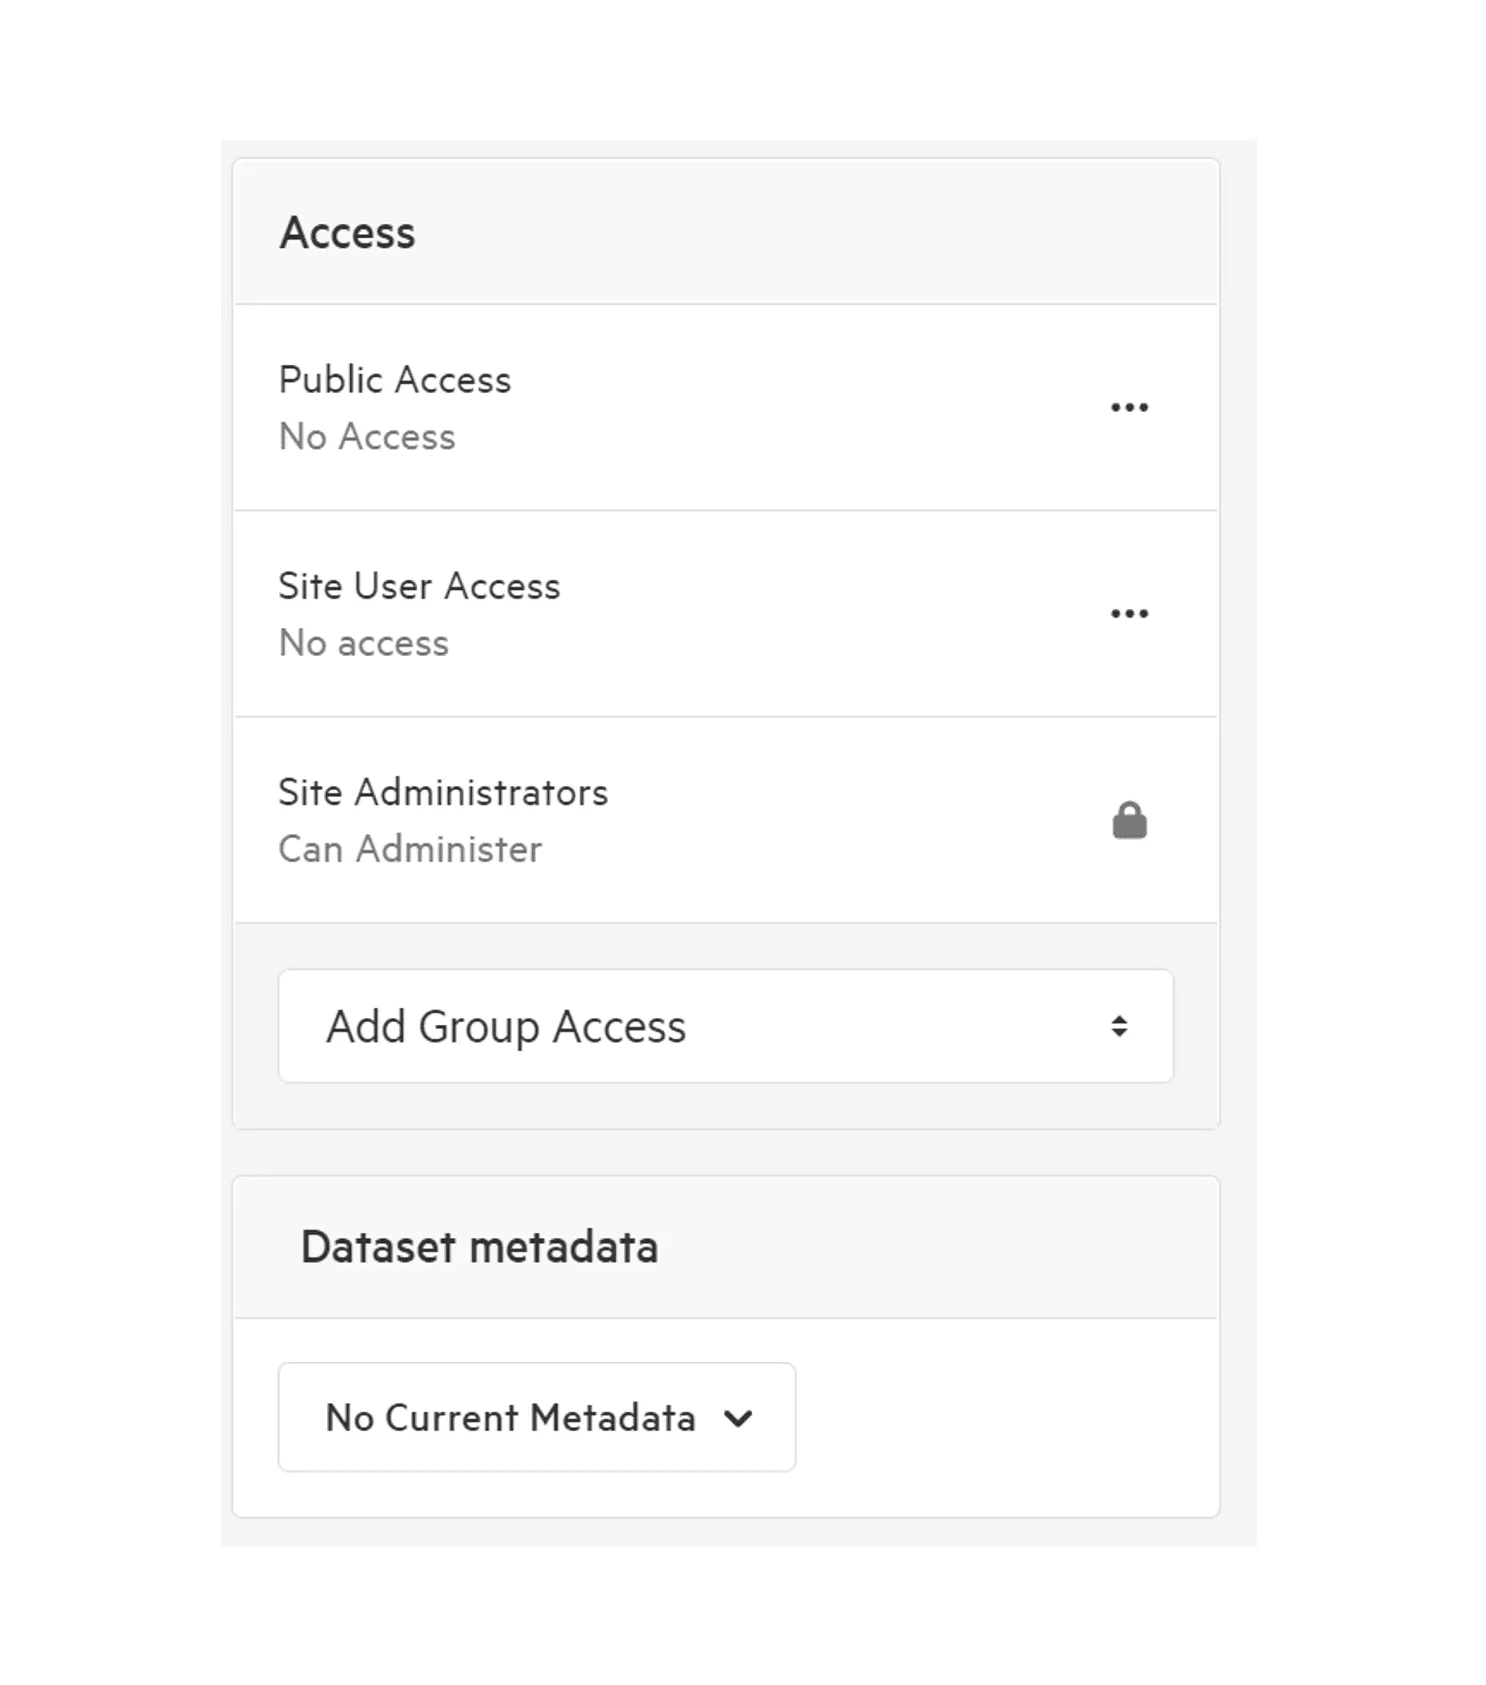
You can set permissions in two ways:
- Public Access: choose what the public can do with the dataset.
- Group access: give your groups permission to view, download or manage it.
Site administrators can always administer imported data, so that setting can’t be changed.
7. Select Import
Section titled “7. Select Import”Select Import to import and publish the dataset.
Set repository details and permissions
Section titled “Set repository details and permissions”You can update and amend access details to the repository that is connected to your point cloud data.
Note: only publishers, or people with access to repositories, can do this.
On the Data Manager’s Datasets tab, select Data Type, then Repositories, and select a repository to view its details.
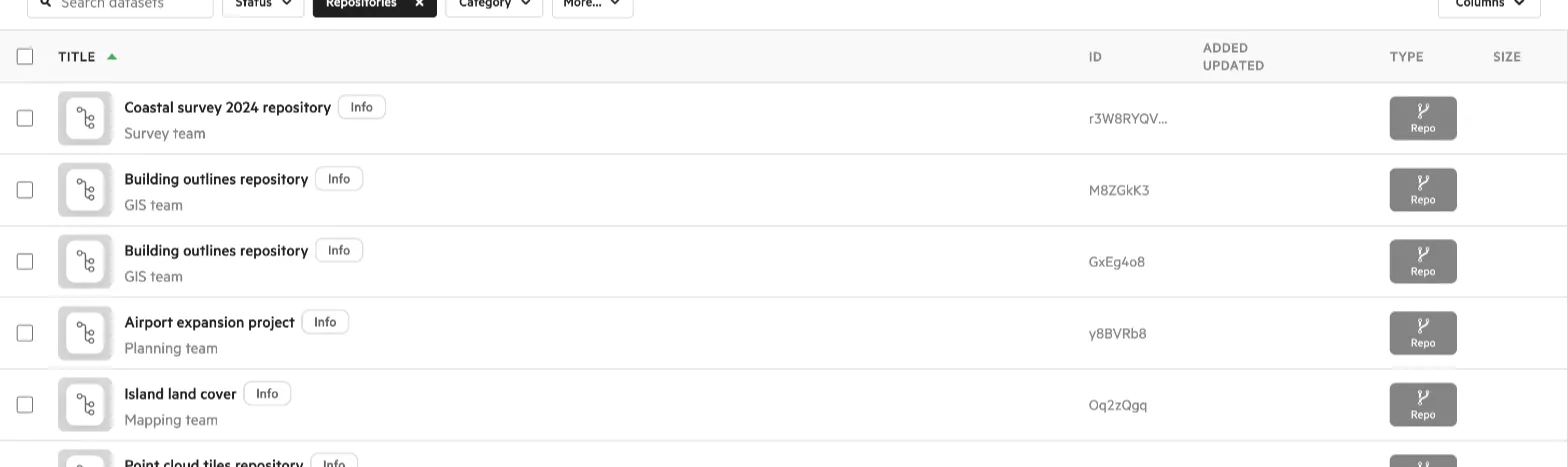
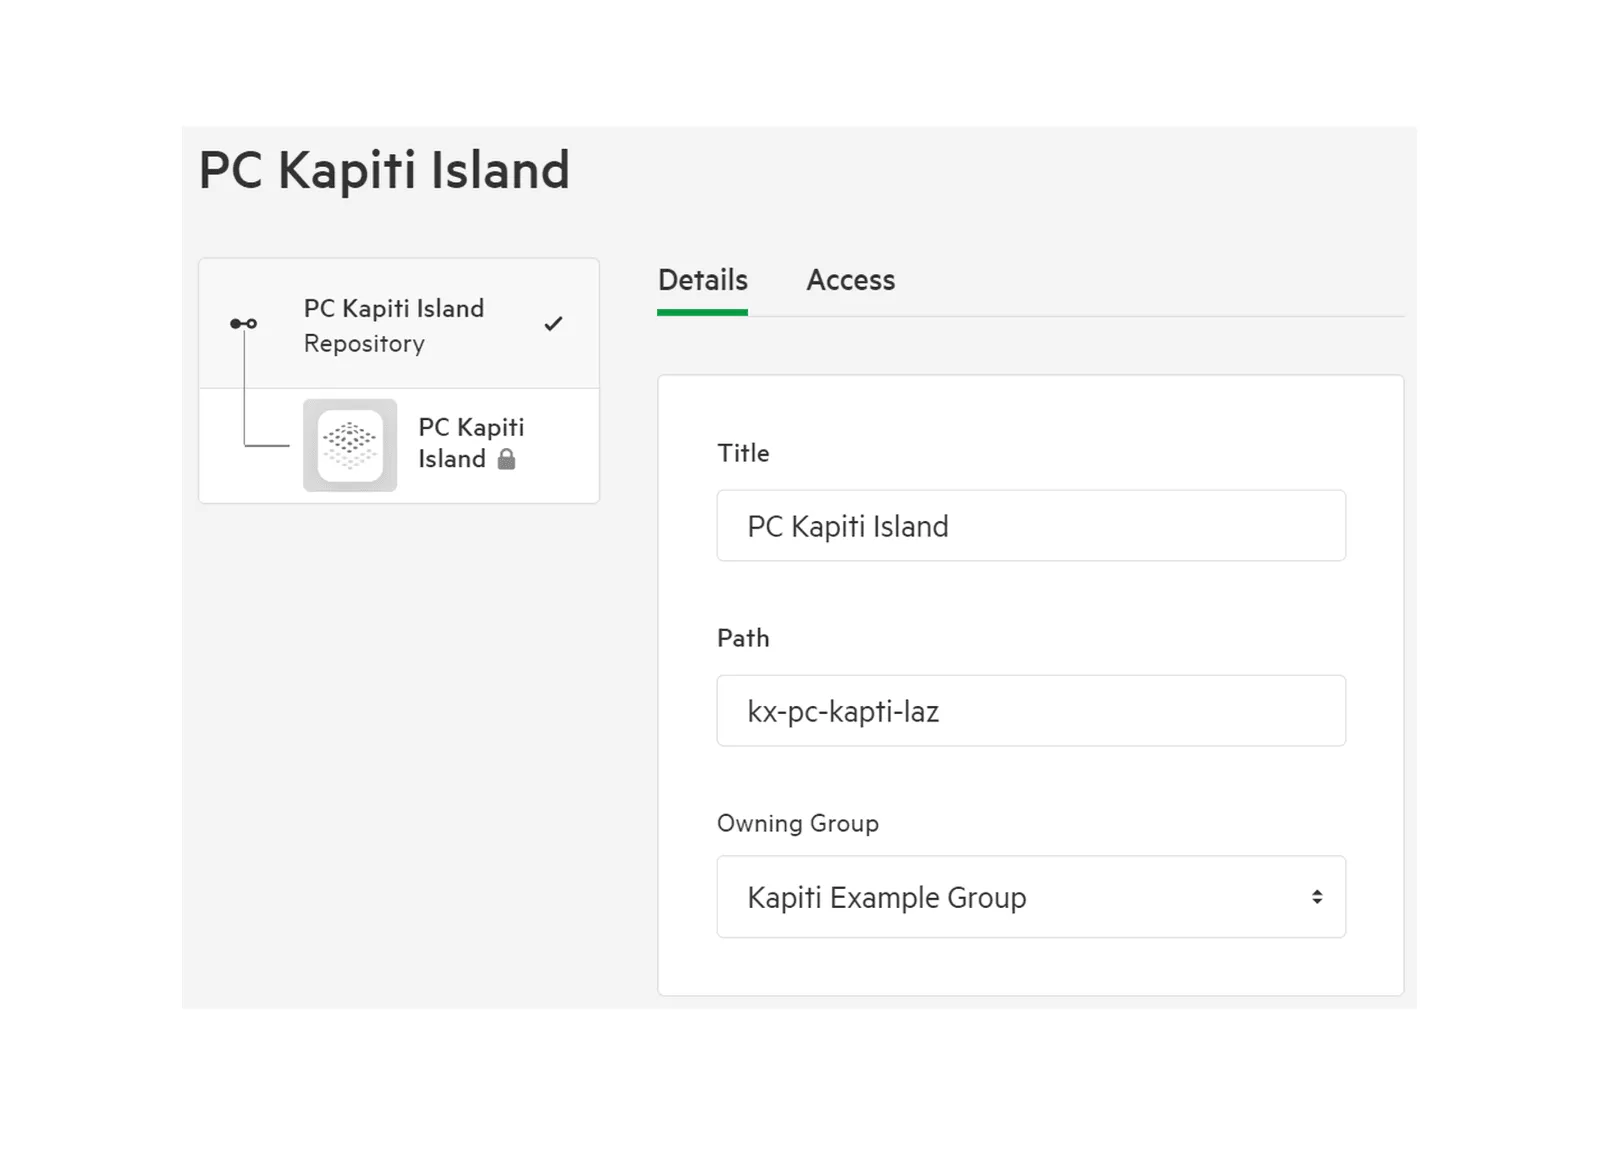
You can view the repository’s details, and update its:
- Title
- Path
- Owning group
If you’re unsure, leave Path as it is: changing it may affect connections to the Kart repository.
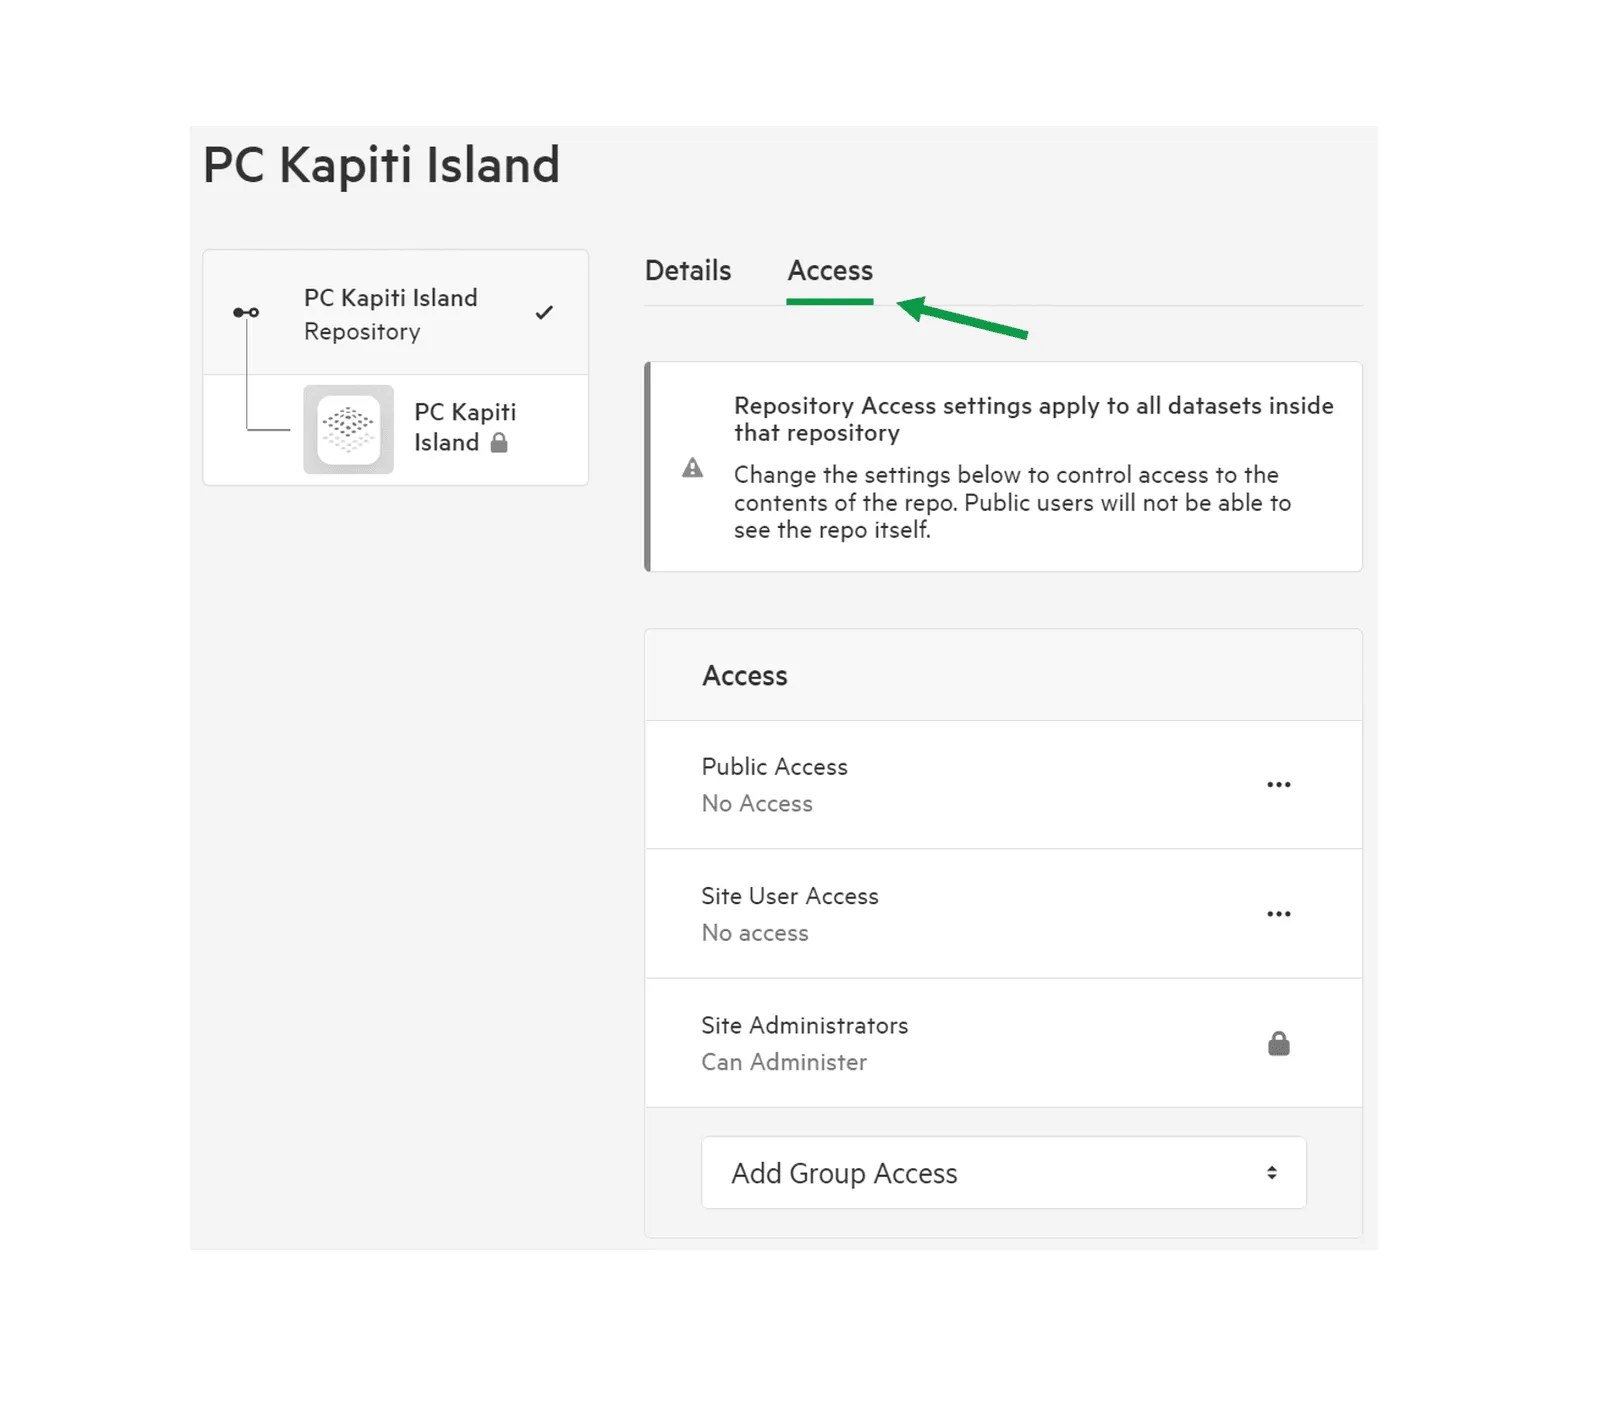
To change who can view, edit or work with the repository, select the Access tab.
Note: Public users will not be able to see the repository itself.
To change a point cloud after importing it, see Update and manage point cloud layers.