Manually upload and import data
Publishers can upload and import data — and other items, such as documents — from the 'Upload' page.
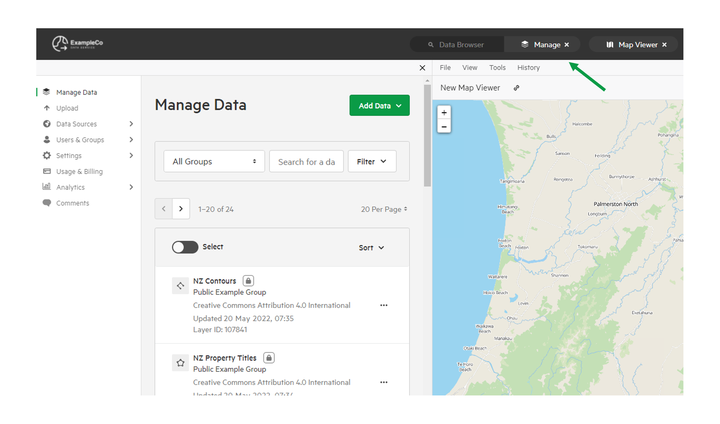
1. Select 'Manage' from the top navigation menu
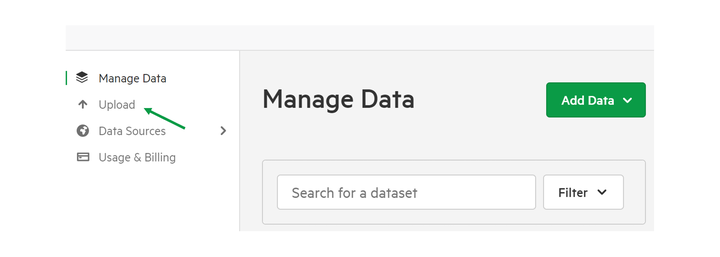
2. Select 'Upload'
3. Select files you wish to upload
You have the option of dragging your file into the box provided, or browsing files on your computer.
Data can be imported using a data archive, such as a ZIP.
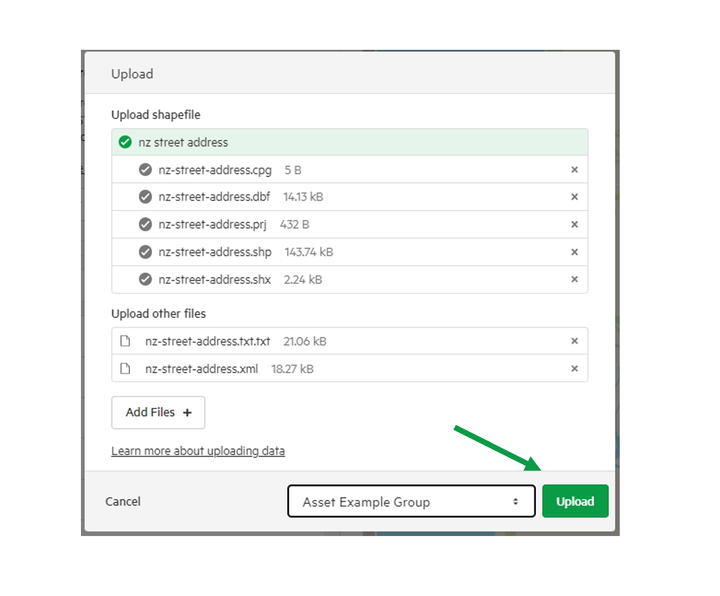
Alternatively, the various files that make up a data item (such as the .shp, .shx, .dpf, .prj, and .cpg files for a Shapefile) can be dragged and dropped together, without needing to create a data archive. Koordinates will alert you to any missing files, and then automatically create a new layer for you to import.
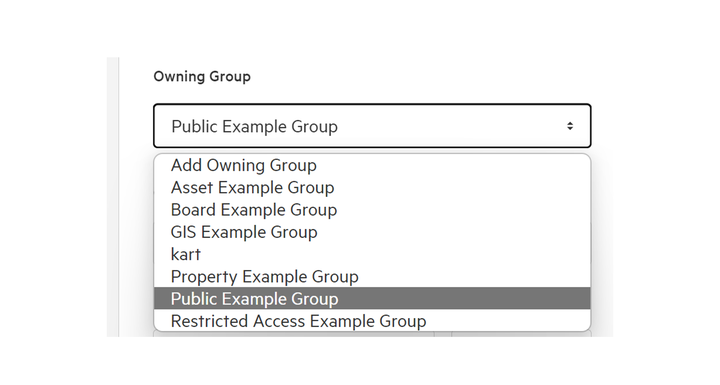
4. Select Owning Group
Select the appropriate group from those listed. The group you select will be the designated owner of the data.
5. Click 'Upload'
Koordinates will then process your upload.
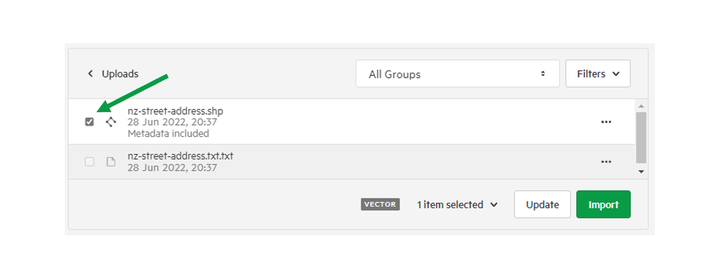
6. Select files to import
Once your data is uploaded, you will see a list of uploaded items, ready to be imported.
Select the file you wish to import by checking the box next to the file's title.
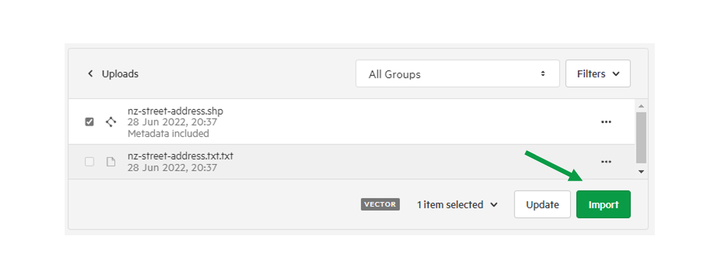
7. Click 'Import'
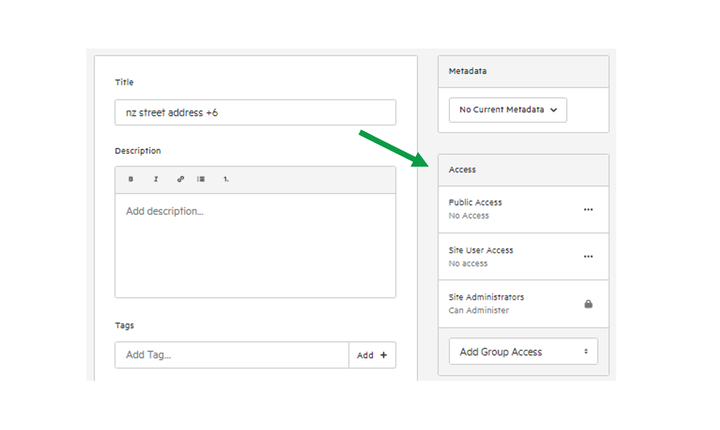
8. Edit dataset permissions
After clicking 'Import,' you'll be taken to a 'Create New Layer' page, where you can edit the details for your imported data.
The first thing to check is your data permissions. You can set permissions in two ways:
- Public Access. You can set no access, standard public access, or a range of other advanced permutations.
- Group Access. You can set view, download, and manage permissions for your existing Groups.
The third setting is Site Administrators. This cannot be edited, but exists to remind users that all Site Administrators will be able to administer imported data.
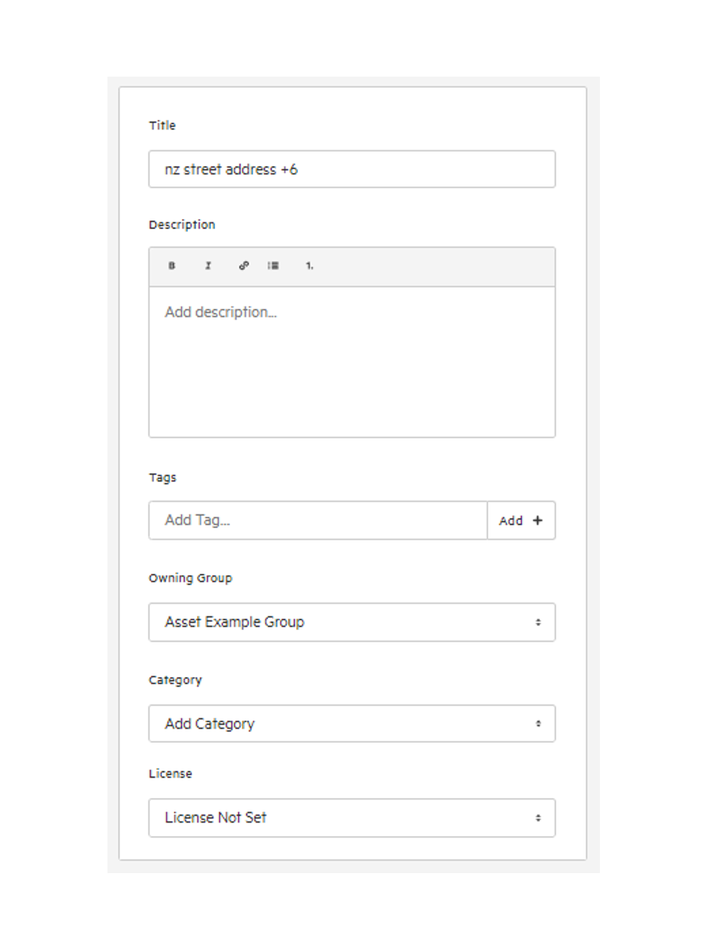
9. Edit Details
The remainder of the 'Create New Layer' page will enable you to the details of your new dataset, including description, owning group, and license.
Note that you can skip this step and edit these details later on.
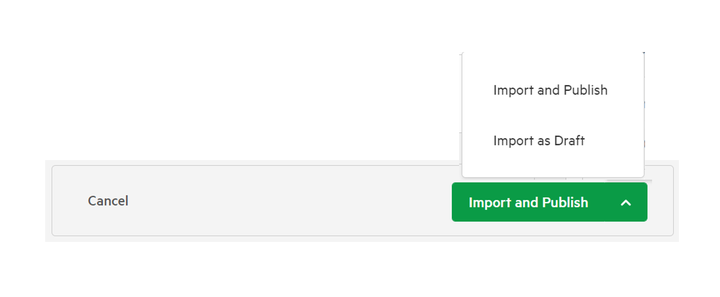
10. Click 'Import'
You have two options for importing data.
- Import and Publish. This will enable users with access permissions to access your data on your live site.
- Import as Draft. This will enable you and your team to QA data prior to wider publication.
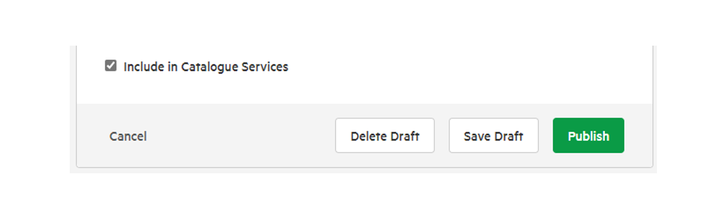
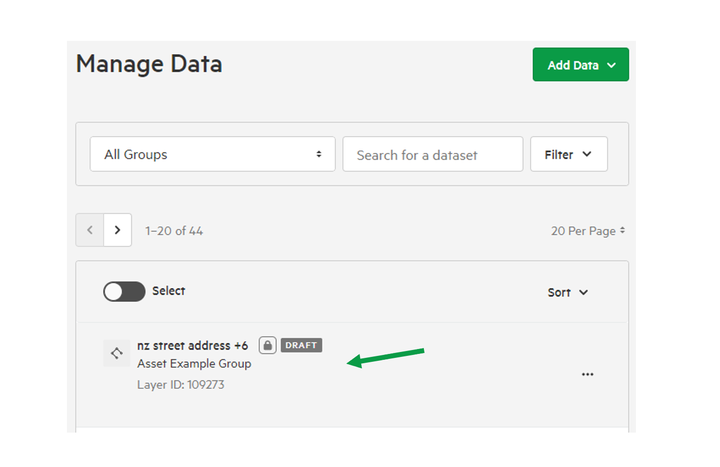
Publishing a draft
If you have chosen to import your data as a 'draft', you can appraise and QA your import.
1. Click on dataset title
2. Click 'Publish' to make live
If you have no further edits to make, simply scroll to the bottom of your screen and click 'Publish'