Import multiple items to a data layer
This guide assumes you have already connected a data source. Learn more about connected data sources. Note that you can also import multiple items from a data upload.
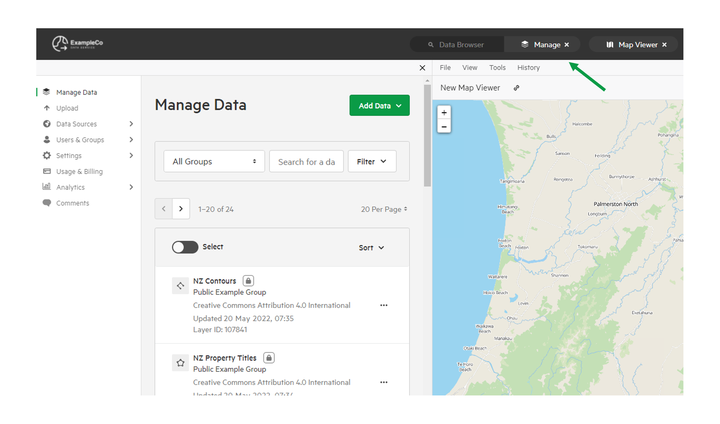
1. Select 'Manage' from the top navigation menu
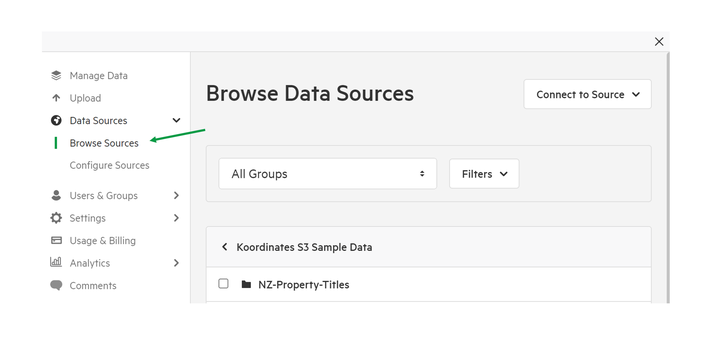
2. Select 'Data Sources' then 'Browse Sources'
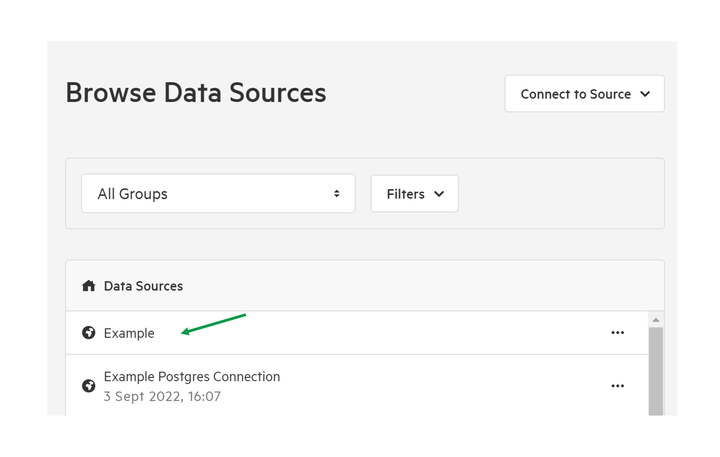
3. Select the source, and datasets you wish to import into a single layer
You can do this by checking the box next to each data layer.
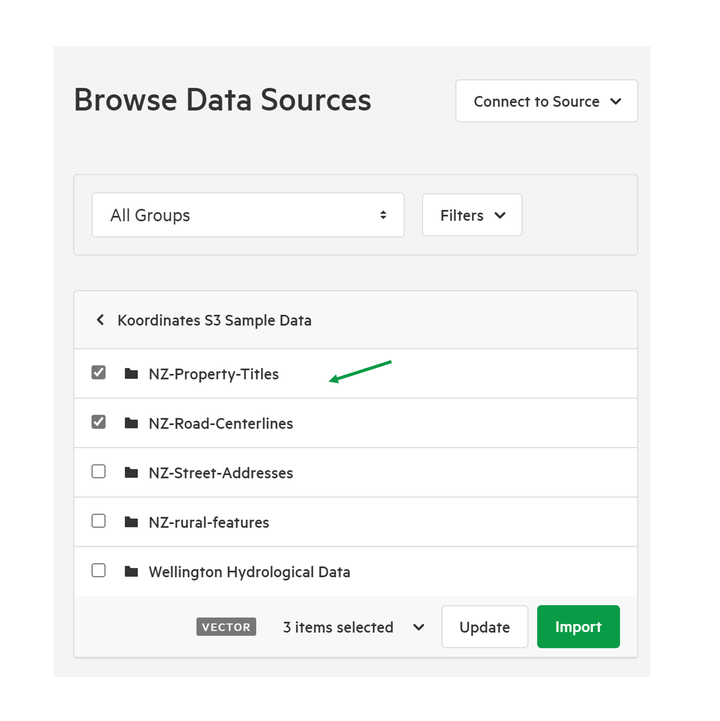
4. Remove any unwanted selected datasets by clicking 'Items Selected'
This will provide a list of all the datasets you have added. Un-check the box to remove a dataset, or click 'Deselect All' to remove all added datasets.
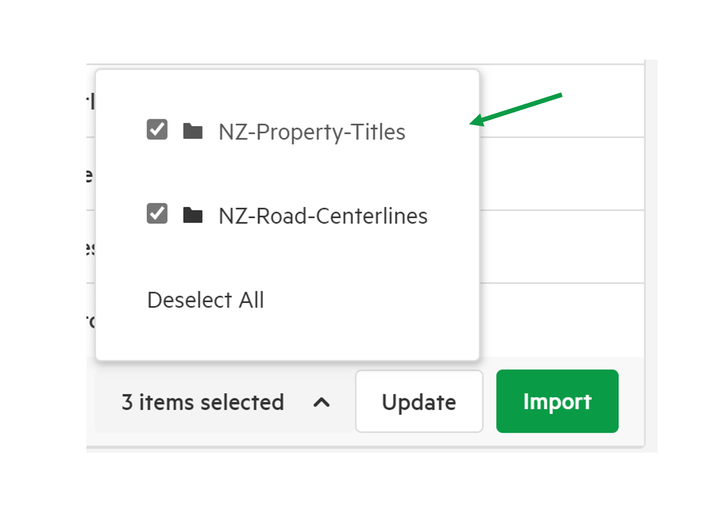
5. Click Import
6. Update details
Update the details of the new layer, including:
- Title
- Description
- Owning Group
- Tags
Note that some of these features may be set by the associated metadata from the datasets, and can't be altered.
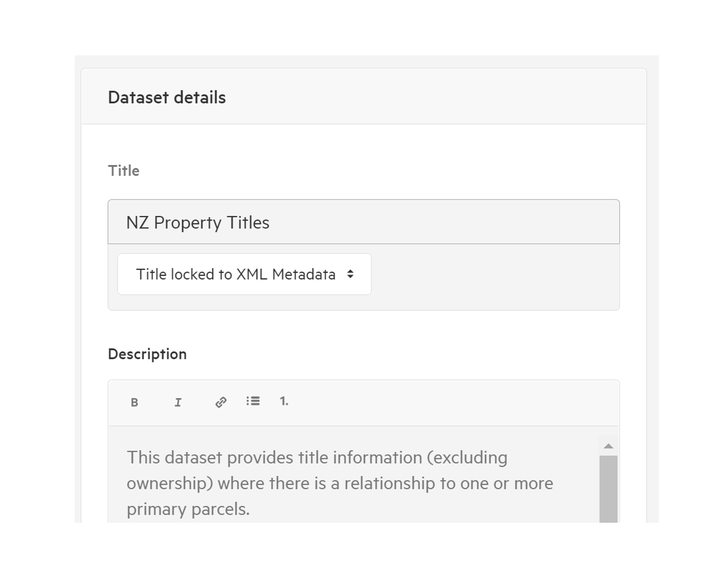
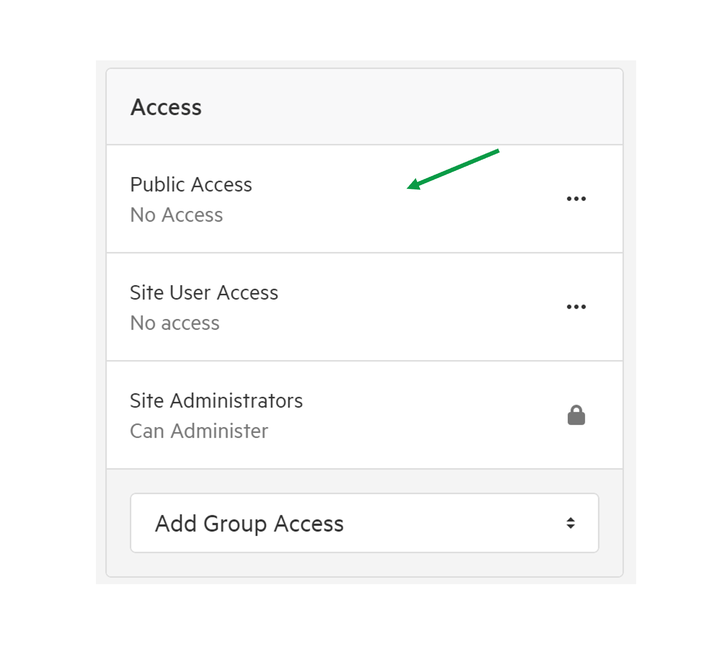
7. Edit dataset Access permissions
You can set permissions in two ways:
- Public Access. You can set no access, standard public access, or a range of other advanced permutations.
- Group Access. You can set view, download, and manage permissions for your existing Groups.
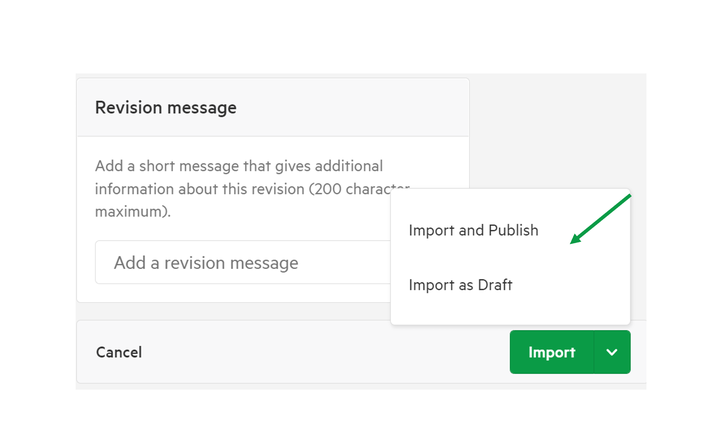
8. Click Import
You have two options for importing data.
- Import and Publish. This will enable users with access permissions to access your data on your live site.
- Import as Draft. This will enable you and your team to QA data prior to wider publication.
A note on data types
Each added dataset must be of the same type, with the same data schema. For example, for an image layer, all the items you choose must be images.
The same goes for other kinds of items, such as raster or vector layers. You couldn’t, for example, create a layer made of address points and road lines. Similarly, if you create a tabular layer, the list of attributes from each item you have used have to match.