Add a raster layer into QGIS
1. Download your chosen data layer
Section titled “1. Download your chosen data layer”Use the ‘+ map’ button to add your chosen raster dataset to your collection, and click Export
Select your preferred file format, and download your dataset. You will notice that your raster download will include a number of image tiles. Together, these tiles cover the extent of the requested download area.
Your download archive also contains additional files that helps GIS packages correctly arrange the tiles.
2. Extract your download to a new folder
Section titled “2. Extract your download to a new folder”Your dataset will have been downloaded as a ZIP file, so you’ll first need to extract these files. Note that it’s important to keep all the files in the same folder.
3. Open Quantum GIS (QGIS)
Section titled “3. Open Quantum GIS (QGIS)”4. Select Add Raster Layer
Section titled “4. Select Add Raster Layer”Navigate to the folder that contains the tile images and select all the images in the layer.
Once you have selected the images, select Open, and the selected image tiles will be added to your map.
5. Zoom to your data
Section titled “5. Zoom to your data”Right click the tiles in the Layers window to the left of your screen and click Set Project CRS from Layer.
In the Layers sidebar, add a new group by right clicking and selecting Add New Group. Drag the image layers into this new group. Once all images are in this group, right click the group and select Zoom to Group.
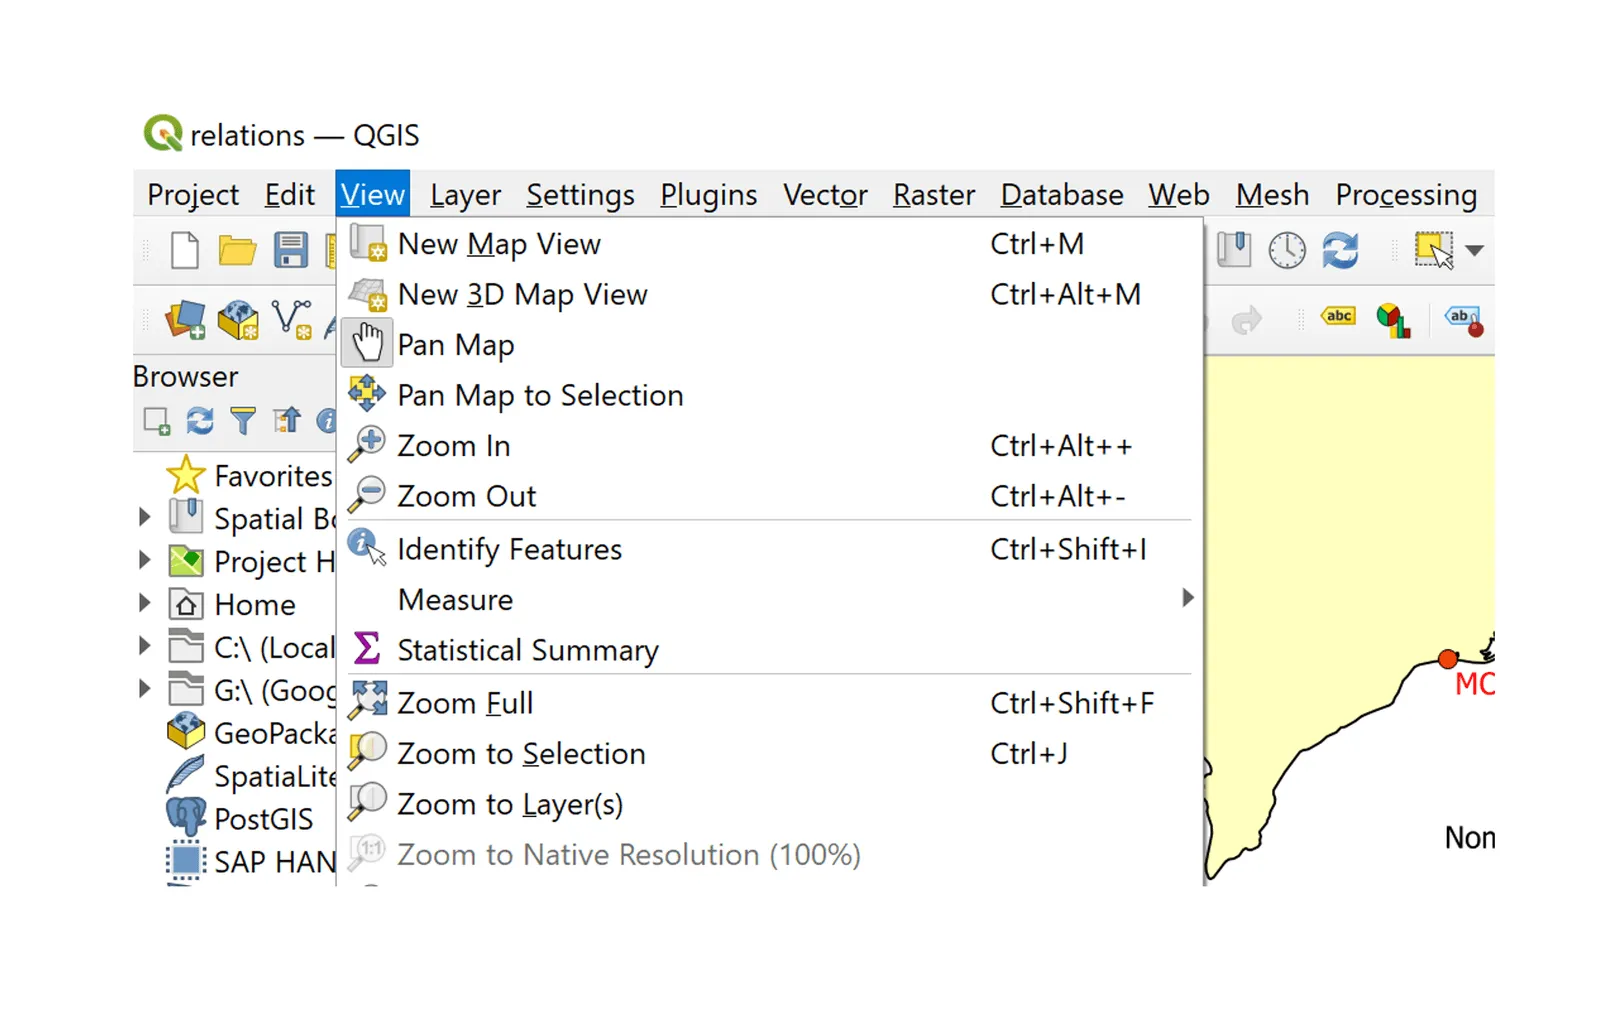
Now you can use the “Zoom” and “Pan” tools to find the area you are interested in**.**
6. Save as Image
Section titled “6. Save as Image”Open the file menu at the top of your screen and select Save as Image. This will save the current view of your data in QGIS as an image file.
Note that you can also use the Quantum GIS Print Compositing tools to add layout and map elements before printing.
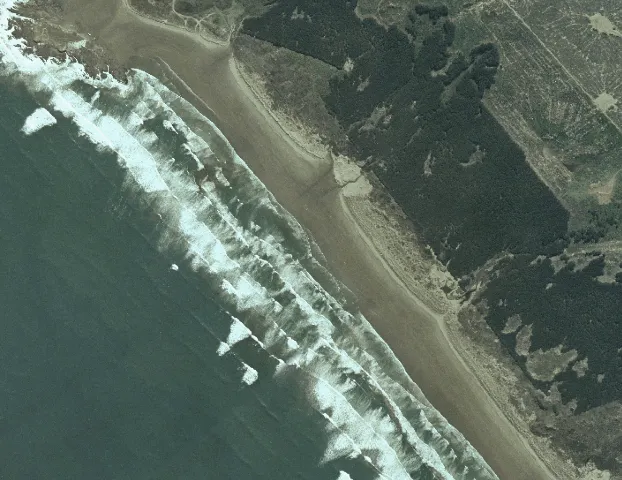
In our example, our final image looks like this: