Learn more about the map
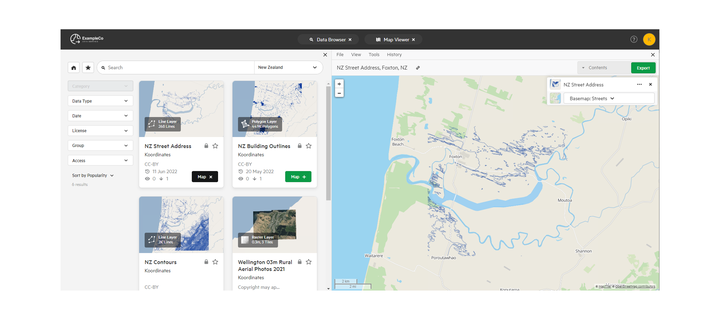
After you have added your data, it will be added to the map on the right of your screen.
Zoom
There are 2 ways to zoom in and around the Map Viewer, manually or through default zoom areas.
Manual Zoom
This can be accessed using the '+' and '-' keys in the top left of the map, and allows you to zoom in or out incrementally as required.
You can also use the scroll wheel on your mouse to zoom in or out.

Monitor the scale of the zoom by using the Scale Line in the bottom left corner of the map.
You can zoom from 2m (10ft) to 5,000km (1,000mi).

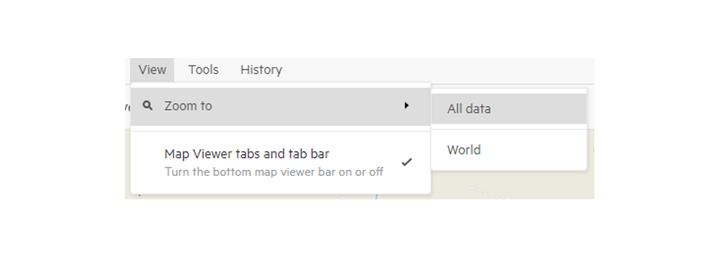
Default Zoom
From the View menu in the Map Toolbar, select Zoom To, and choose:
- All Data - to the smallest scale that will incorporate all the data layers currently selected in your map, or
- All World - for the largest scale, worldwide view
Basemaps
At the top-right of the map, below your selected datasets, you are able to select what kind of basemap you want to use. Your options for basemap will include:
- Streets: A basic transportation styled map
- Terrain: A topographic style map highlighting terrain
- Satellite: A map produced from satellite photography
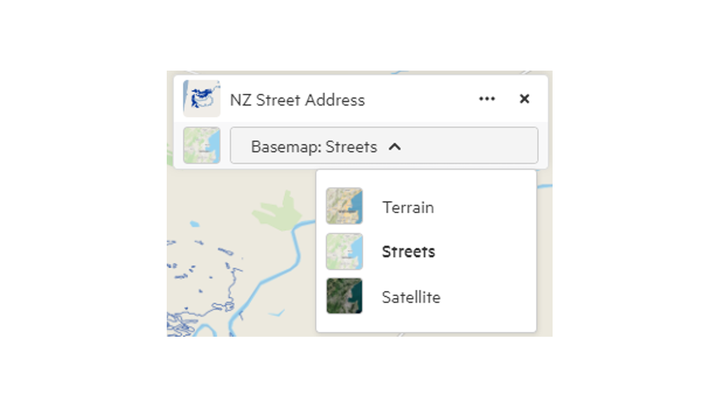
You can also choose to hide the basemap entirely, by hovering over the basemap icon and clicking the 'eye'.
Interacting with Layers
The list of selected data layers can be interacted with in a number of ways, including:
- Dragging them up and down the list, this will affect the order that they appear on the map (good for overlapping data layers)
- Interacting with the layer options

Transparency
This slider allows you to alter the transparency of the layer, which will automatically update the layer, as well as the layer icon transparency in the data layers list.
Zoom To
This will zoom the Map Viewer to the smallest scale that will incorporate that entire data layer
Note that other data layers selected may fall outside of this new zoom scale.
Info
This will launch the Data Sheet relevant to the data layer, and will appear in the Data Browser section of the screen.
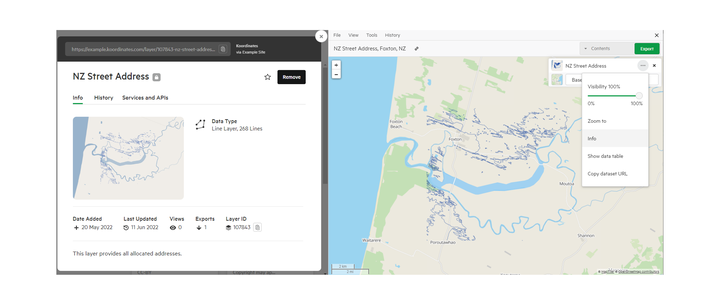
Show data table
This will launch the data table, allowing you to view the underlying table of data.
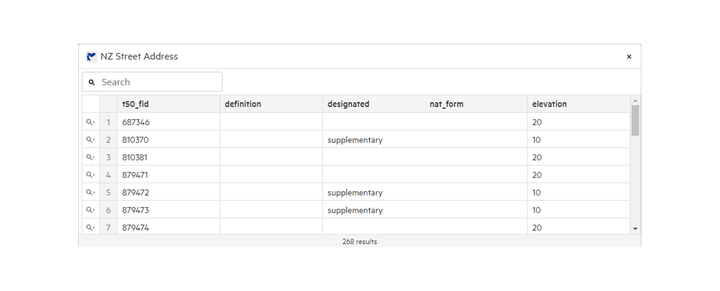
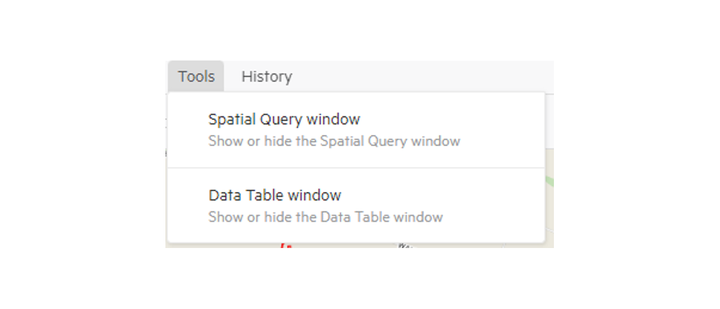
Note this, can also be launched from the Tools menu on the Map Viewer toolbar, by selecting Data Table window.
Copy dataset URL
This URL, when navigated to, will show the data layer Data Sheet, and it will be added to the Map Viewer.
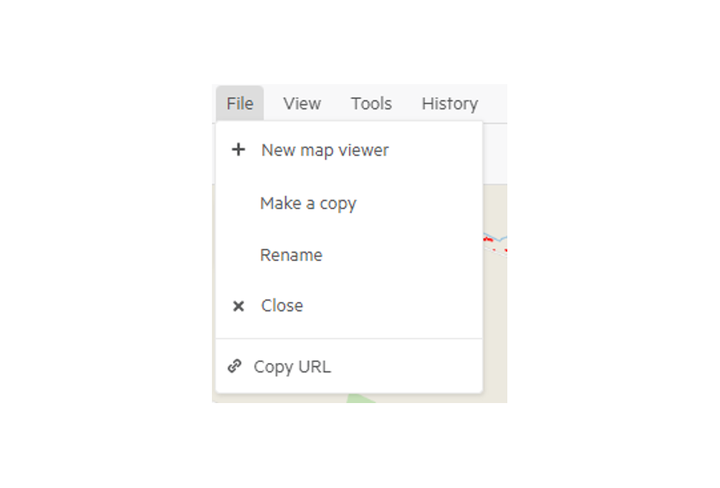
Note this only applies to one data layer, if you need to share multiple data layers you may need to share the Map Viewer URL, by opening the File menu in the Map Viewer Toolbar, and selecting, Copy URL.
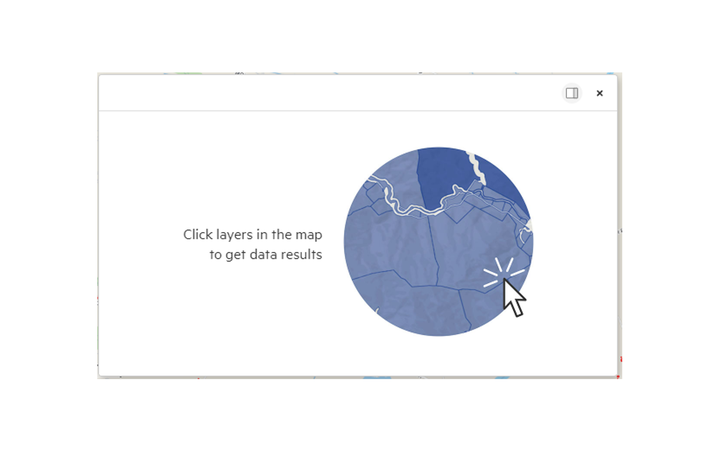
Spatial Query window
To find more information about a specific section of a layer, click on any part of the map. If there is relevant data layer information associated with the location you clicked on, the Spatial Query window will appear, and will include the data table, with the relevant row selected, as well as the details (sometimes called attributes), of the layer item.

This can also be turned on in the Tools menu from the Map Viewer toolbar.
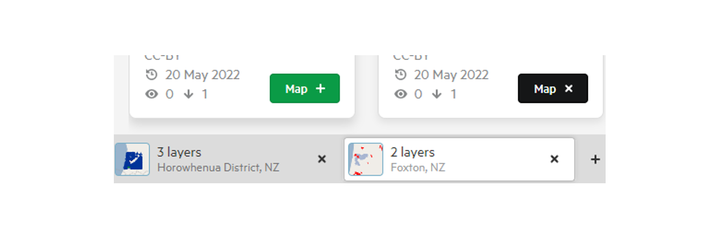
History
You can switch between any open Map Viewers (available to view from the bottom of the screen), and reopen recently closed Map Viewers.
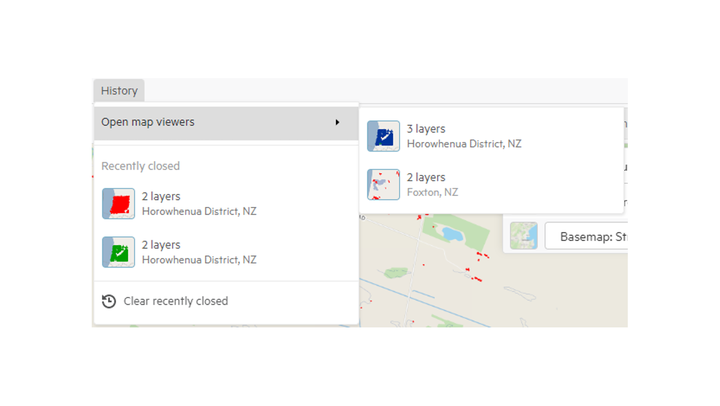
These Map Viewer tab bar can be hidden or unhidden from the View Menu from the Map Viewer.