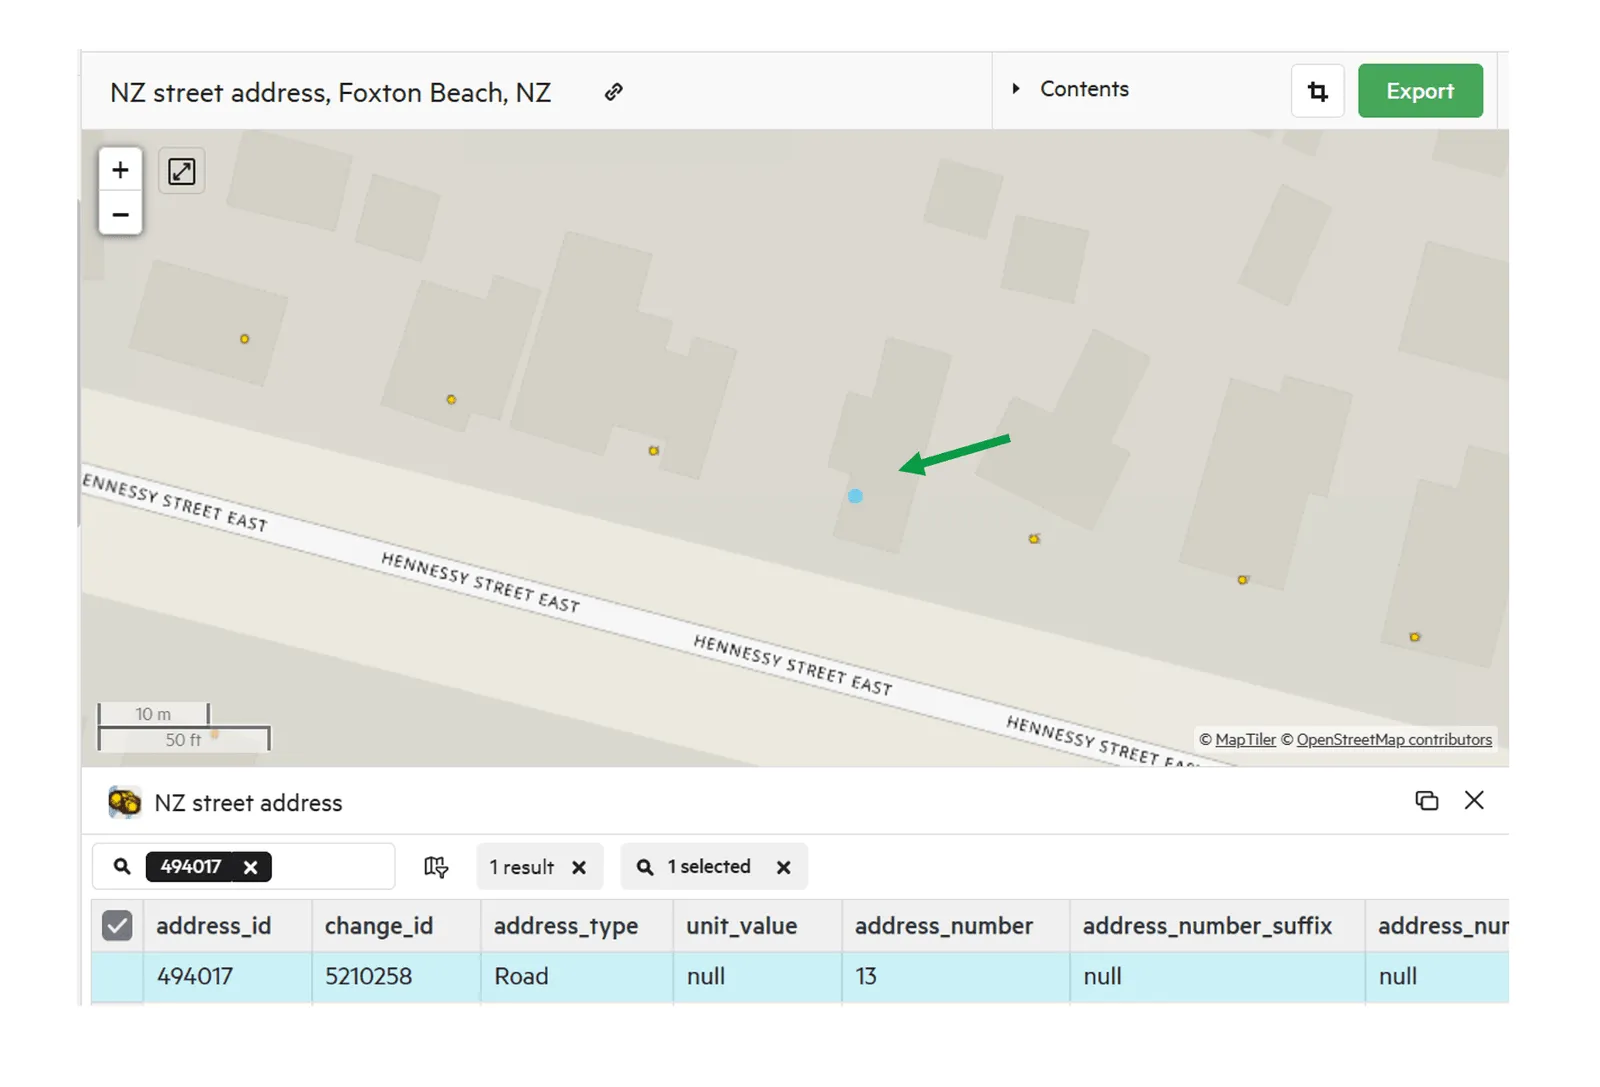
Explore with Data Table
Koordinates allows the interrogation of the data tables that underlie every data layer. These tables usually contain attribute information for spatial features, and can be used to filter and query to find specific information.
Access Data Table
Section titled “Access Data Table”1. To access the underlying table of data, open the data layer menu, and select Show data table.
Section titled “1. To access the underlying table of data, open the data layer menu, and select Show data table.”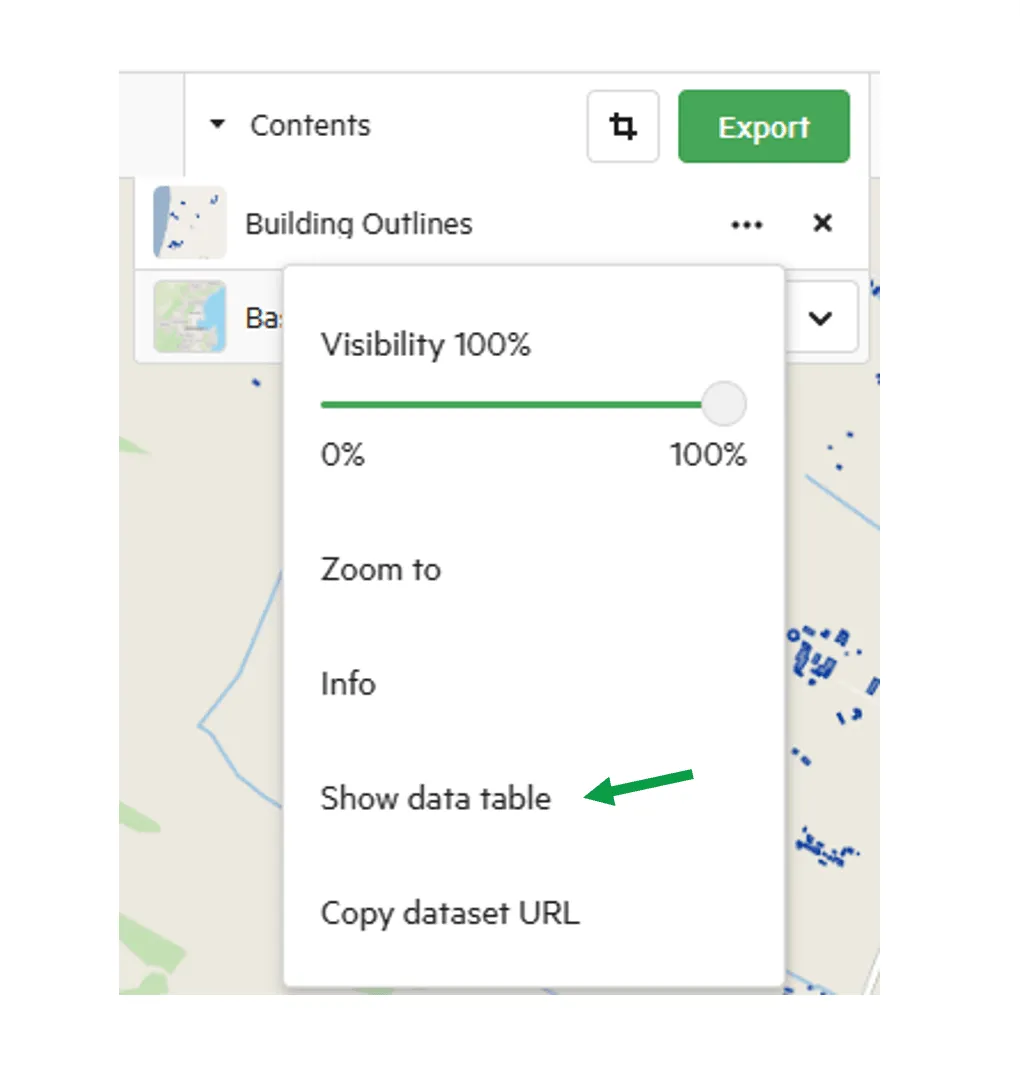
The associated data for the layer will appear underneath the Map Viewer.
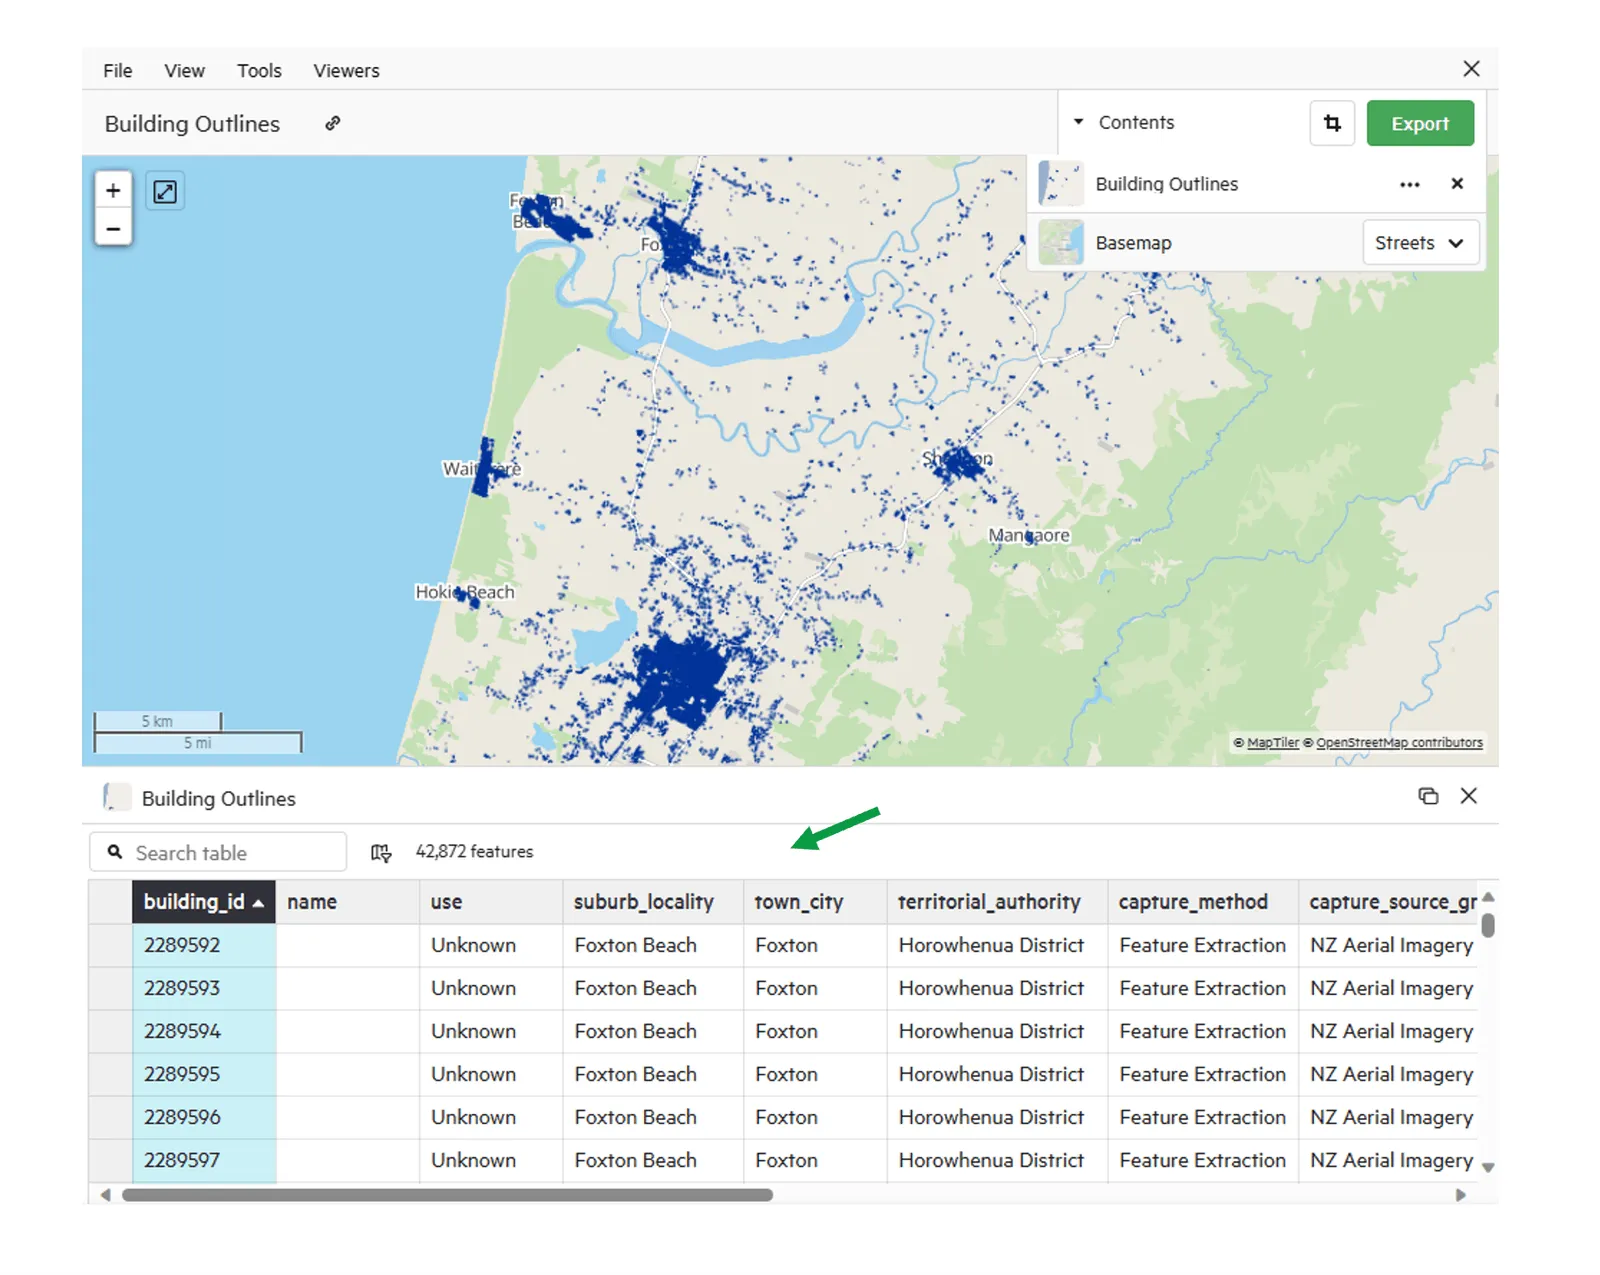
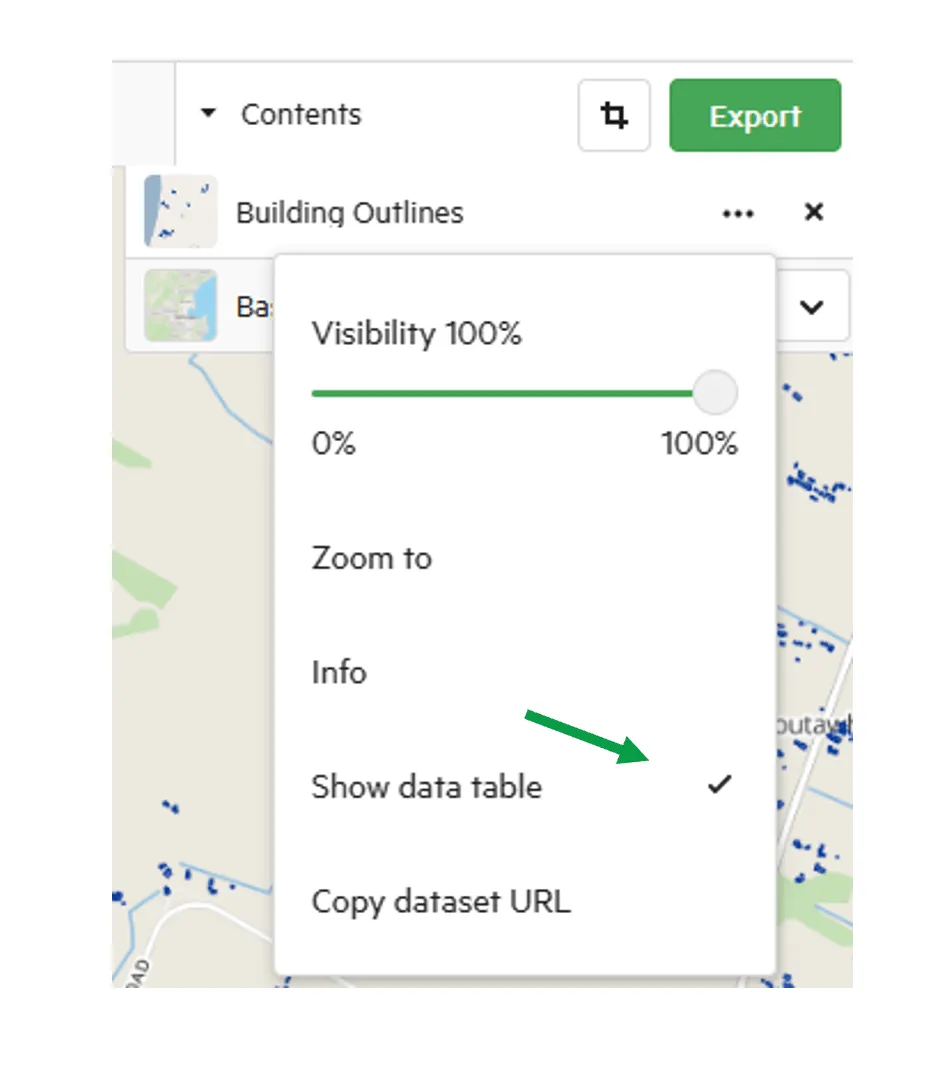
To close the data table, either:
a) open the menu again, and deselect ‘Show data table’
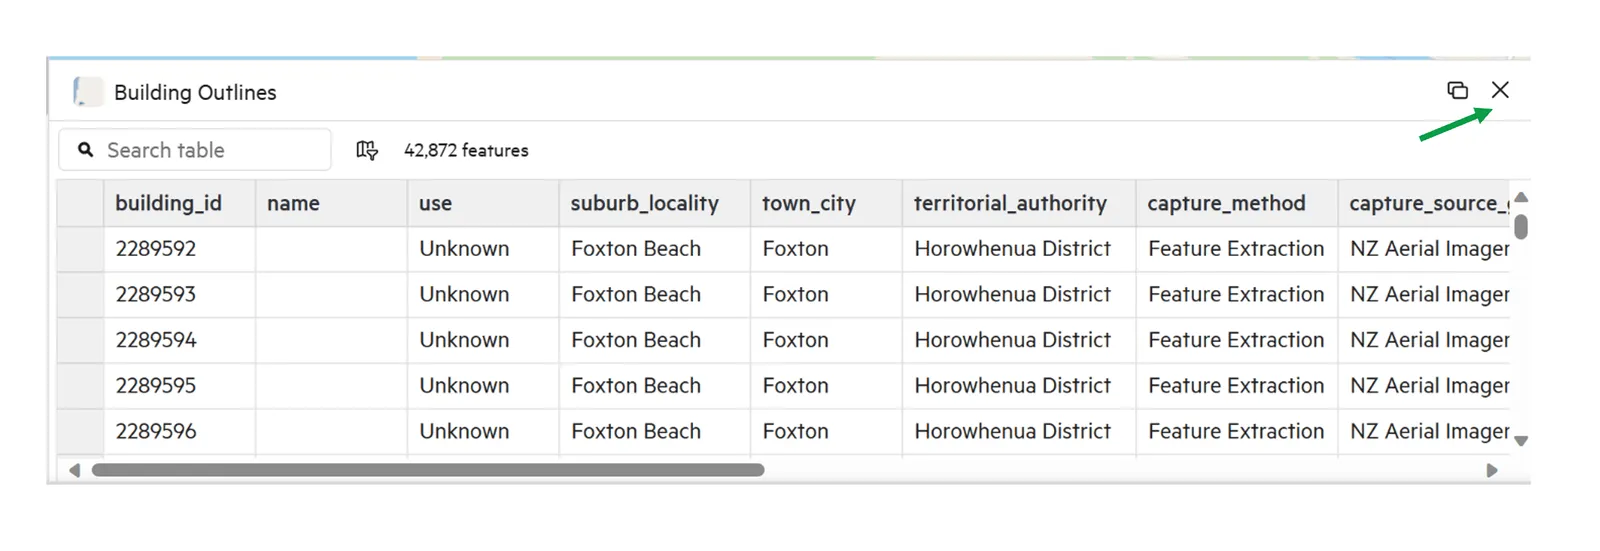
b) close the data table, by selecting the cross.
Undock the data table
Section titled “Undock the data table”When opened from the data layer menu, the data table will automatically be docked underneath the Map Viewer.
Undocking will allow for the table to be moved around the screen, allowing for the Map Viewer to extend.
1. From the data table, select the undock option on the top right corner of the window.
Section titled “1. From the data table, select the undock option on the top right corner of the window.”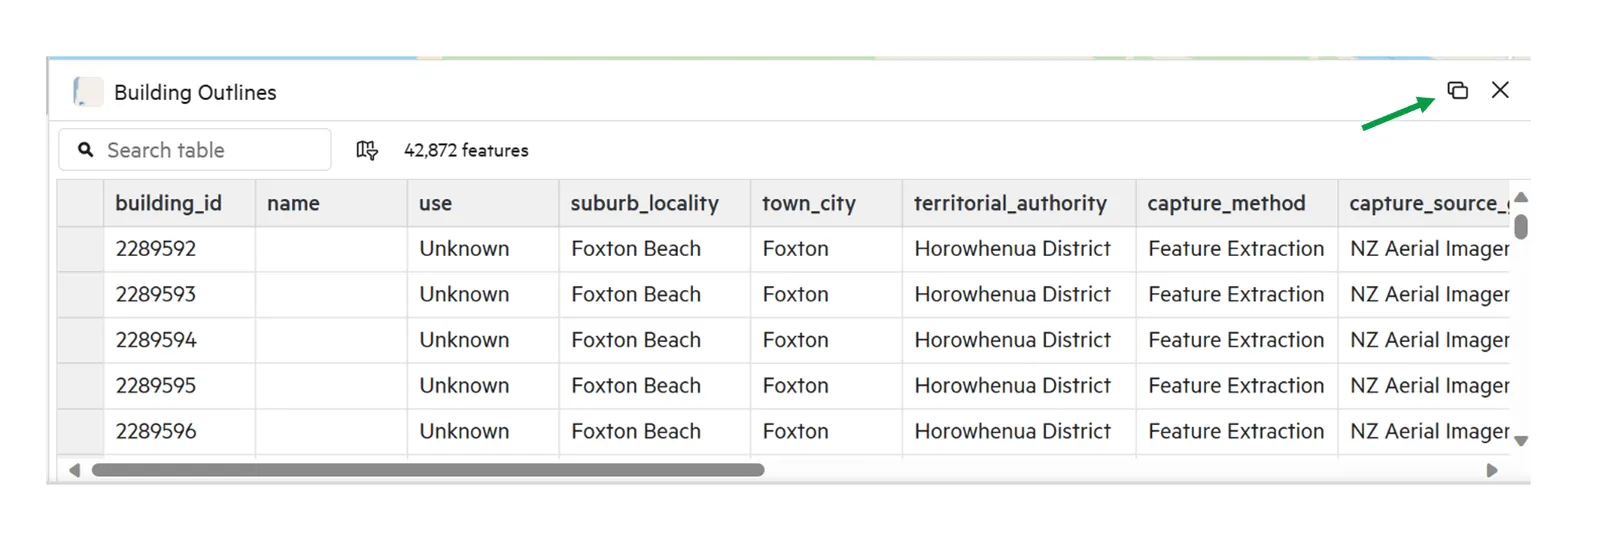
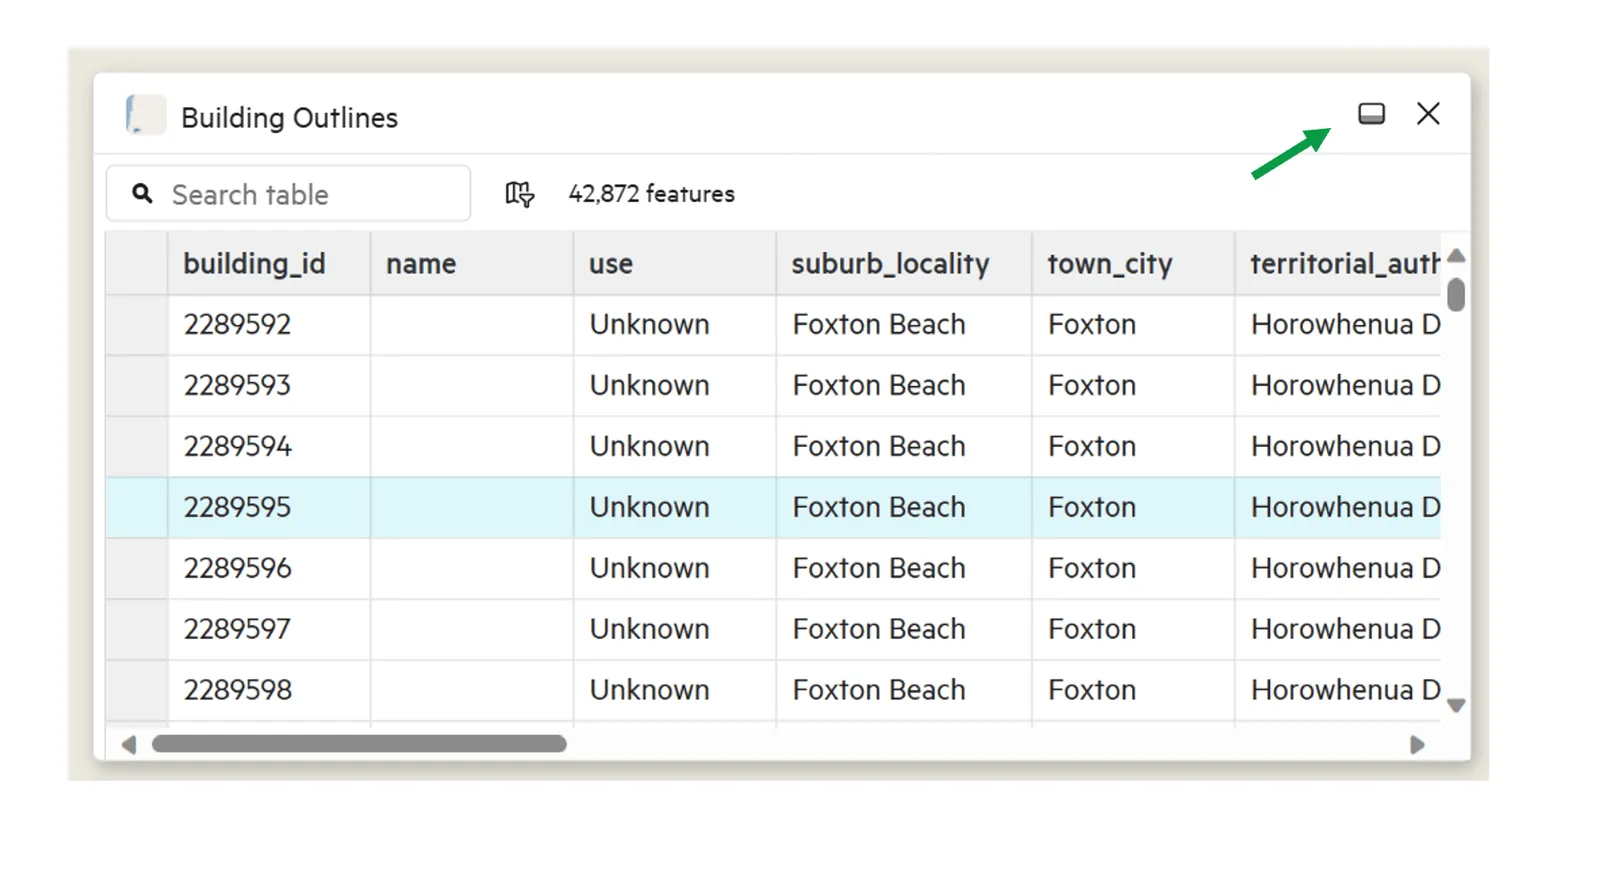
Select the same button again to re-dock the table.
Filter data table to map extent
Section titled “Filter data table to map extent”By default, the data table will display all information relevant to the data layer, however it is possible to filter the table to only show data relevant to the current data displayed on the map.
1. On the Map Viewer, zoom to the area of interest.
Section titled “1. On the Map Viewer, zoom to the area of interest.”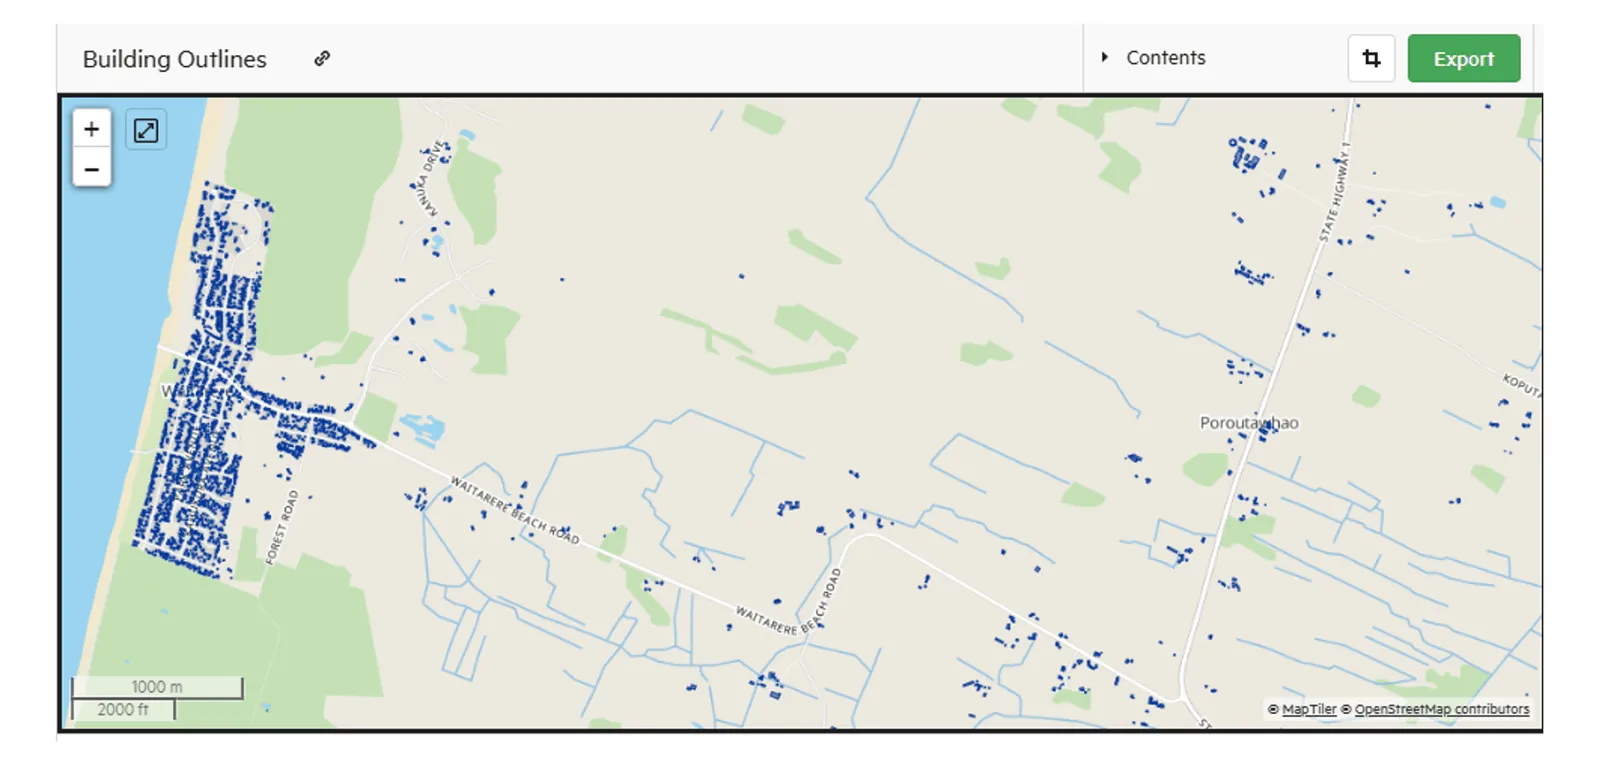
2. Select the ‘Filter & follow map’ button on the top of the data table.
Section titled “2. Select the ‘Filter & follow map’ button on the top of the data table.”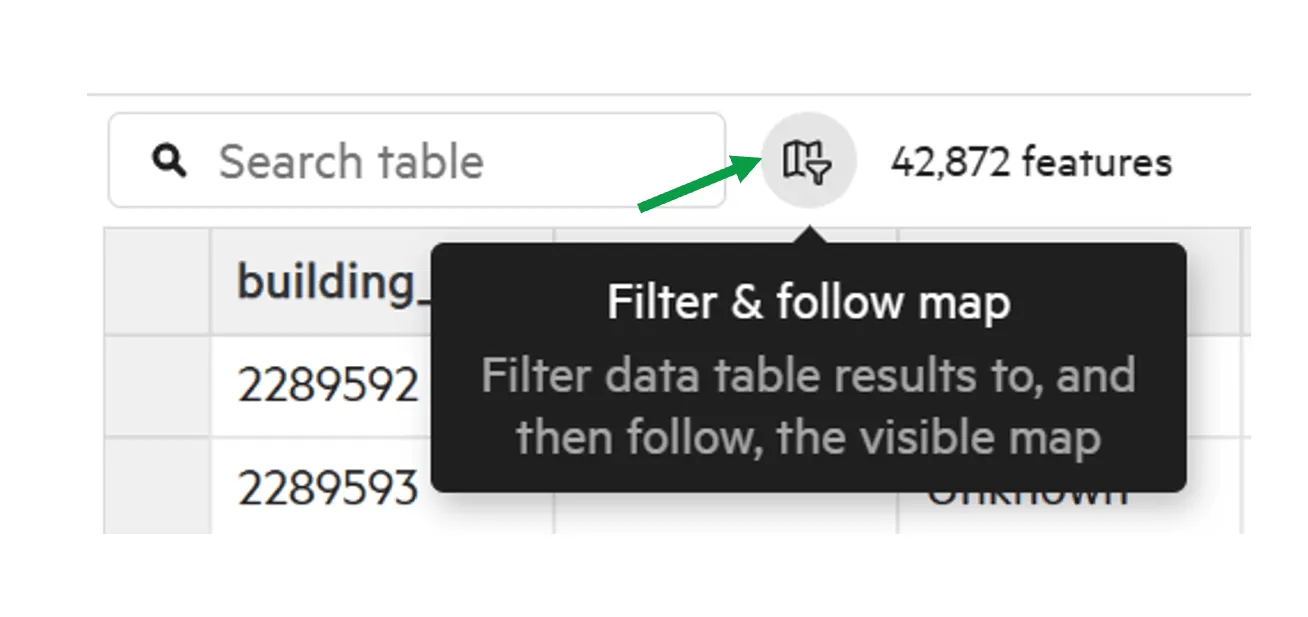
The data table will update to reflect only the data displayed within the current Map Viewer.
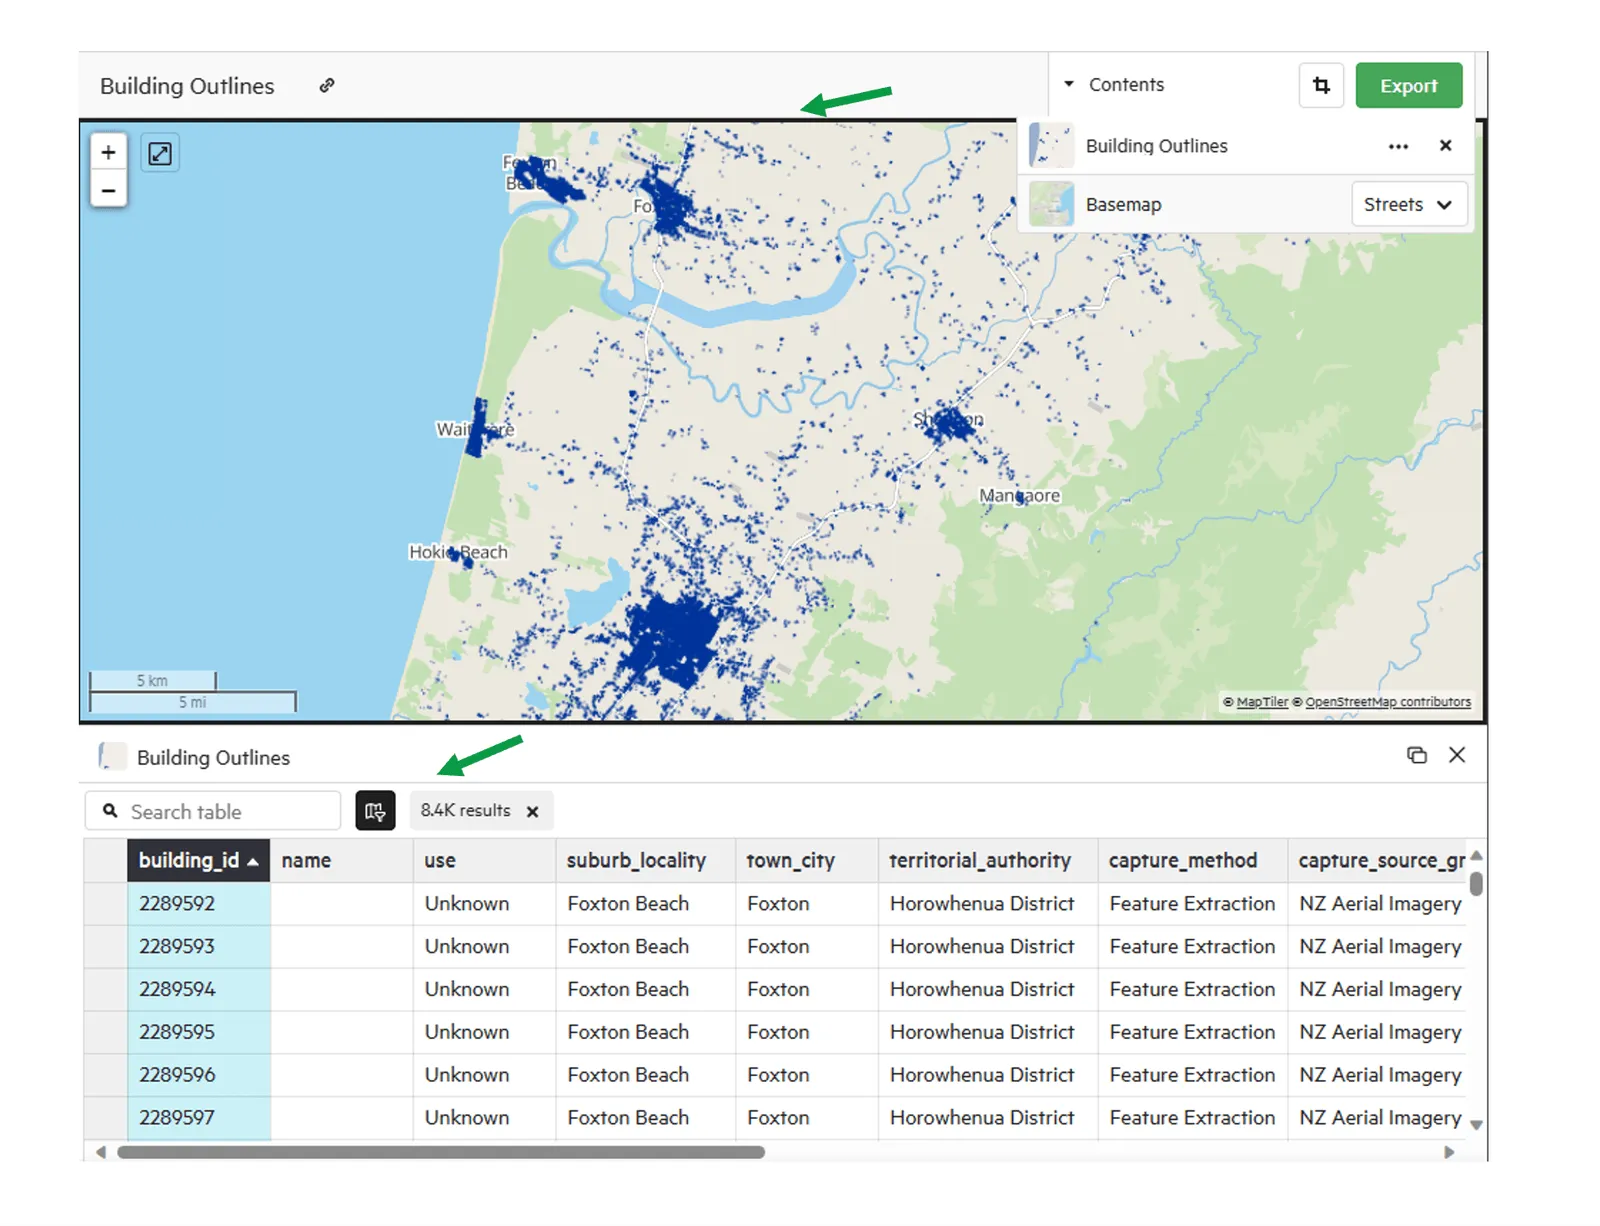
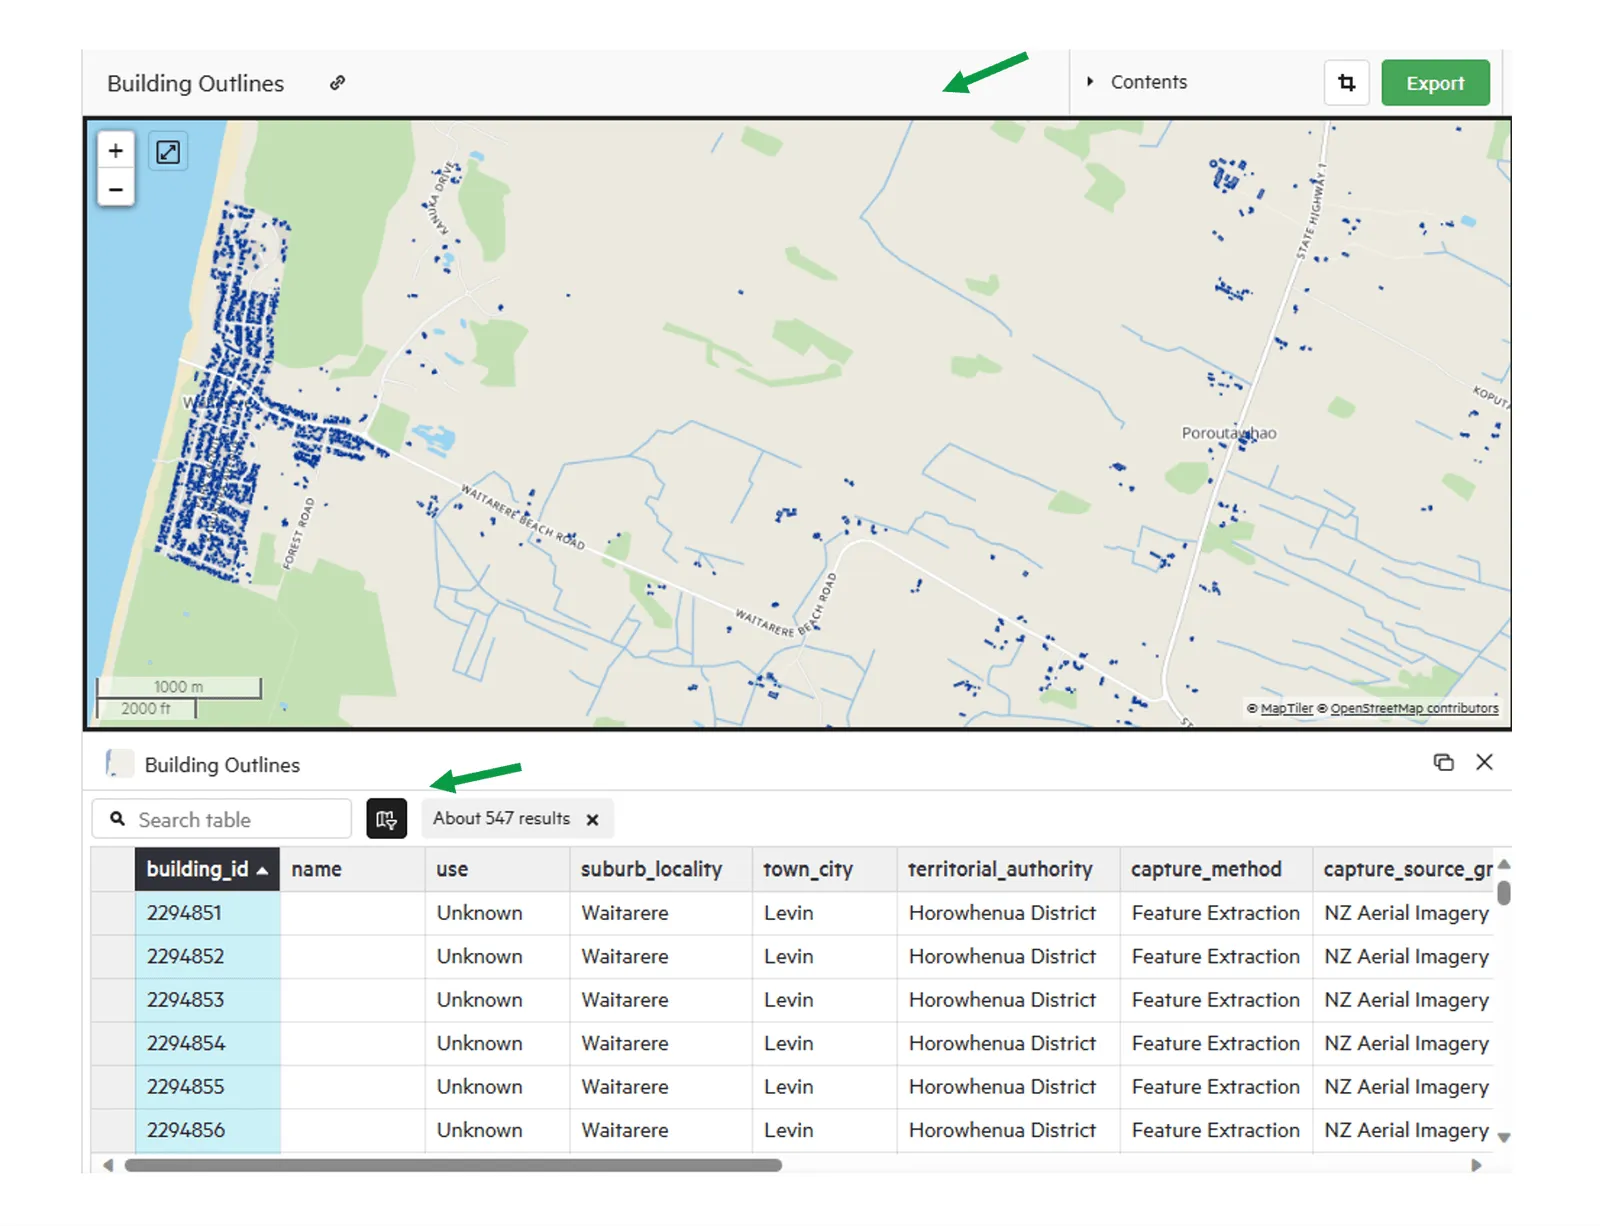
The table will update if you move the map. The table above shows 8.4k results, when zoomed in however the total results is reduced to 547 (below).
Add multiple data tables
Section titled “Add multiple data tables”When working with multiple data layers, you may be required to query different data tables.
To open a second data table.
1. From the data layer list in the Map Viewer, select ‘Show data table’.
Section titled “1. From the data layer list in the Map Viewer, select ‘Show data table’.”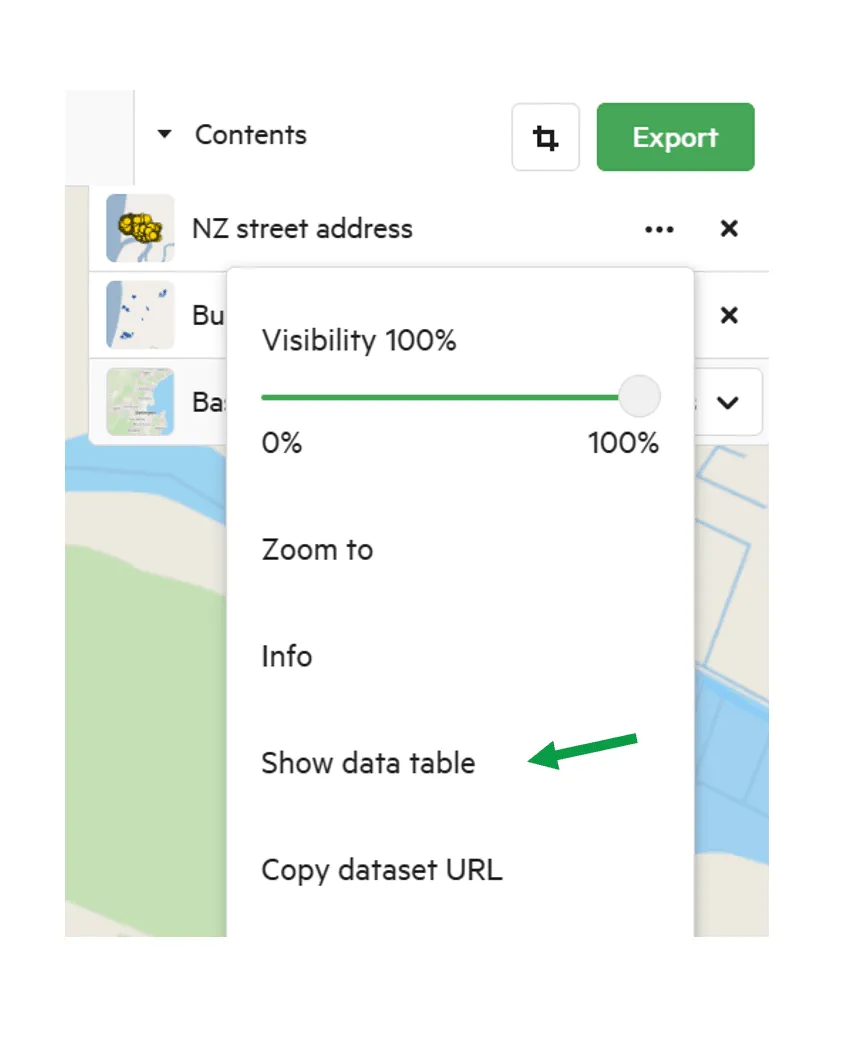
2. The second data table will appear as a tab in data table window.
Section titled “2. The second data table will appear as a tab in data table window.”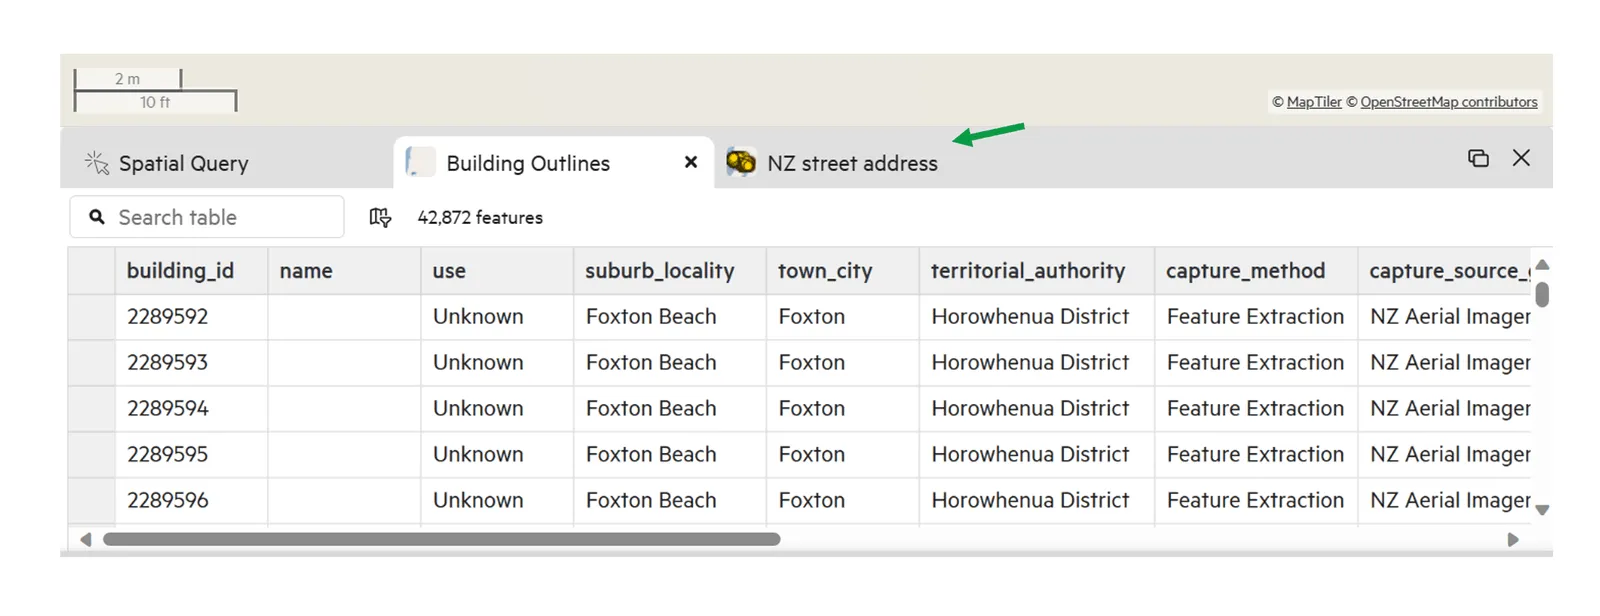
Toggle between the two to review as required.
Note: The Filter and follow feature will not automatically apply to other data tables, and will need to be enabled on each required table.
Search Table
Section titled “Search Table”The table can be searched by features, and can be used to zoom the map.
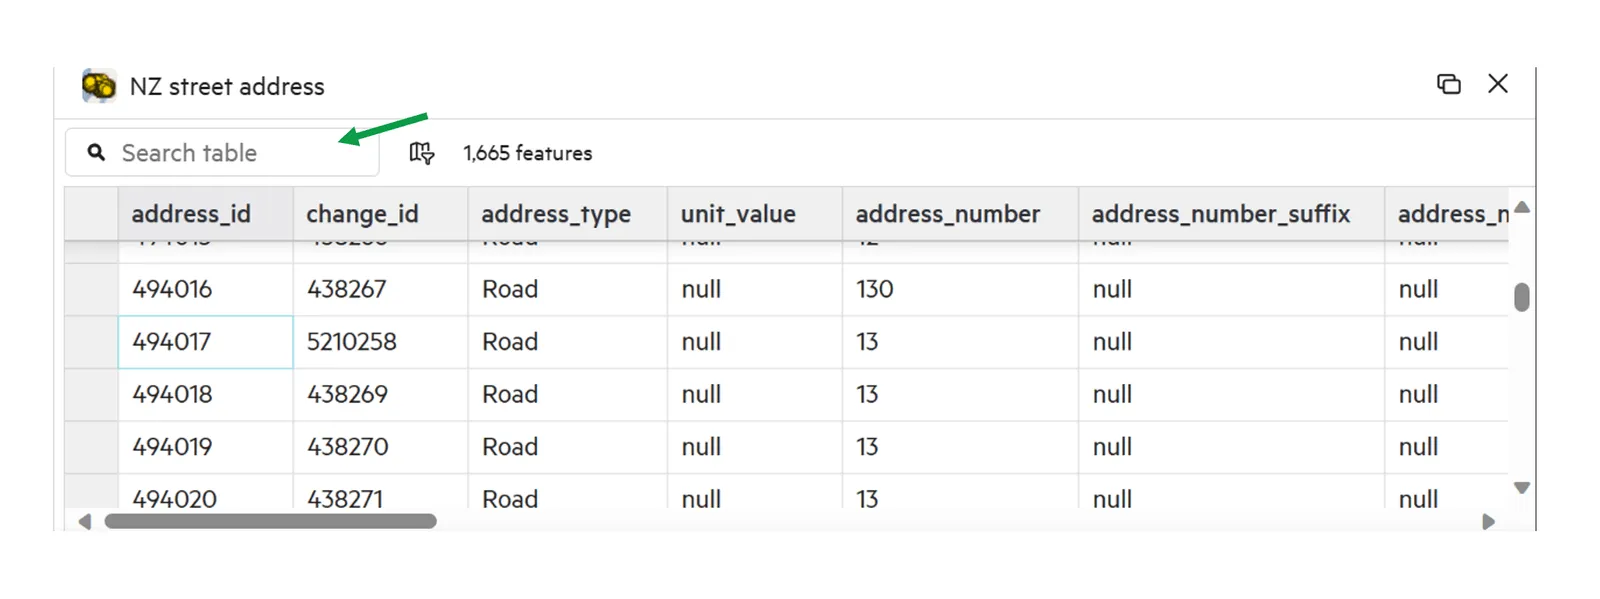
1. Input a feature detail in the search bar.
Section titled “1. Input a feature detail in the search bar.”This can be an ID number, an address, or other relevant feature included in the table.
2. Press enter to submit the search
Section titled “2. Press enter to submit the search”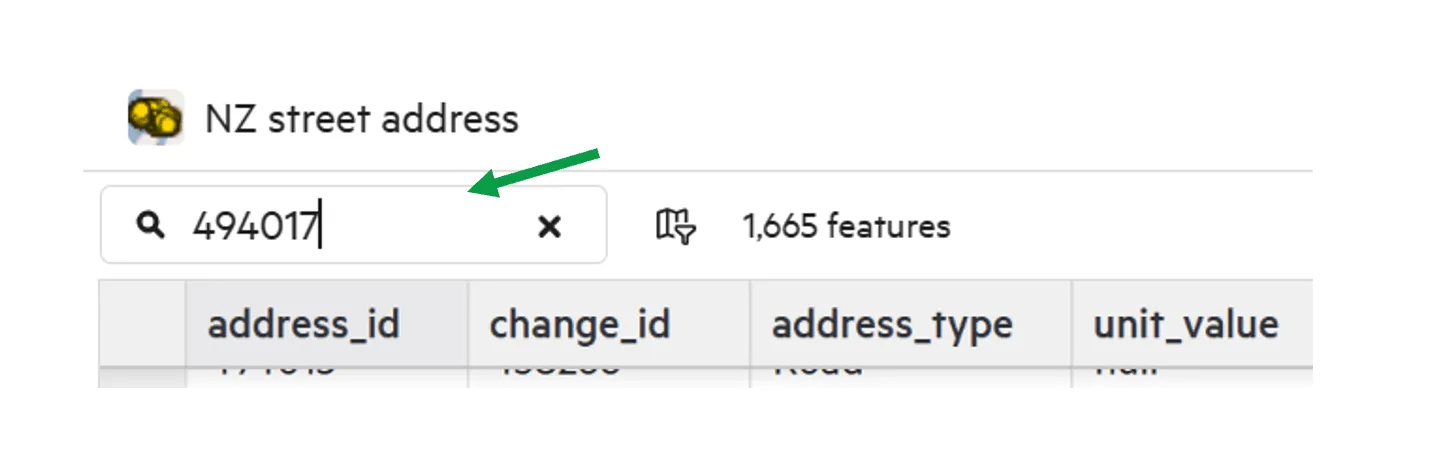
3. Any relevant table results will be filtered, and will appear in the table.
Section titled “3. Any relevant table results will be filtered, and will appear in the table.”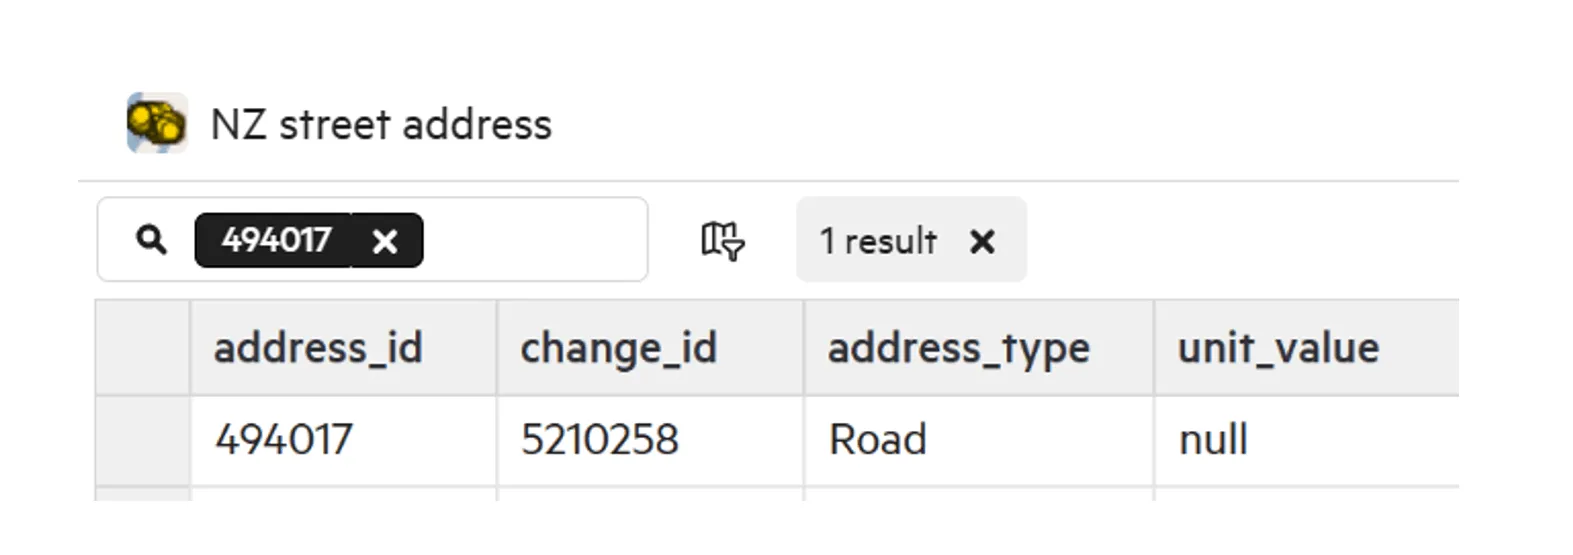
4. Right click on the table feature.
Section titled “4. Right click on the table feature.”There will be two options available, to copy the cell value, or to zoom and update the Map Viewer.
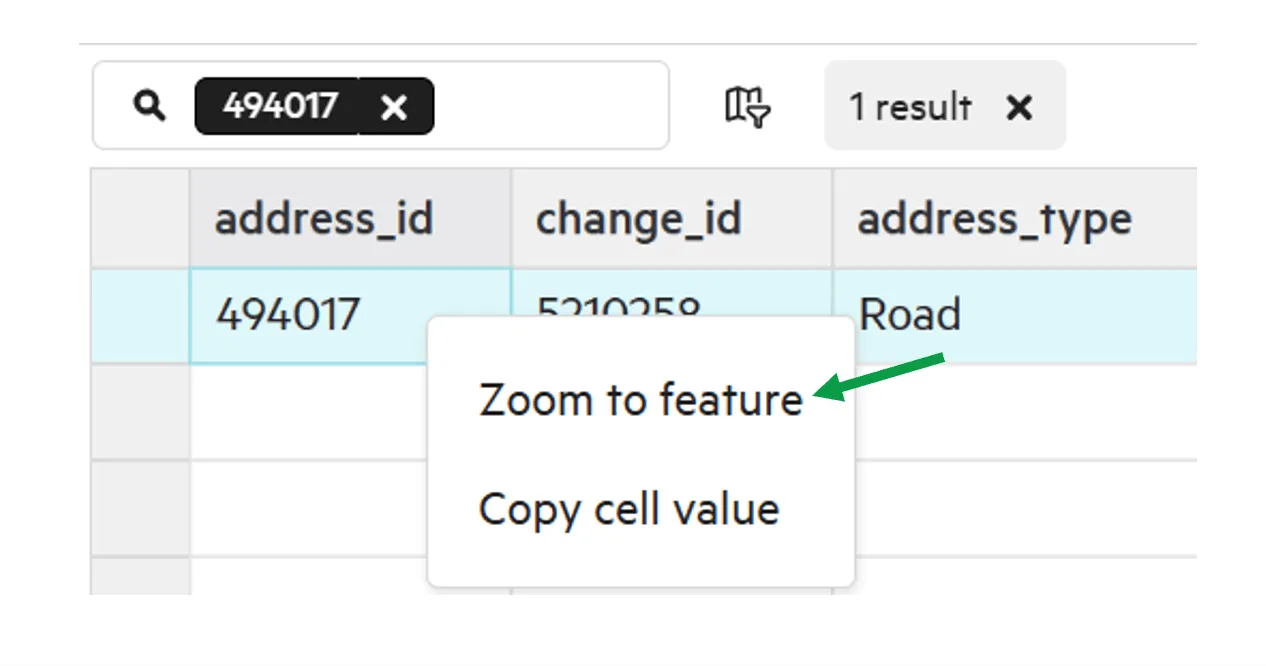
Selecting ‘Zoom to feature’, the Map Viewer will update to the feature.