The export page
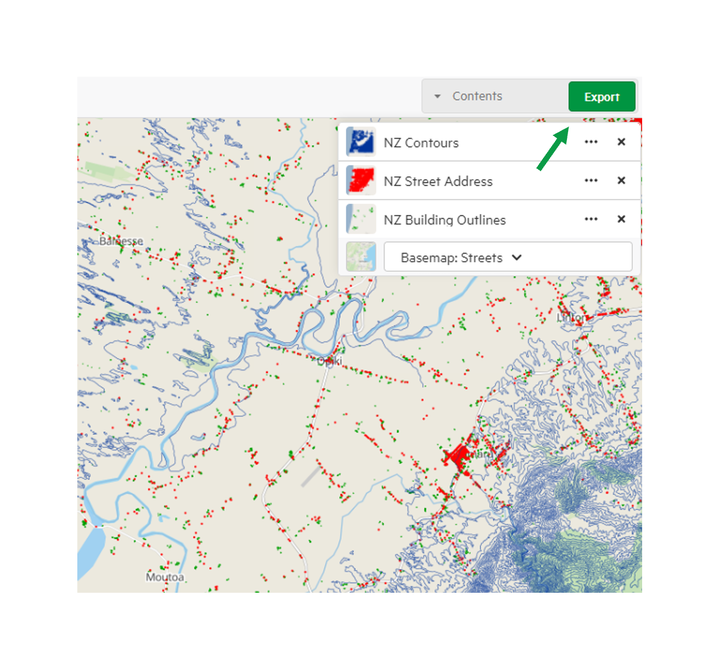
1. Select Export
After adding the data you wish to export, select Export to be taken to the Export window.
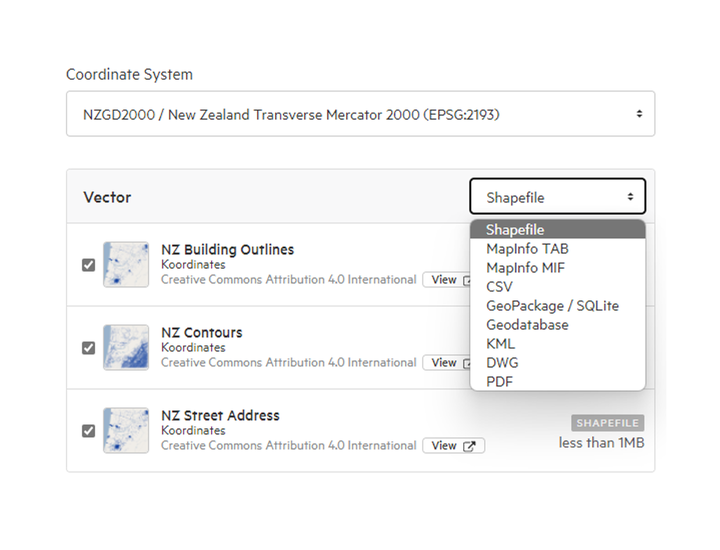
2. Select file format
Choose between GIS, CAD, Google Earth, CSV or PDF file formats. See the full list of supported export formats here.
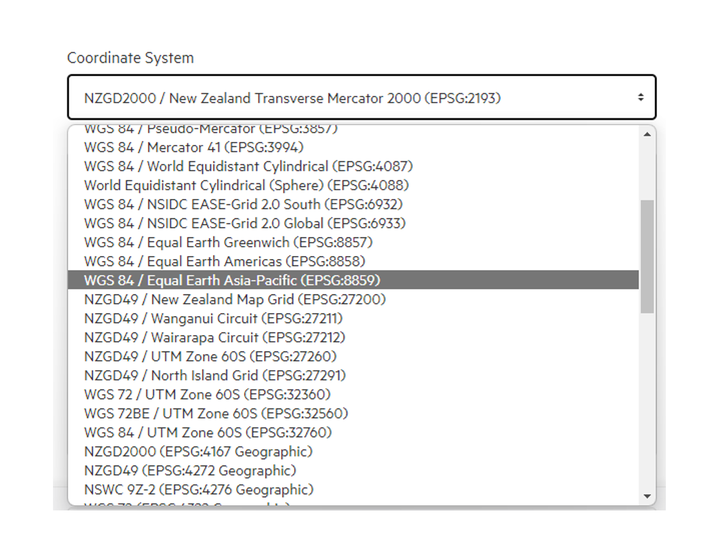
3. Choose map projection
Depending on which format you have chosen, you may be given the option to choose between various forms of map projection.
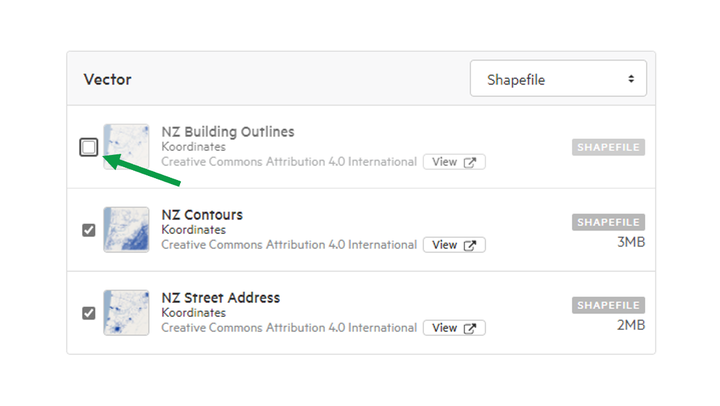
4. Remove data
You can then make a final decision on which data layers or table in your Contents you wish to export. Uncheck the box next to any datasets to remove them from your final export.
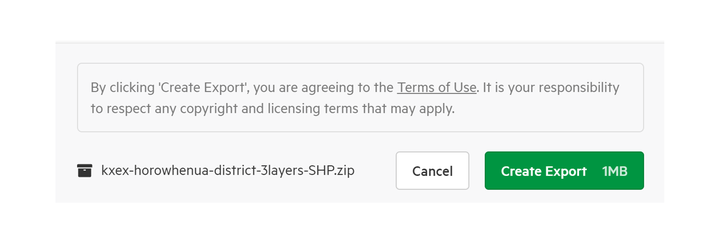
5. Accept terms and create export
Select Export to download your data. Or, select Cancel to cancel the export and return to the map.
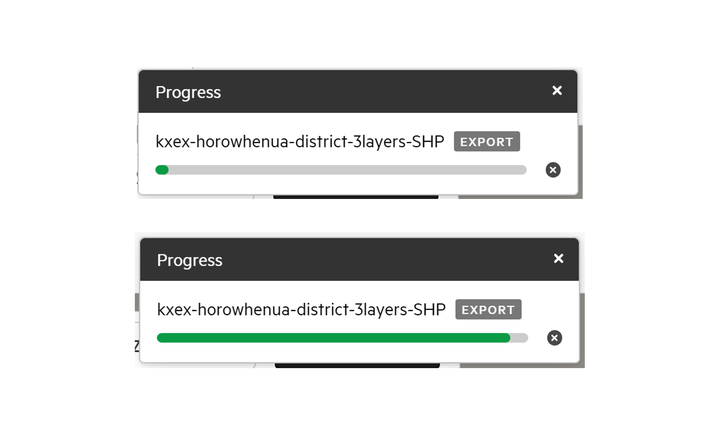
6. Export
You can track the progress of the export.
For larger exports, this can take several minutes.
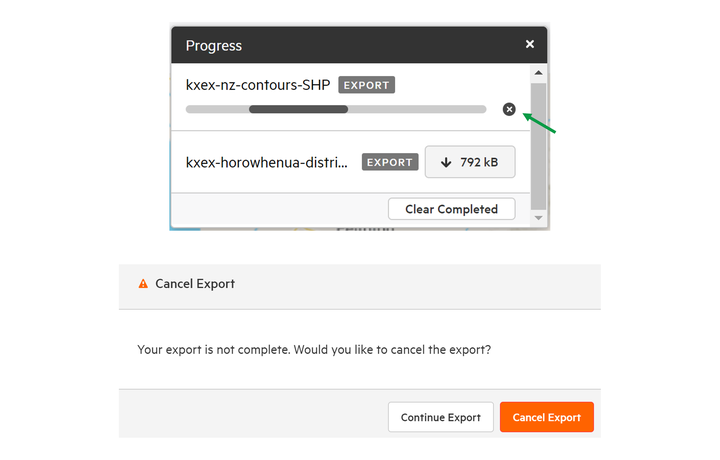
NOTE: If you no longer need to export the data, cancelling the export will open up an alert to confirm.
Once the export processing is complete, the final file size is displayed.
You have the option to download the export as a .zip file. You can then clear the completed download.
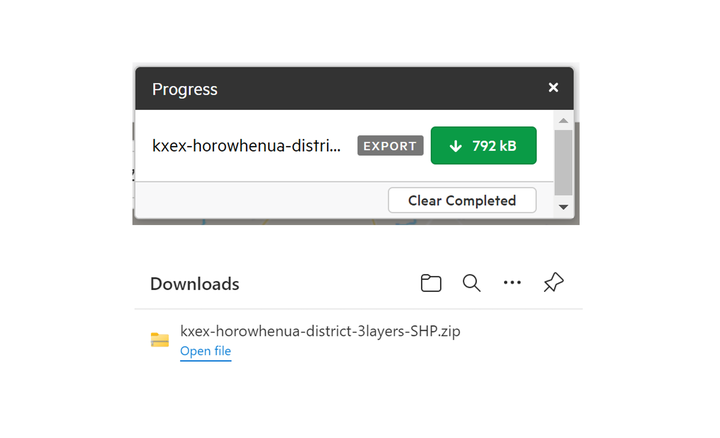
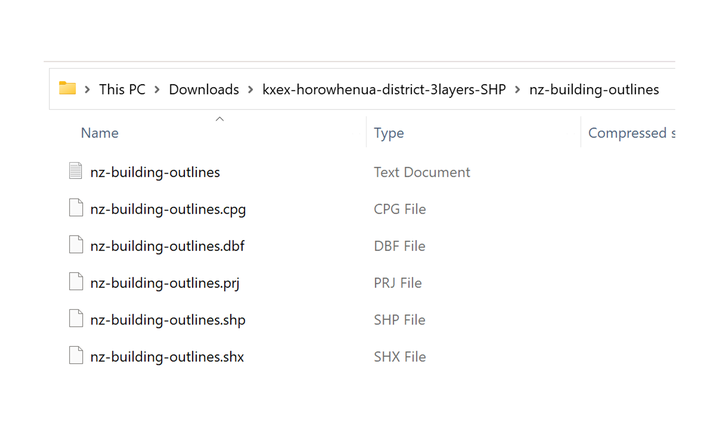
The exported zip folder will contain various file types depending on the data exported, Shapefile (SHP) is the most common file type that will be used.
Troubleshooting
If there is an error with the export processing it will automatically stop the request.
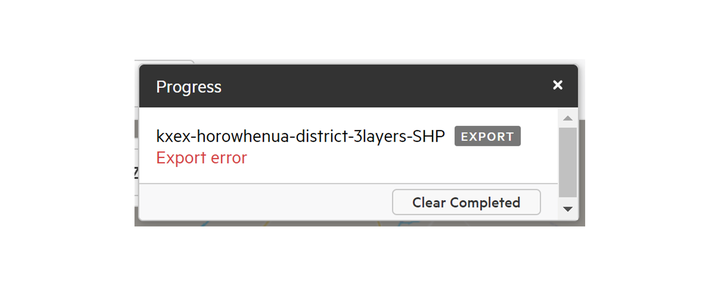
An export error will automatically trigger a support ticket to be raised with Koordinates.
For more information on support tickets, refer to Manage your Koordinates Support Tickets.
