Crop data layers by box
When you have one or more downloadable layers in your map, you will be able to use the crop tool. This enables you to reduce the size of your added data layers, ensuring that you can download only the data you need.
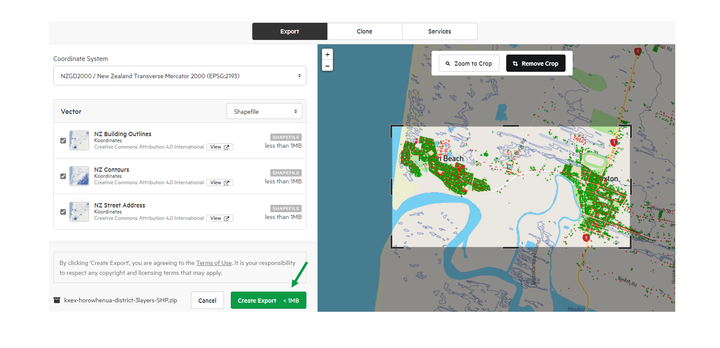
1. Add dataset layers to your map and prepare to export
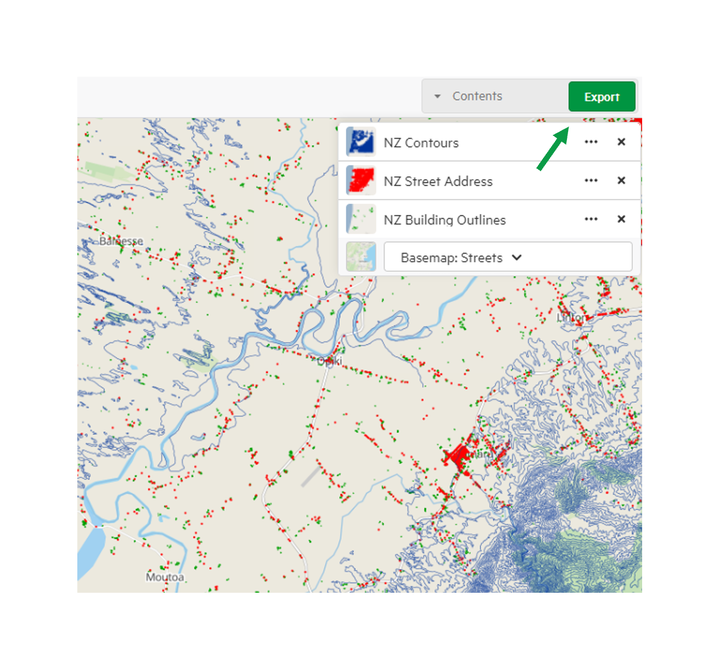
After adding your data to the map, select the Export button, on the right hand side of the map. In this area, you can also choose which layers you would like in your export file using the check boxes next to their titles.
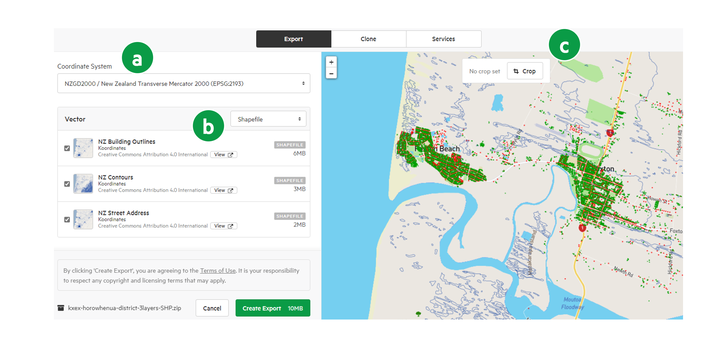
This will take you to the export preparation window. From here you can:
a) set the coordinate system to use when exporting
b) select which layers to include, and set the export file type
c) crop the amount of the layers to export.
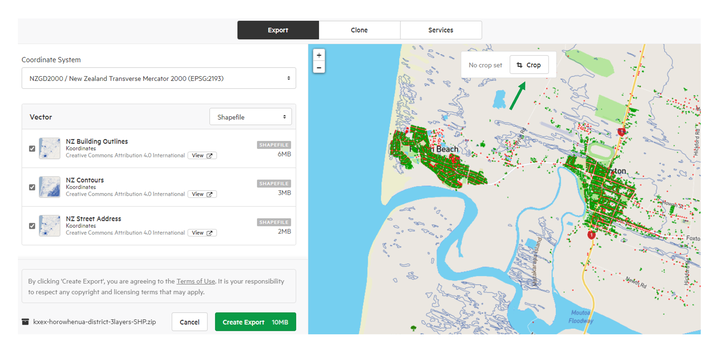
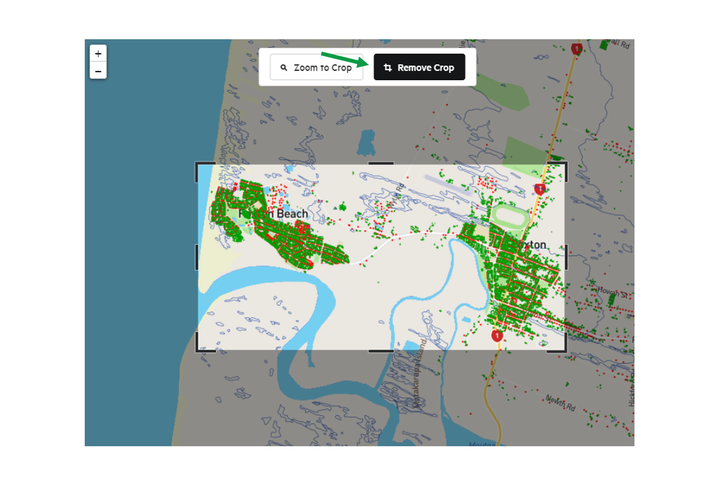
2. Select the area you want to crop
Adjust the map to set your download area. You can use the '+' and '-' buttons, or the scroll wheel on your mouse to zoom into your preferred area. This will crop the data in your collection to the extent contained within your selected area. You can also confirm your selected dataset layers from this window.
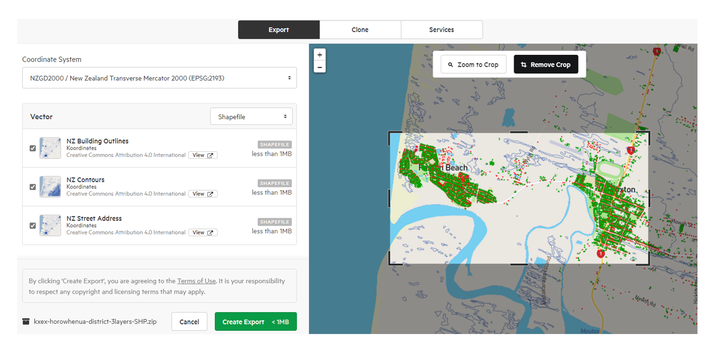
3. Change your crop
To change the box crop, select Remove Crop to restart the process.
4. Check size of cropped data
After cropping your data, your collection will update to show the new export size estimate - next to the Create Export button at the bottom of the pop-up window.
5. Export your cropped data
Select Create Export to begin the export process. You will be able to select your preferred export format in the steps following.
Additional points
Vector lines and polygons are clipped to the requested extent, which means that all enclosed features are returned.
Raster crops are converted to the projection of the export and expanded to the new bounding rectangular envelope. In other words: your exported data will be rectangular in the projection requested and will contain at least the data requested.