Using the Tile Table
The tile table provides detailed information about specific tiles within a dataset.
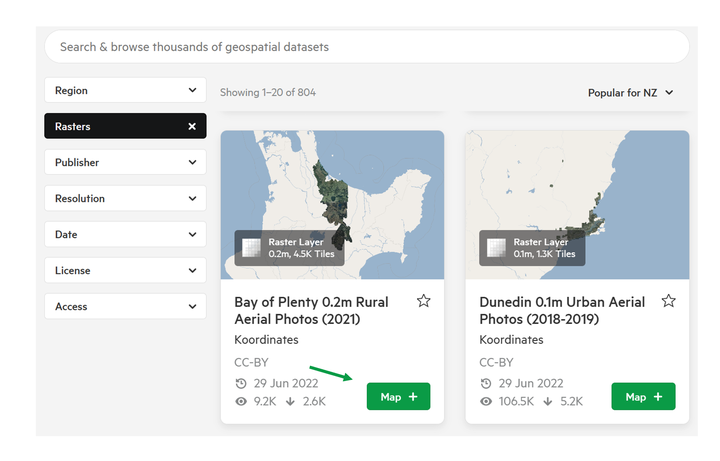
1. Search, filter and Add the relevant dataset to the map.
Tiles layers will traditionally exist as a Raster file type.
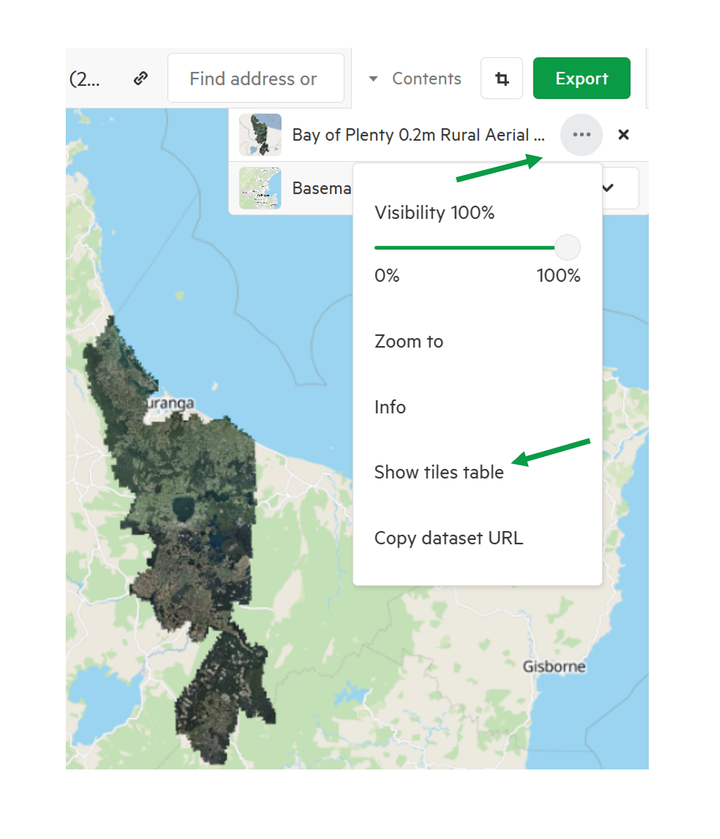
2. From the map layer section, open the menu and select ‘Show tiles table’.
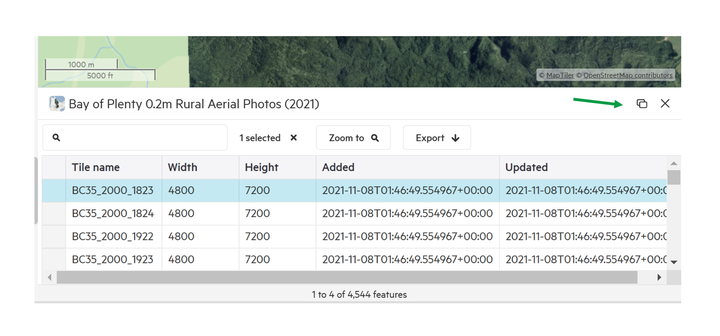
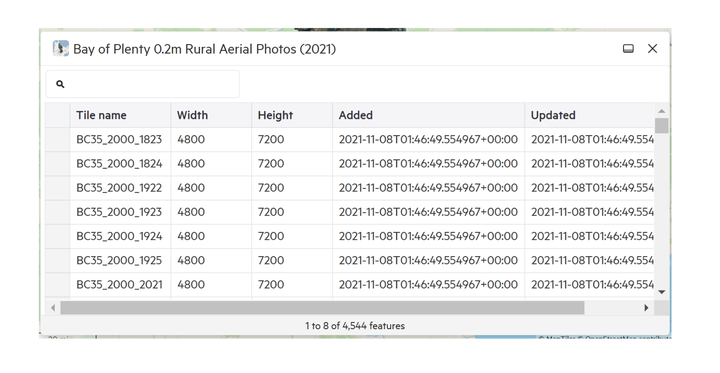
This will open the Tiles Table
3. From the Tiles Table, you can navigate across all the tiles within the dataset, finding information about each layer, including:
- Title Name
- Width
- Height
- Date Added
- Date Updated
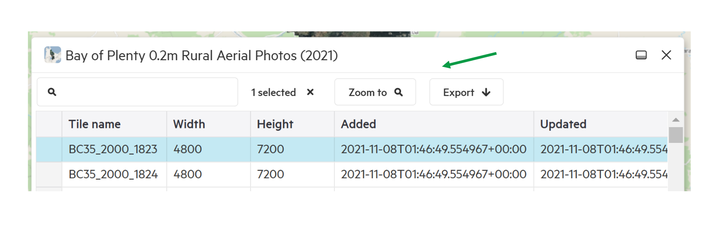
Selecting a tile, two options will appear:
- Zoom to: This will update the map view to the tile selected
- Export: This will open the Export menu to allow you to export that specific tile.
To find out more about Exporting, refer to this help guide.
Tile Table Options
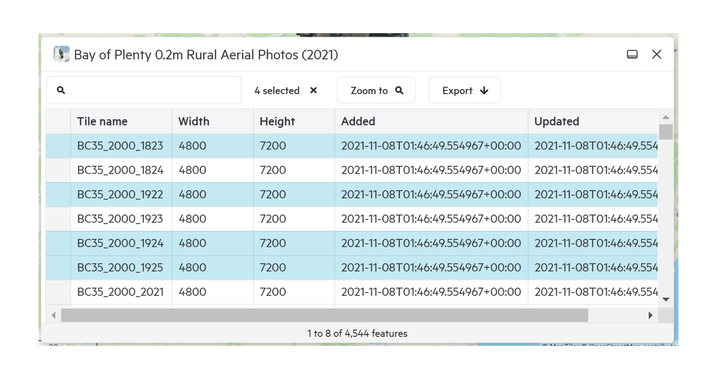
Select multiple tiles
To select multiple tiles, hold down Cntl and select each relevant tile.
Embed or pop out the table
To embed the Tile Table, select the embed button.
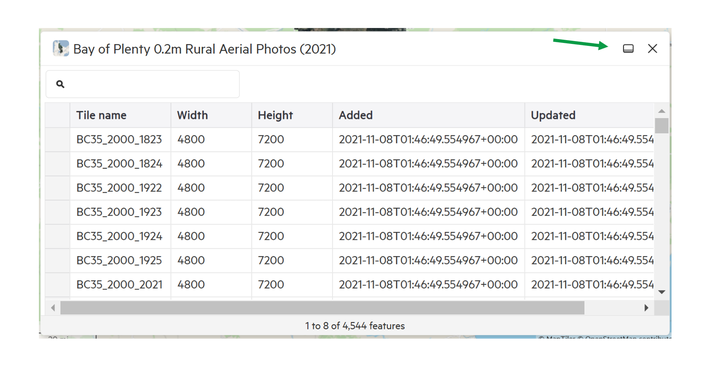
To pop out the table, select pop out.