Restricted Access Groups
Restricted Access Groups allow publishers to restrict data to those nominated to join the group.
They can be set up to allow for users to request access, or to segment what
actions users can take on the included data.
Create a Restricted Access Group
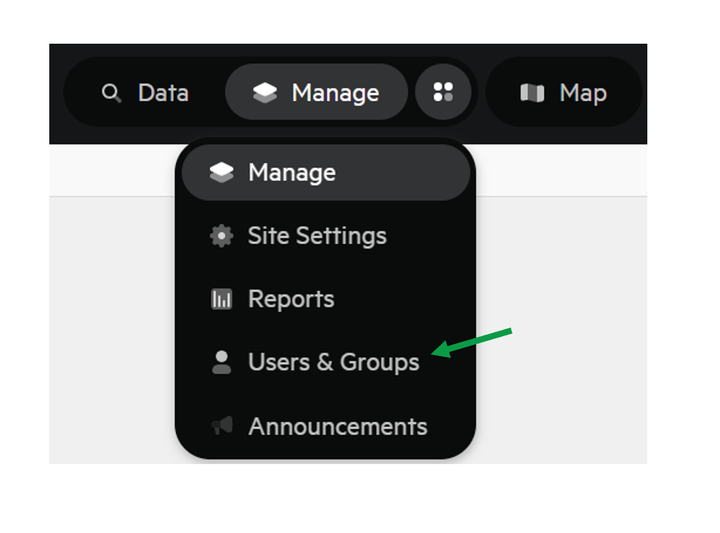
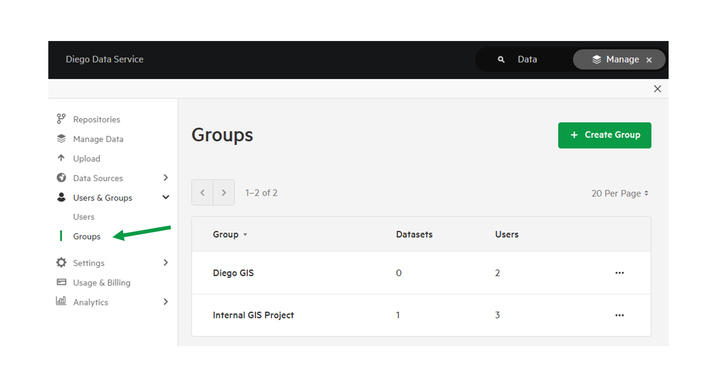
1. From the Top Navigation menu, select Users & Group
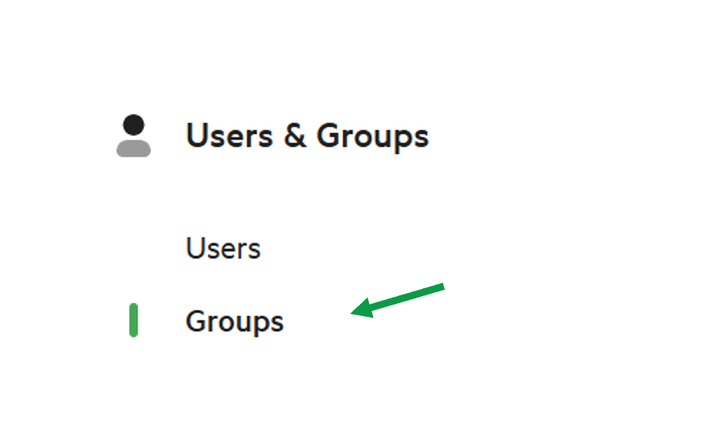
2. Select Groups
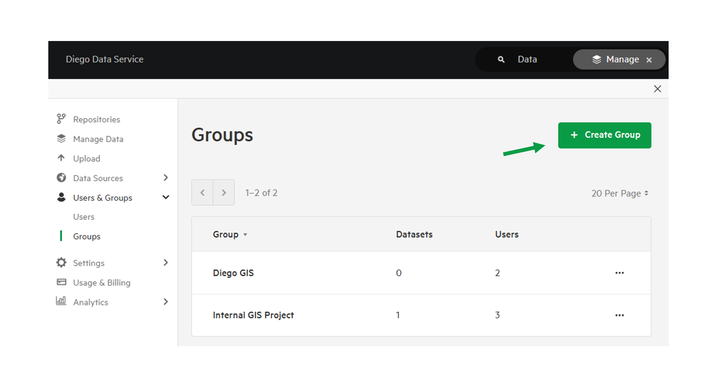
3. You can update an existing group, or Create Group
Note: in this example, a new group is being created.
Details to consider if creating a Restricted Access Group
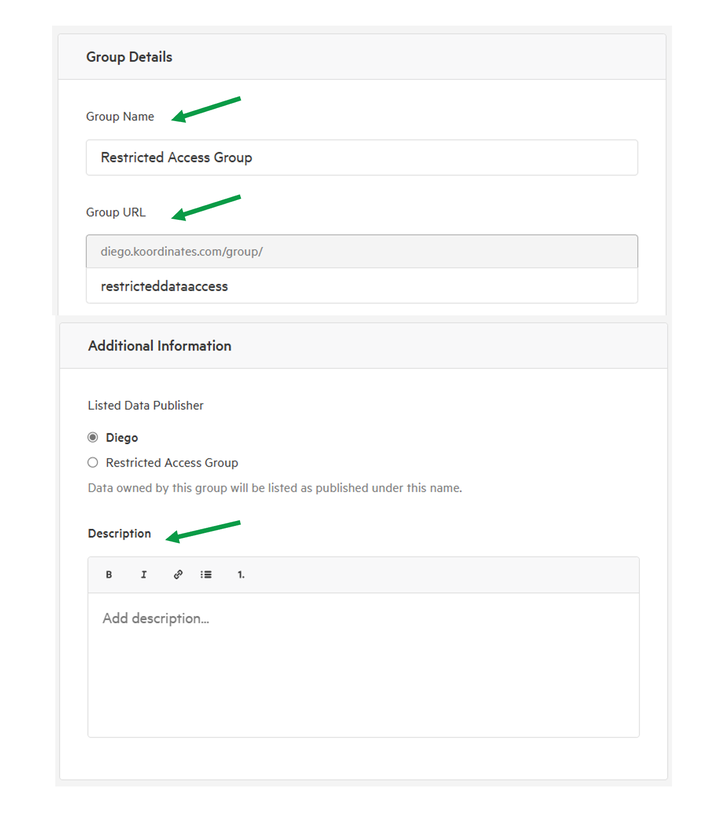
Group Name – this will be visible to any user you add to the group, if creating multiple access groups, make this name as descriptive as possible.
Group URL – by default, the Group Name will be used, however you can alter the path as required, this will affect the request access URL that can be used by users.
Description – this will be shown to a user if they are utilising the Request Access URL.
4. Enable Access Requests
If you want users to be able to request access to this group, toggle this to be active.
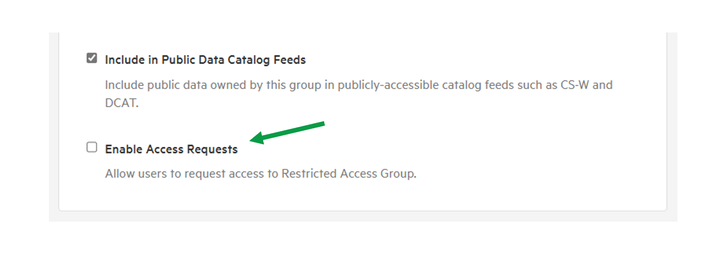
Users will then be able to request access through data sheets, or through the Group Request URL.
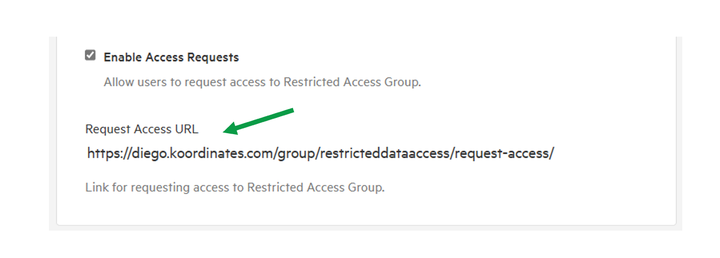
Now that the group has been created, you’ll need to add data.
Manage Data within a Restricted Access Group
Data can be added to a Restricted Access Group, with different access types specifically for each dataset.
Can Find – the data can be found in the data browser, the data sheet can be read, but it cannot be added to the Map Viewer by the user.
Can View – the data can be added to the Map Viewer, and the user can query the data.
Can Download – the data can be downloaded.
Can Administer – the data can be managed and altered by user.
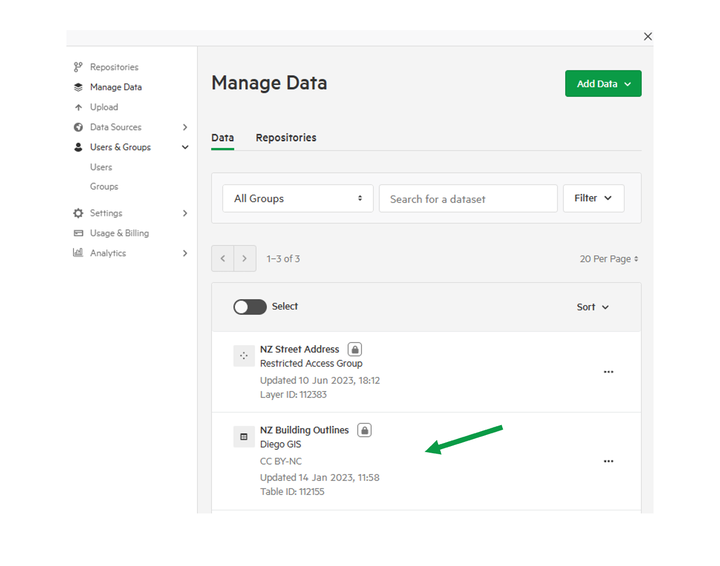
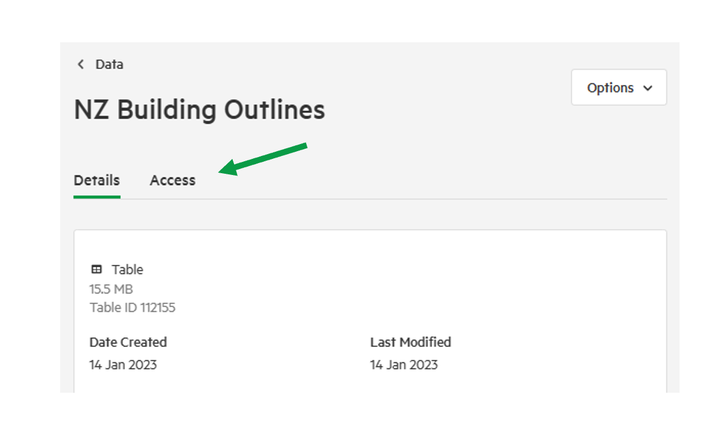
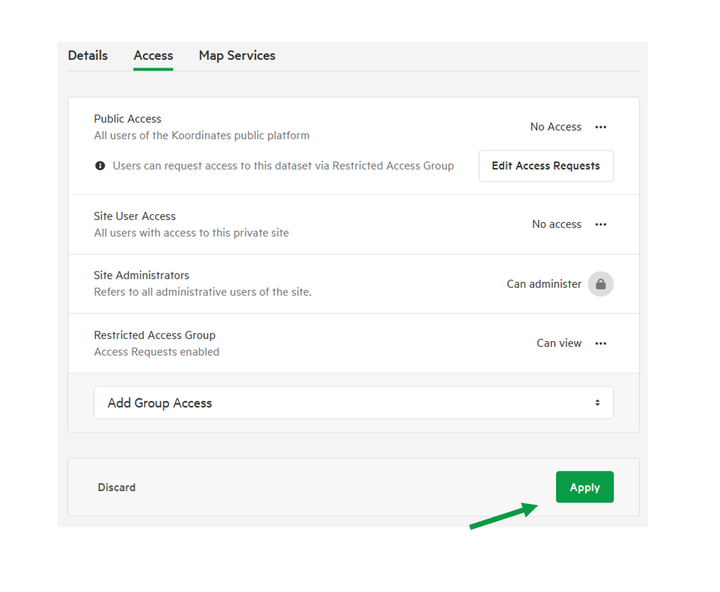
1. From Manage Data, select a dataset.
2. Select the Access tab
3. Select Add Group Access
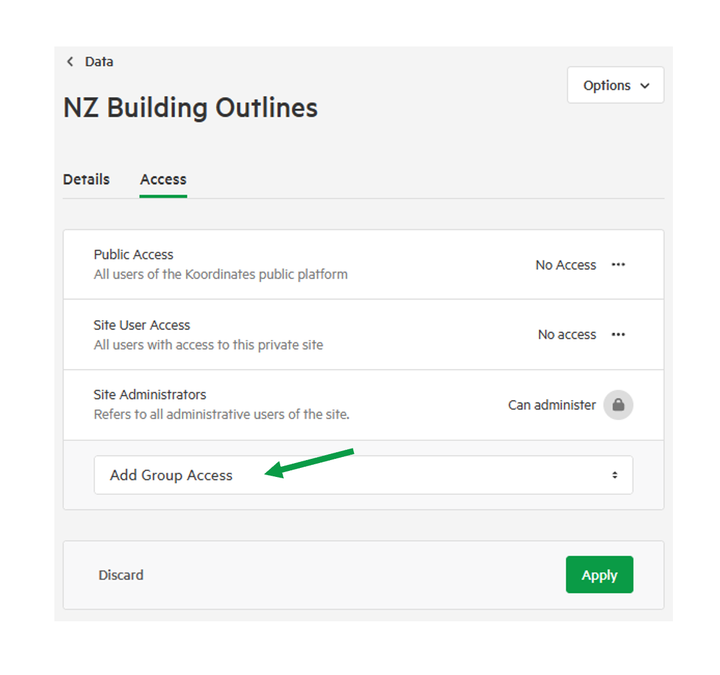
4. Select the newly created Restricted Access Group

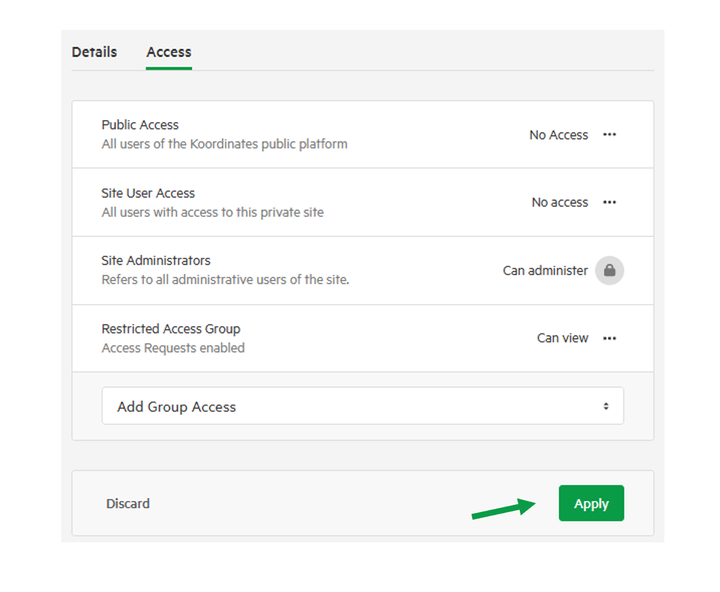
5. Set the access type for the group for this data.
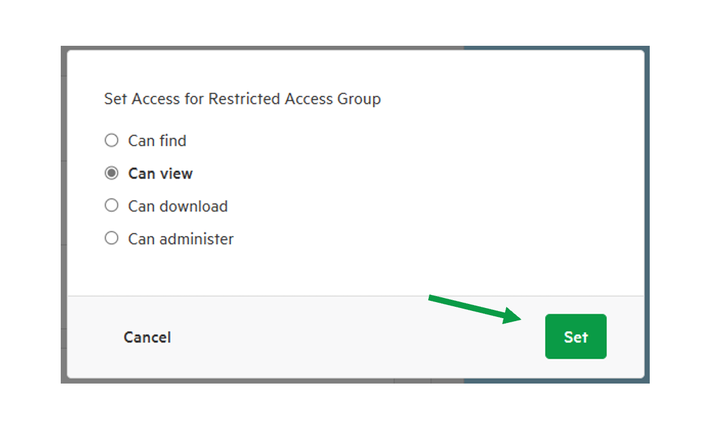
6. Select Apply
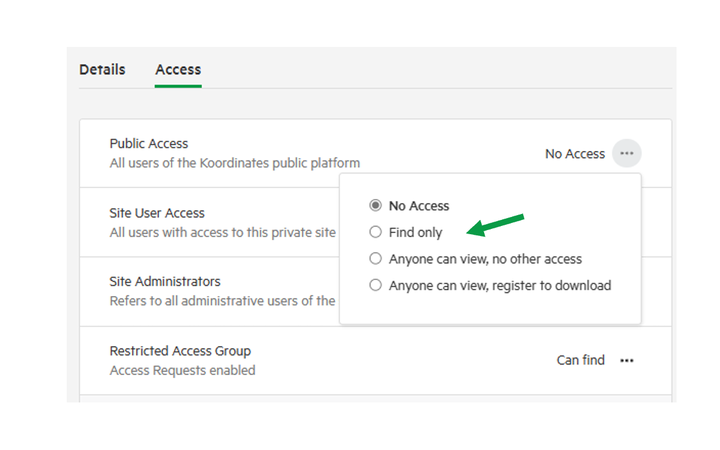
Public access requests
You have the option to allow public users to find and request access to this data.
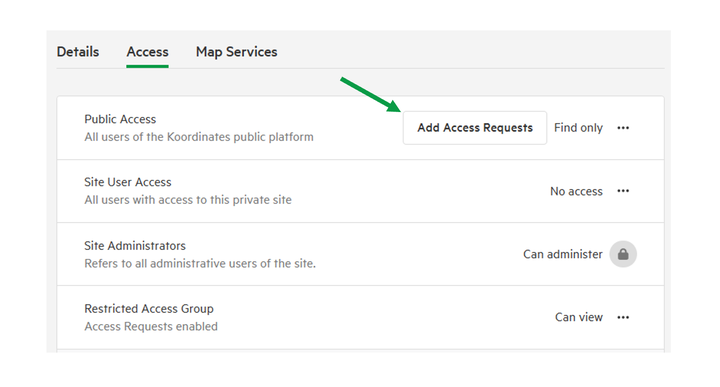
7. open the Public Access options, and select Find Only
8. Select Add Access Request
9. Select Request access via nominated group
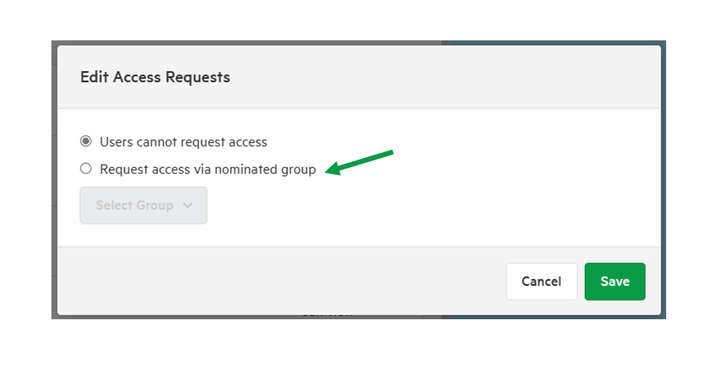
Then select the Restricted Access Group
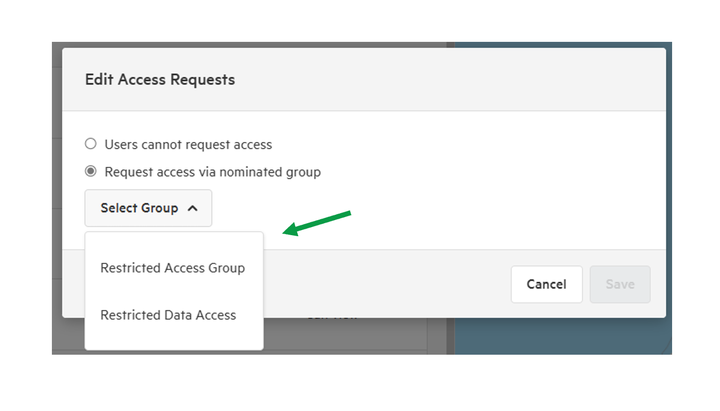
Select Save.
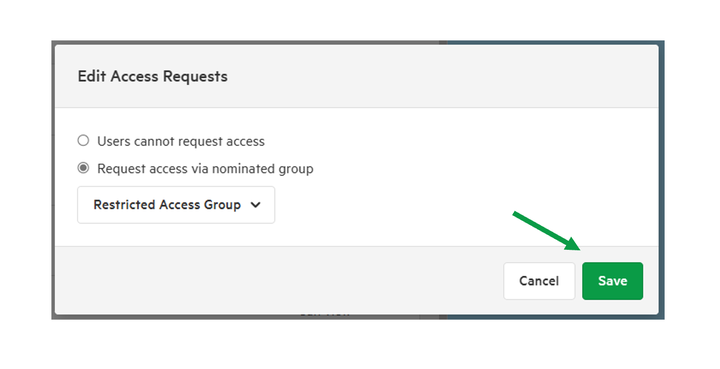
10. Select Apply
Adding users to a Restricted Access Group
There are two ways for users to be added to a Restricted Access Group.
- nominated by group administrators and added by email, or
- through the user raising a request that the group administrator can approve or decline
Add user by email
1. From Manage Data, select Users and Groups and then Group
2. Open the Restricted Access Group, and select Add user
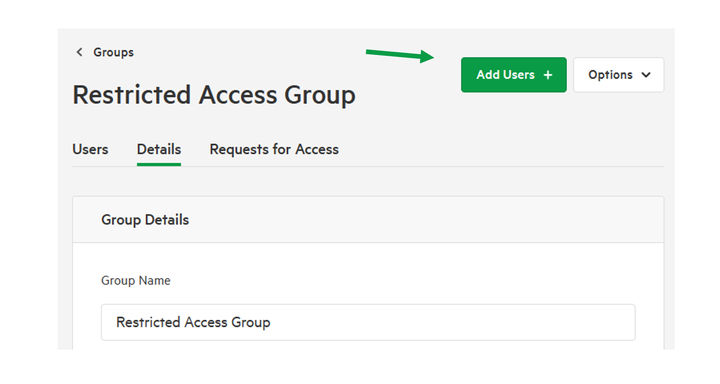
3. Input a user's email
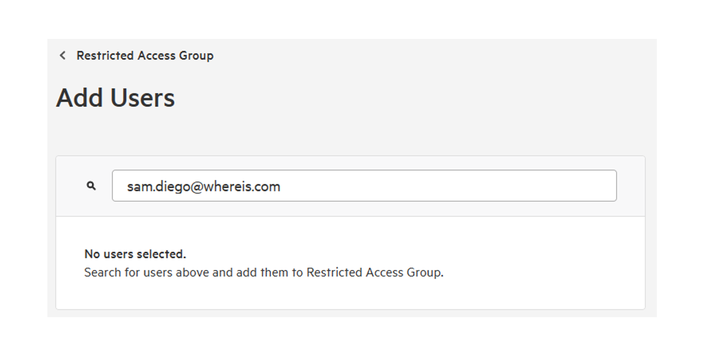
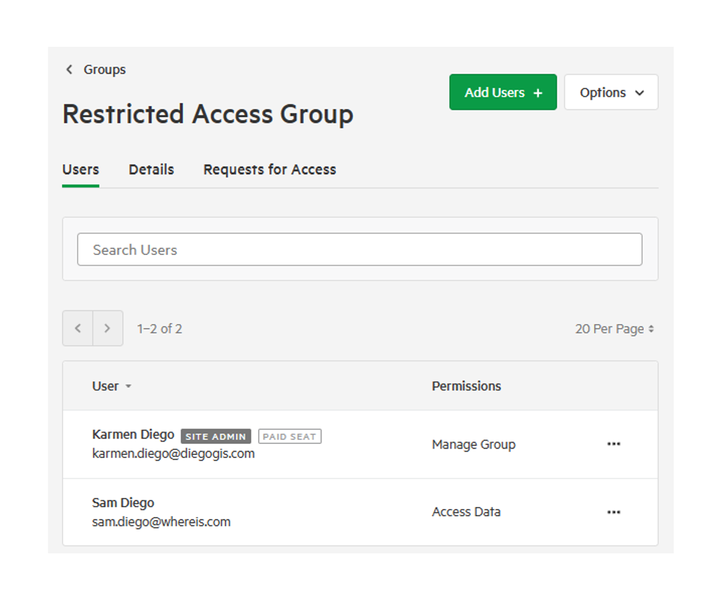
Provided they are already a user of your portal, then they will be added to the group.
The user will receive an email advising them they have been added to the group.
User submitted request
When a user submits a request (either from a Request Access URL or directly from a datasheet, group administrators will receive an email notifying them.
This will only be applicable if Public Access Find Only access is enabled.
1. From Manage Data, select User and Groups, then Groups
2. Open the Restricted Access Group.
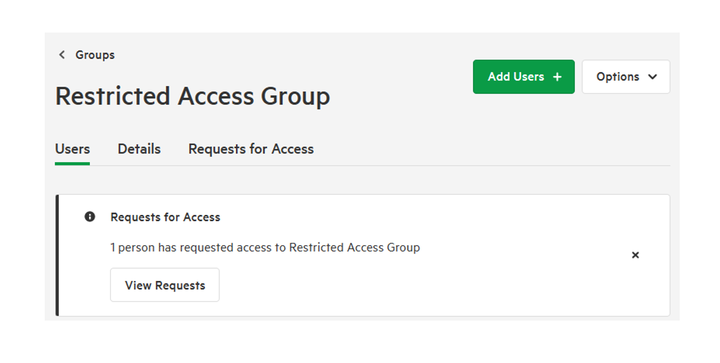
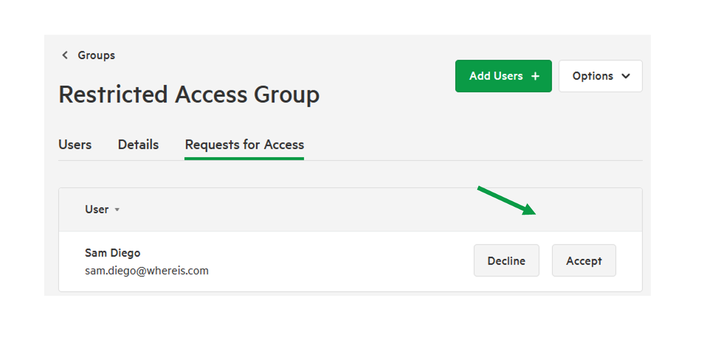
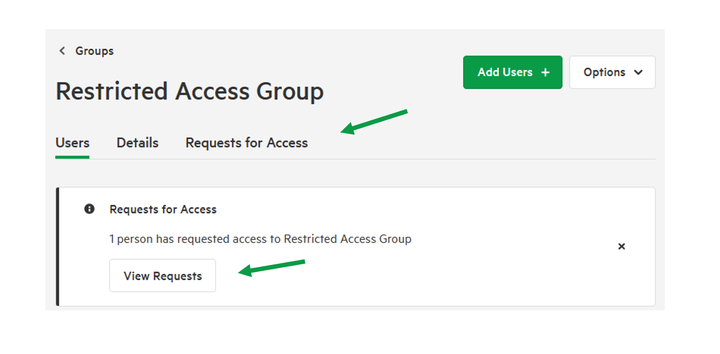
3. Select ‘Requests for Access’ tab, or View Requests from the alert banner.
4. Review and choose to Approve or Decline any pending requests
Approve – the user will be granted access to all data that is associated with this Restricted Access Group.
Decline – the user won’t be notified, however they will be able to request access again.