Add XML metadata to your data
You can add XML metadata to a dataset in three ways:
- from a metadata file in one of your connected data sources
- from a URL
- by uploading an XML file from your computer.
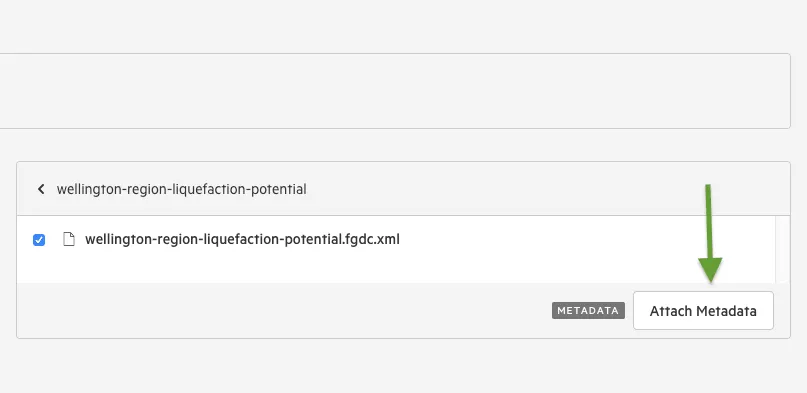
You can also start from the metadata file in your data source and attach it to a dataset. See Attach metadata from the source browser, below.
To learn more about the metadata schemas Koordinates supports, see Understanding metadata.
Add metadata from the dataset
Section titled “Add metadata from the dataset”1. Select ‘Manage’ from the top menu
Section titled “1. Select ‘Manage’ from the top menu”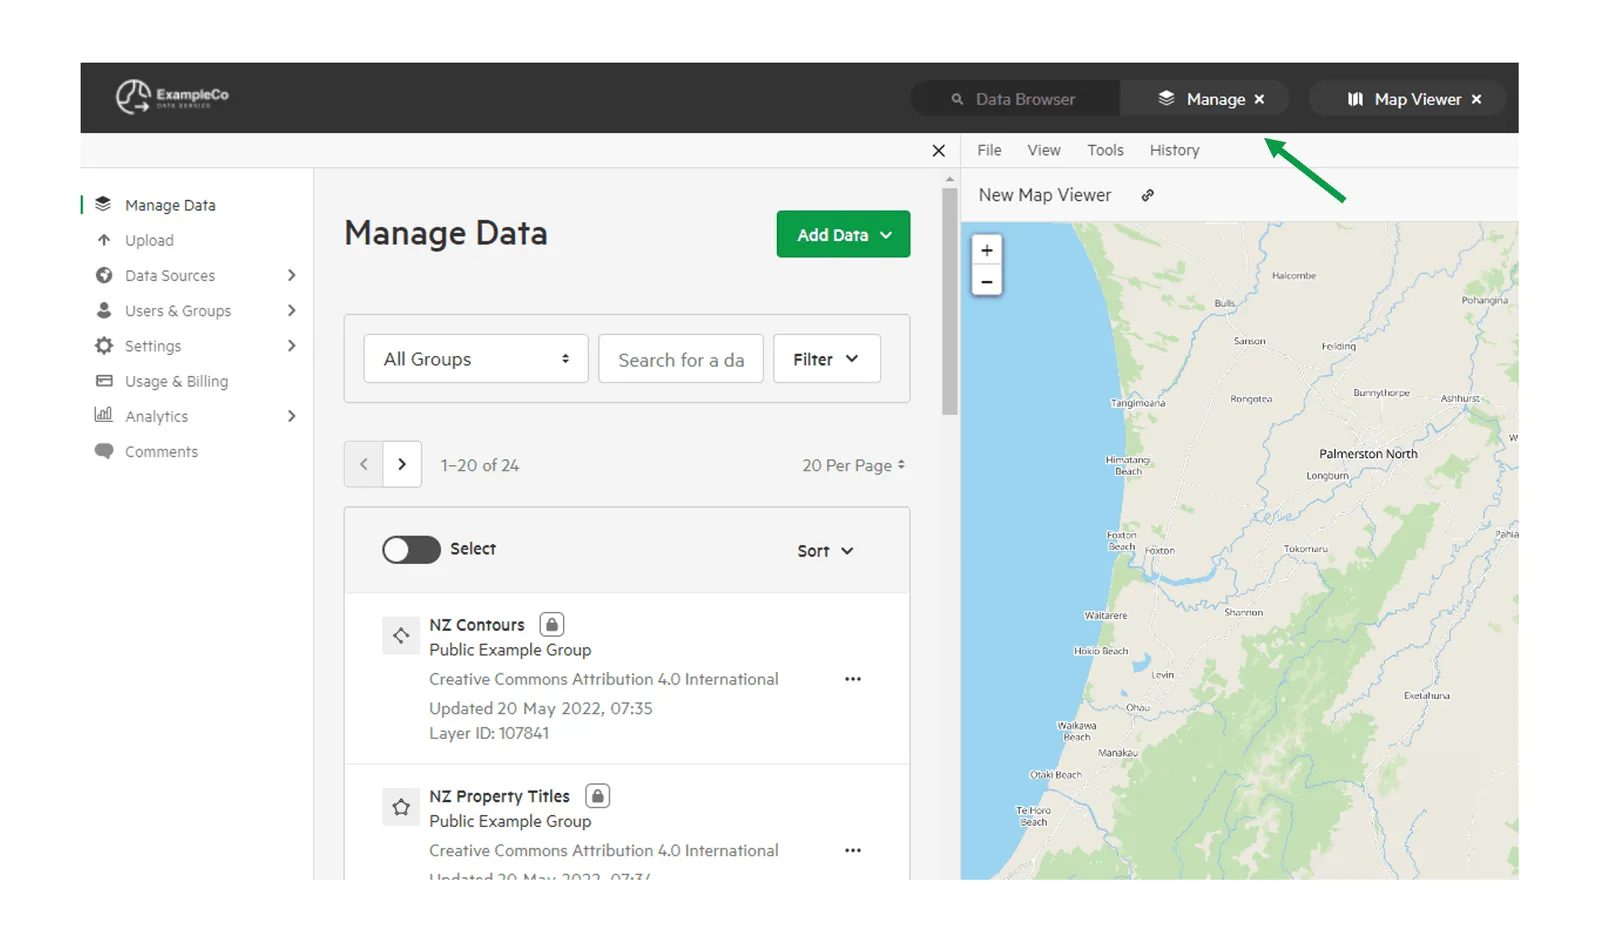
2. Find and open the dataset
Section titled “2. Find and open the dataset”Search for the dataset in the Datasets tab, then select it. The dataset opens on its Details tab.
3. Open the Metadata menu
Section titled “3. Open the Metadata menu”The Metadata section is on the right of the Details tab. Its menu is labelled No Current Metadata if the dataset doesn’t have metadata yet, or XML Metadata if it does.
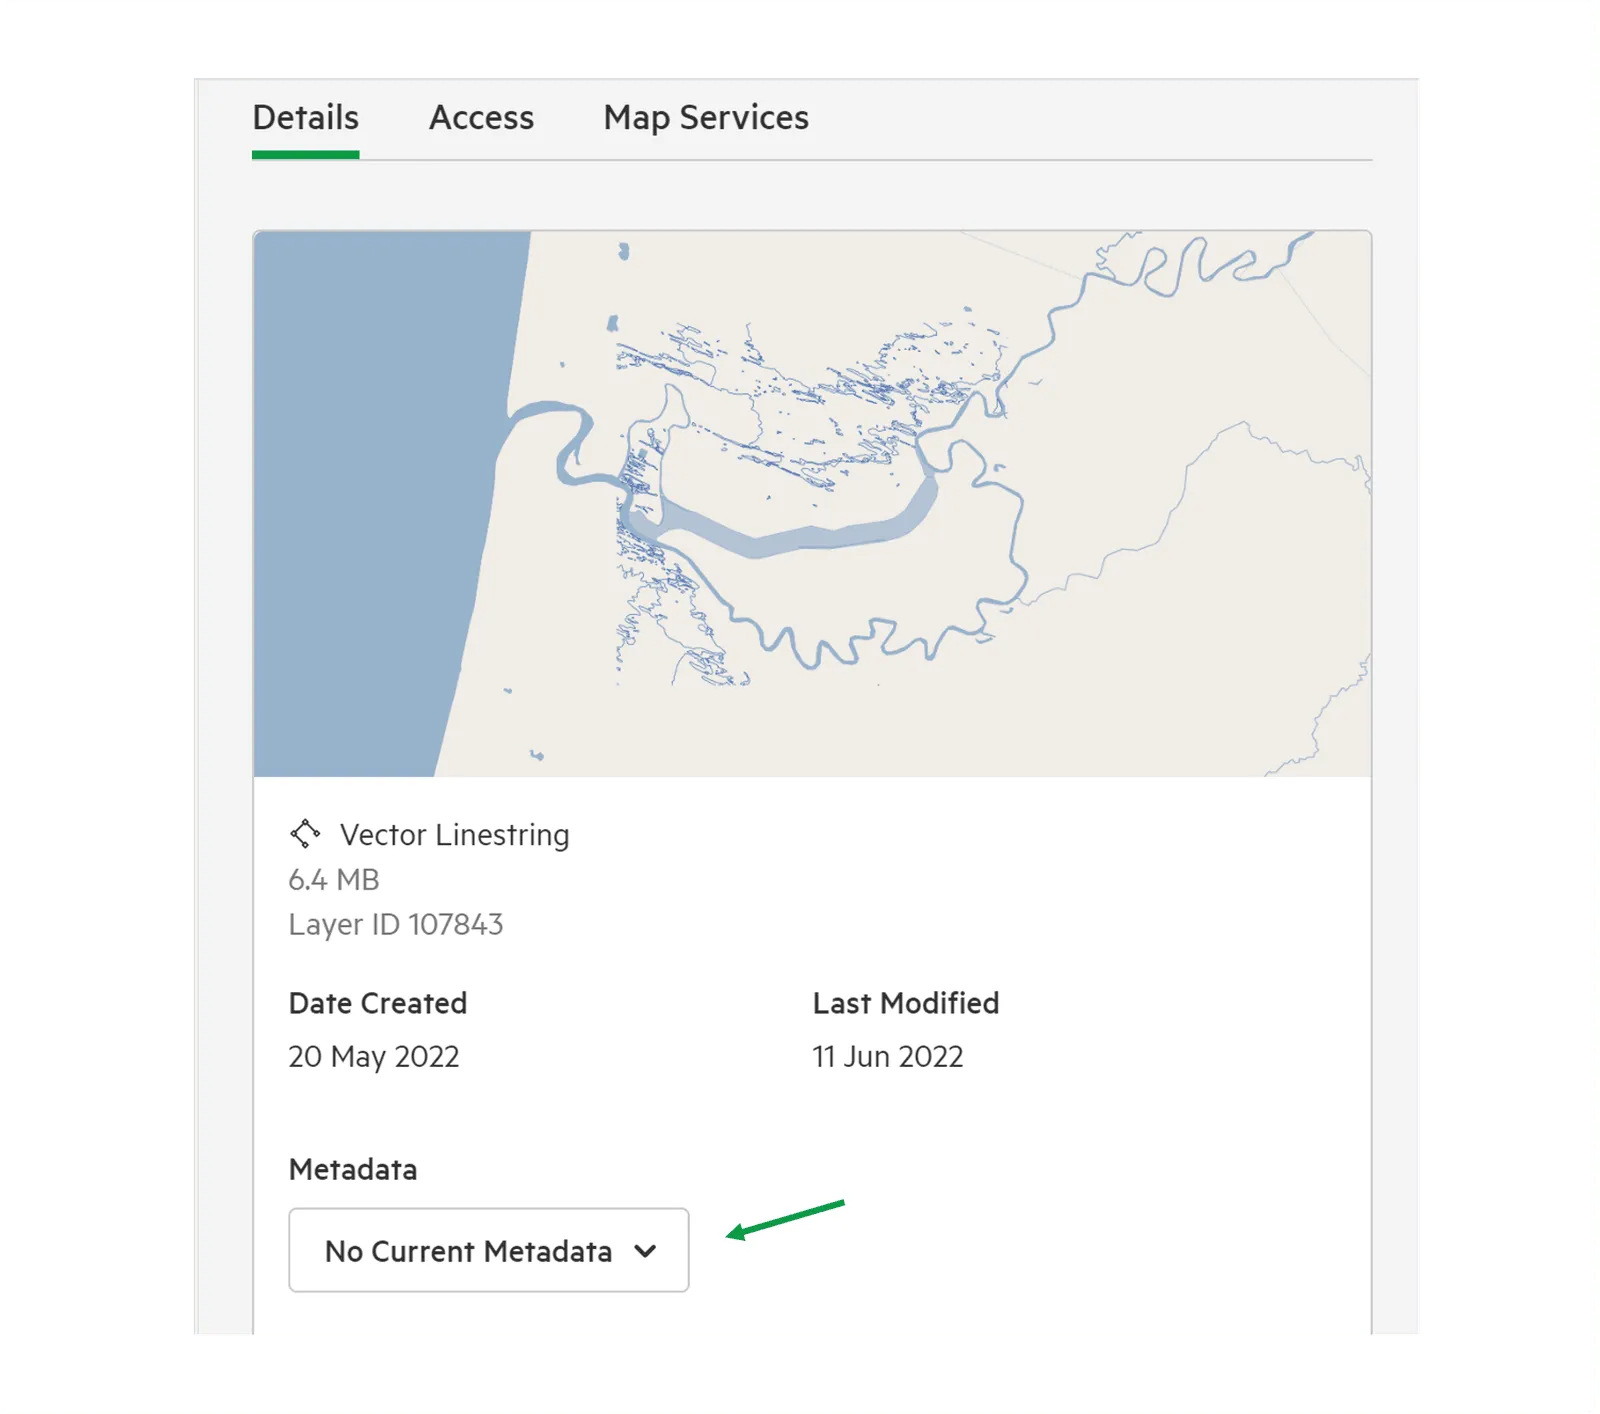
4. Choose where to add the metadata from
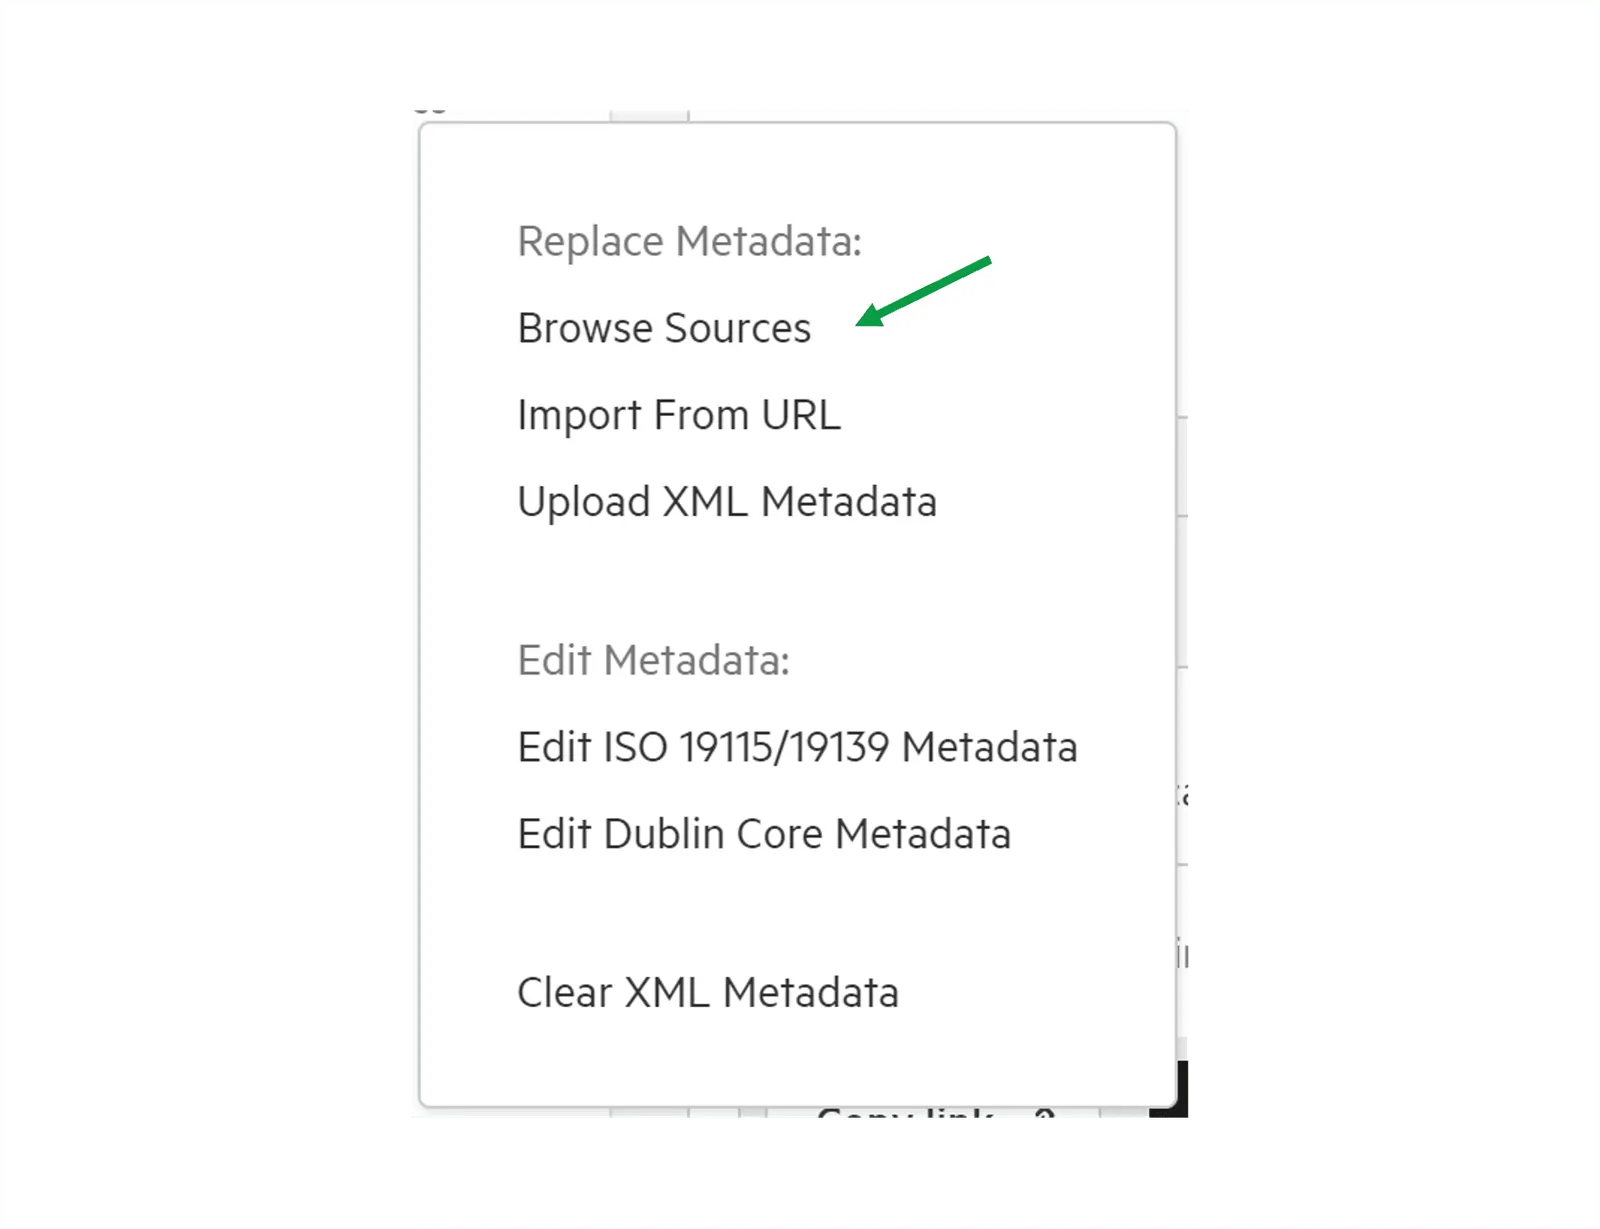
Section titled “4. Choose where to add the metadata from”- Browse Sources: browse your connected data sources, select the metadata file, then select Select.
- Import From URL: enter the URL of the XML file, then select Import.
- Upload XML Metadata: drag your XML file into the box, or click it to choose a file from your computer.
Koordinates scans the file to check that it contains the metadata it needs.
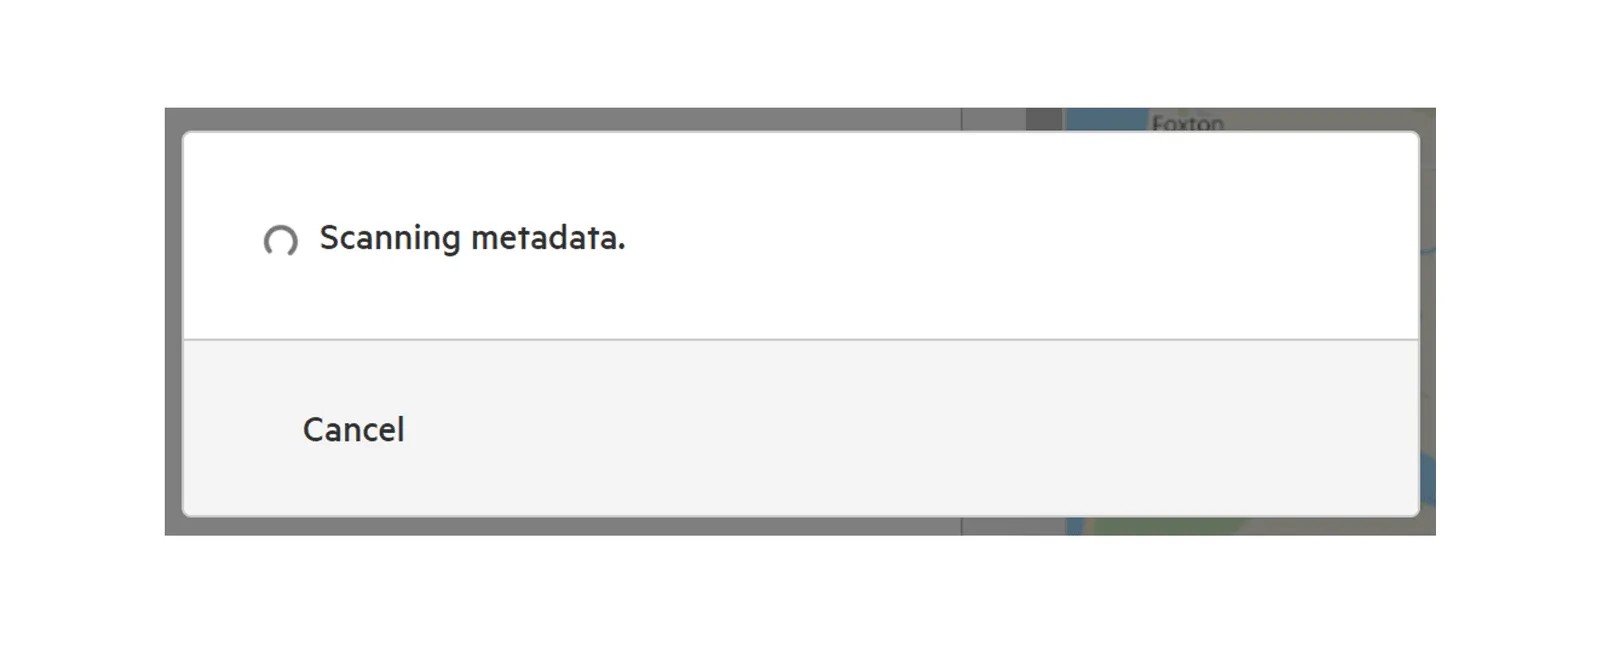
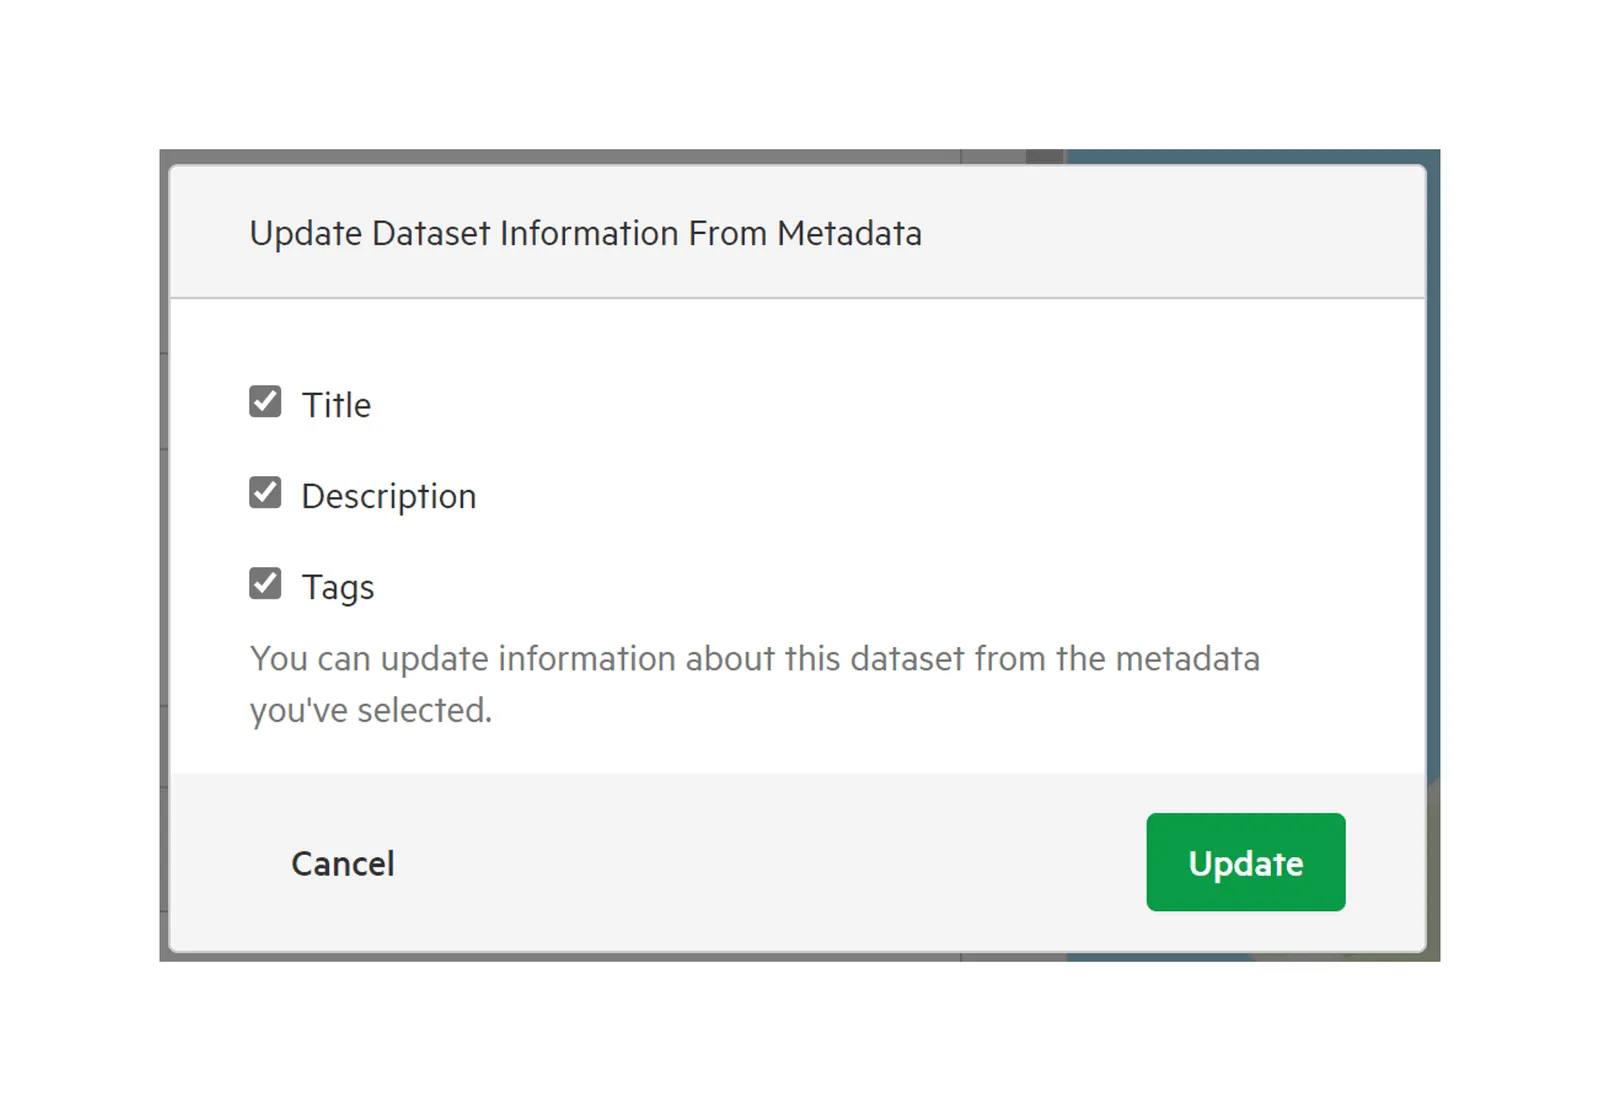
5. Choose what to update from the metadata
Section titled “5. Choose what to update from the metadata”In Update Dataset Information From Metadata, choose whether to replace the dataset’s Title, Description and Tags with the ones in your XML metadata, then select Update.
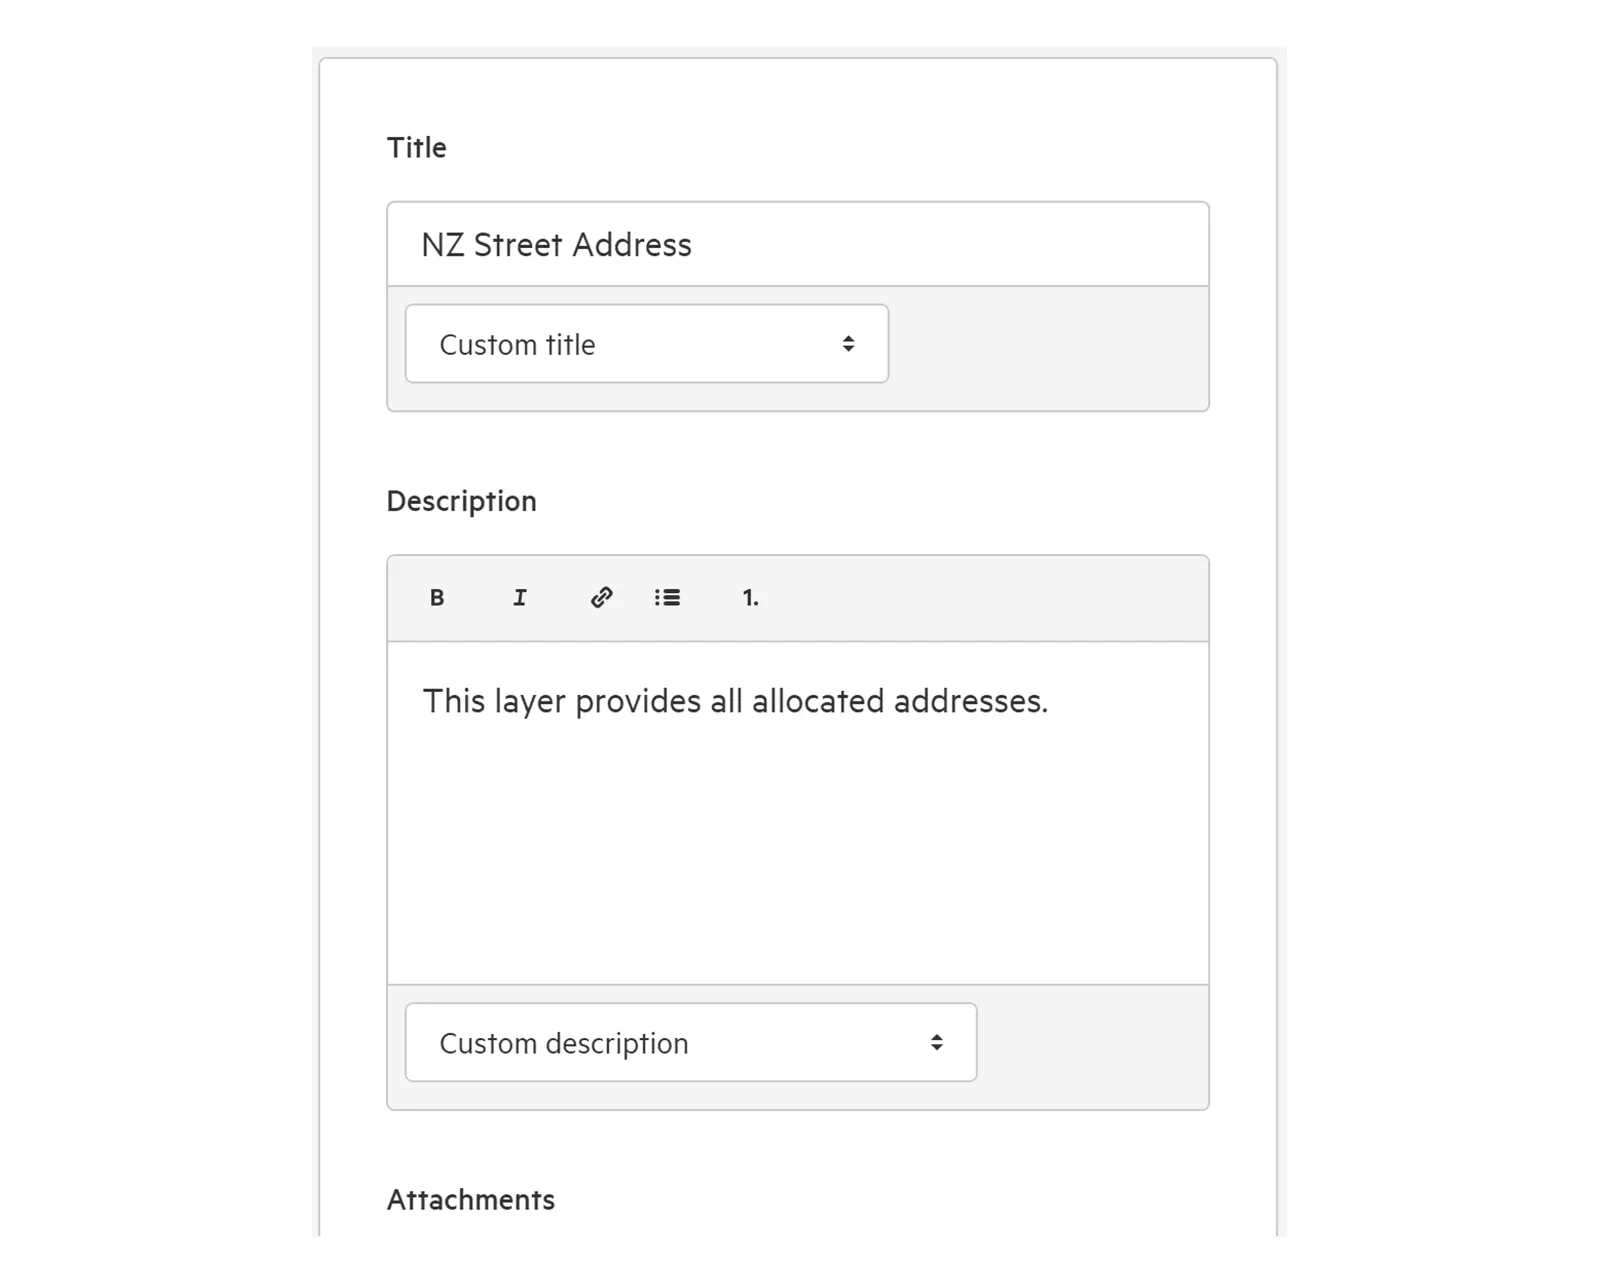
6. Optionally lock the title, description and tags to the metadata
Section titled “6. Optionally lock the title, description and tags to the metadata”Under each of the Title, Description and Tags fields, you can choose to keep a custom value, or lock the field to your XML metadata (for example, Title locked to XML Metadata). A locked field always uses the value from the metadata.
7. Select ‘Save Draft’ or ‘Publish’
Section titled “7. Select ‘Save Draft’ or ‘Publish’”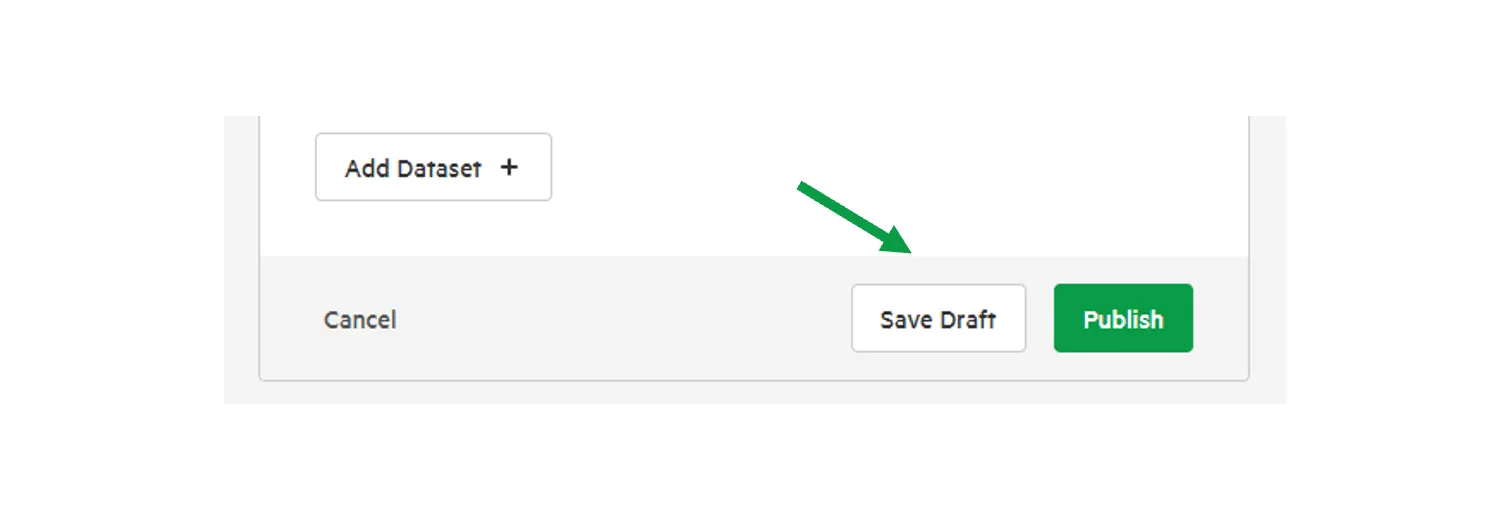
Replace, edit or clear metadata
Section titled “Replace, edit or clear metadata”Once a dataset has metadata, the XML Metadata menu also lets you:
- replace it, using Browse Sources, Import From URL or Upload XML Metadata
- edit it, using Edit ISO 19115/19139 Metadata or Edit Dublin Core Metadata
- remove it, using Clear XML Metadata.
Select Save Draft or Publish to save your changes.
Attach metadata from the source browser
Section titled “Attach metadata from the source browser”If your connected data source contains metadata files, you can attach one to a dataset from the source browser.
- Select Manage from the top menu, then select the Sources tab.
- Select Browse Sources.
- Find the metadata file in your source and select it.
- Select Attach Metadata.
- In Select destination for metadata, search for the dataset and select its title.
- Choose whether to update the dataset’s title, description and tags from the metadata.
- Select Save Draft or Publish.