Upload and publish data
Uploading and publishing data takes two stages: first you upload your files, then you import them as a dataset.
For the file formats you can upload, see File formats supported for importing data.
1. Select ‘Manage’ from the top menu
Section titled “1. Select ‘Manage’ from the top menu”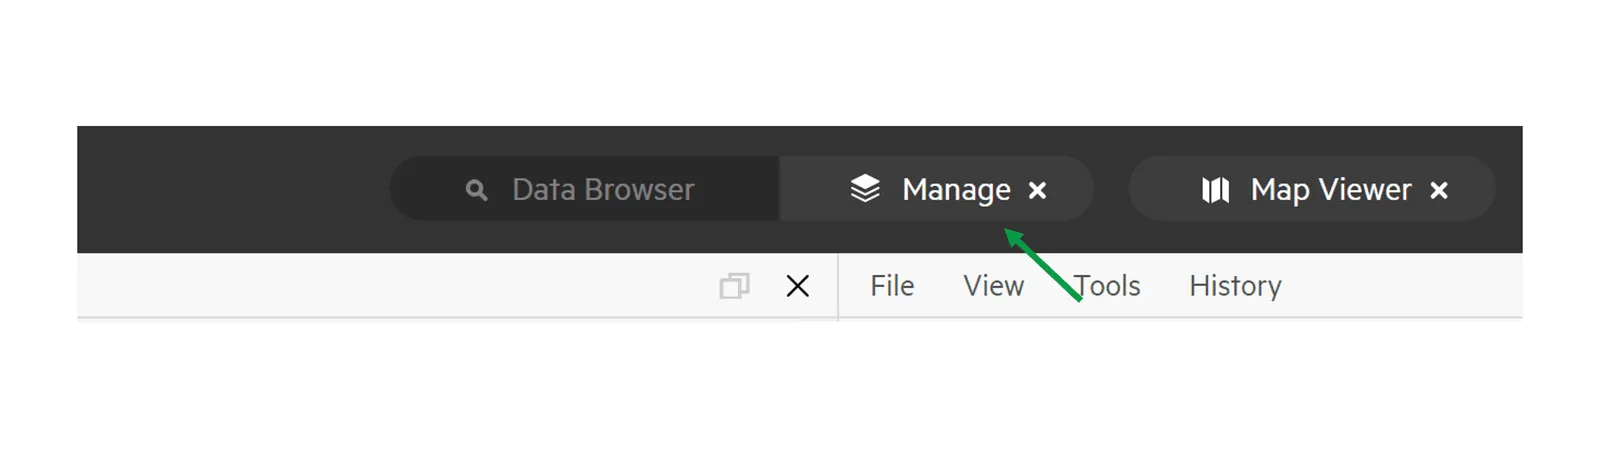
2. Upload your files
Section titled “2. Upload your files”- Select Upload.
- Drop your files into the Upload window, or select it to browse for them. You can select several files at once. Uploads expire after 30 days.
- Check the files listed under Upload data. To add more, select + Add another file. If you’re uploading a shapefile, the files it needs are marked Required or Recommended.
- On a site, choose the group that will own the data. This group can be used to manage who can access it. On koordinates.com, your upload goes to your own account.
- Select Start upload.
When the upload has finished and been scanned, you’re taken to the Uploads tab with your upload selected.
3. Select your data and start the import
Section titled “3. Select your data and start the import”In the Uploads tab, select the files you want to import, then select Import as one dataset. To use them to update a dataset you’ve already imported, select Update existing dataset instead.
4. Update the dataset details
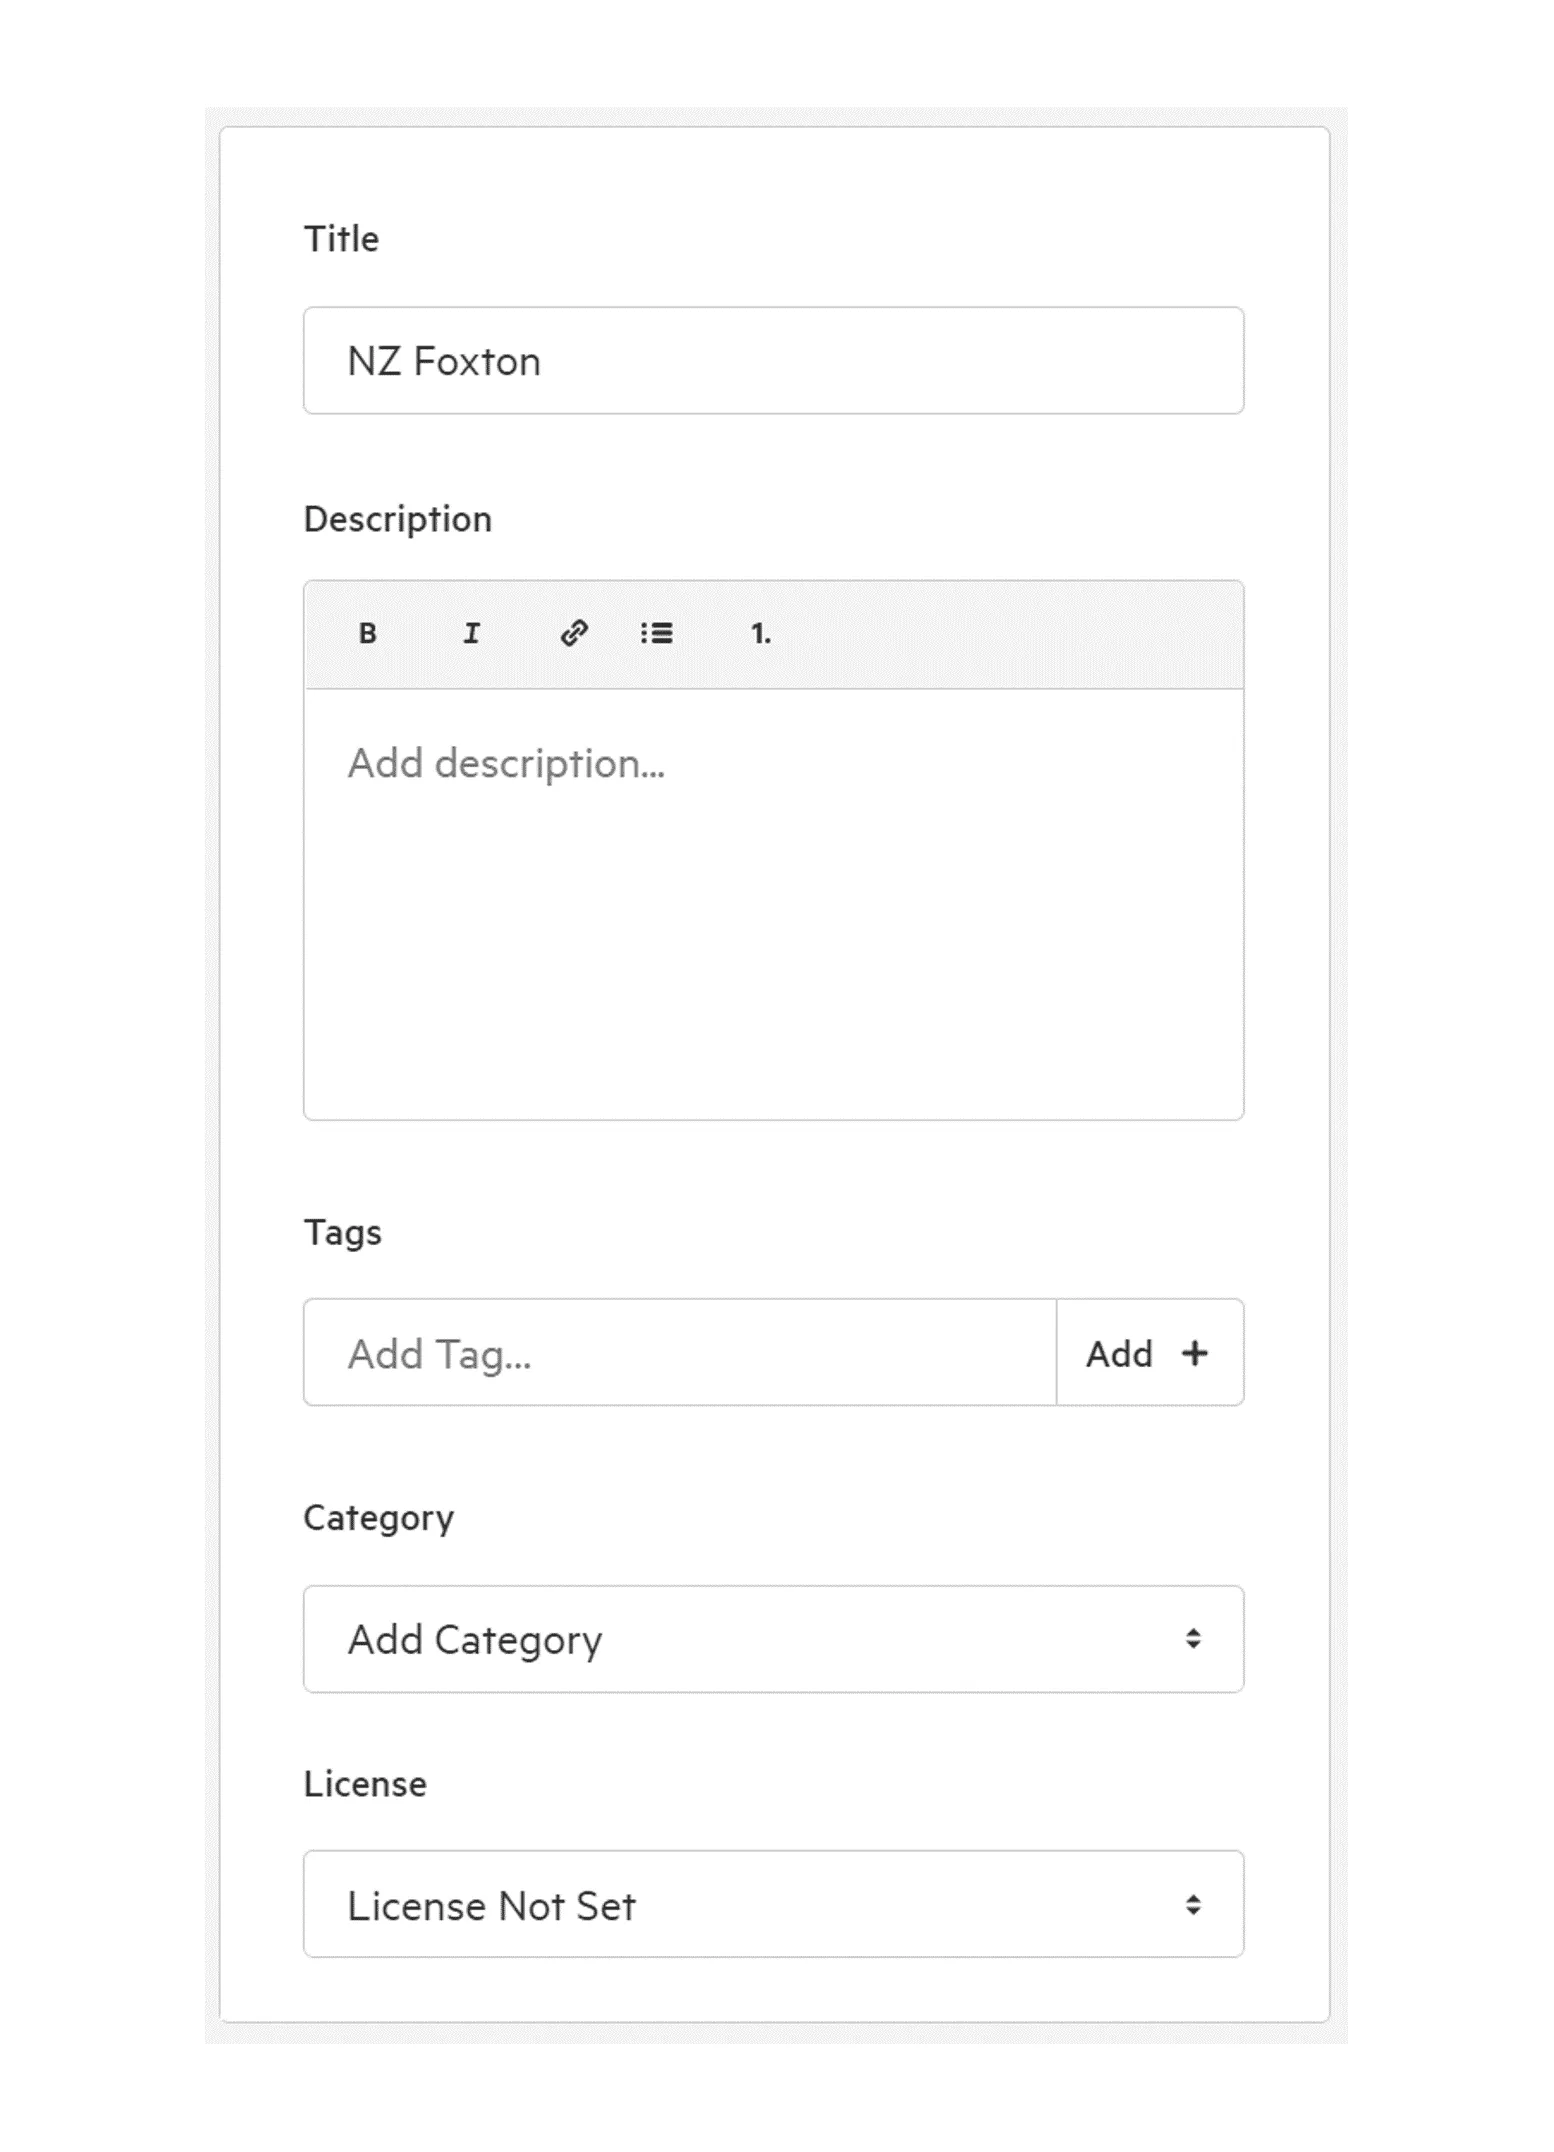
Section titled “4. Update the dataset details”On the Import page, fill in the Dataset details, including:
- Title
- Description
- Tags
- Owning Group (on a site)
5. Set the access permissions
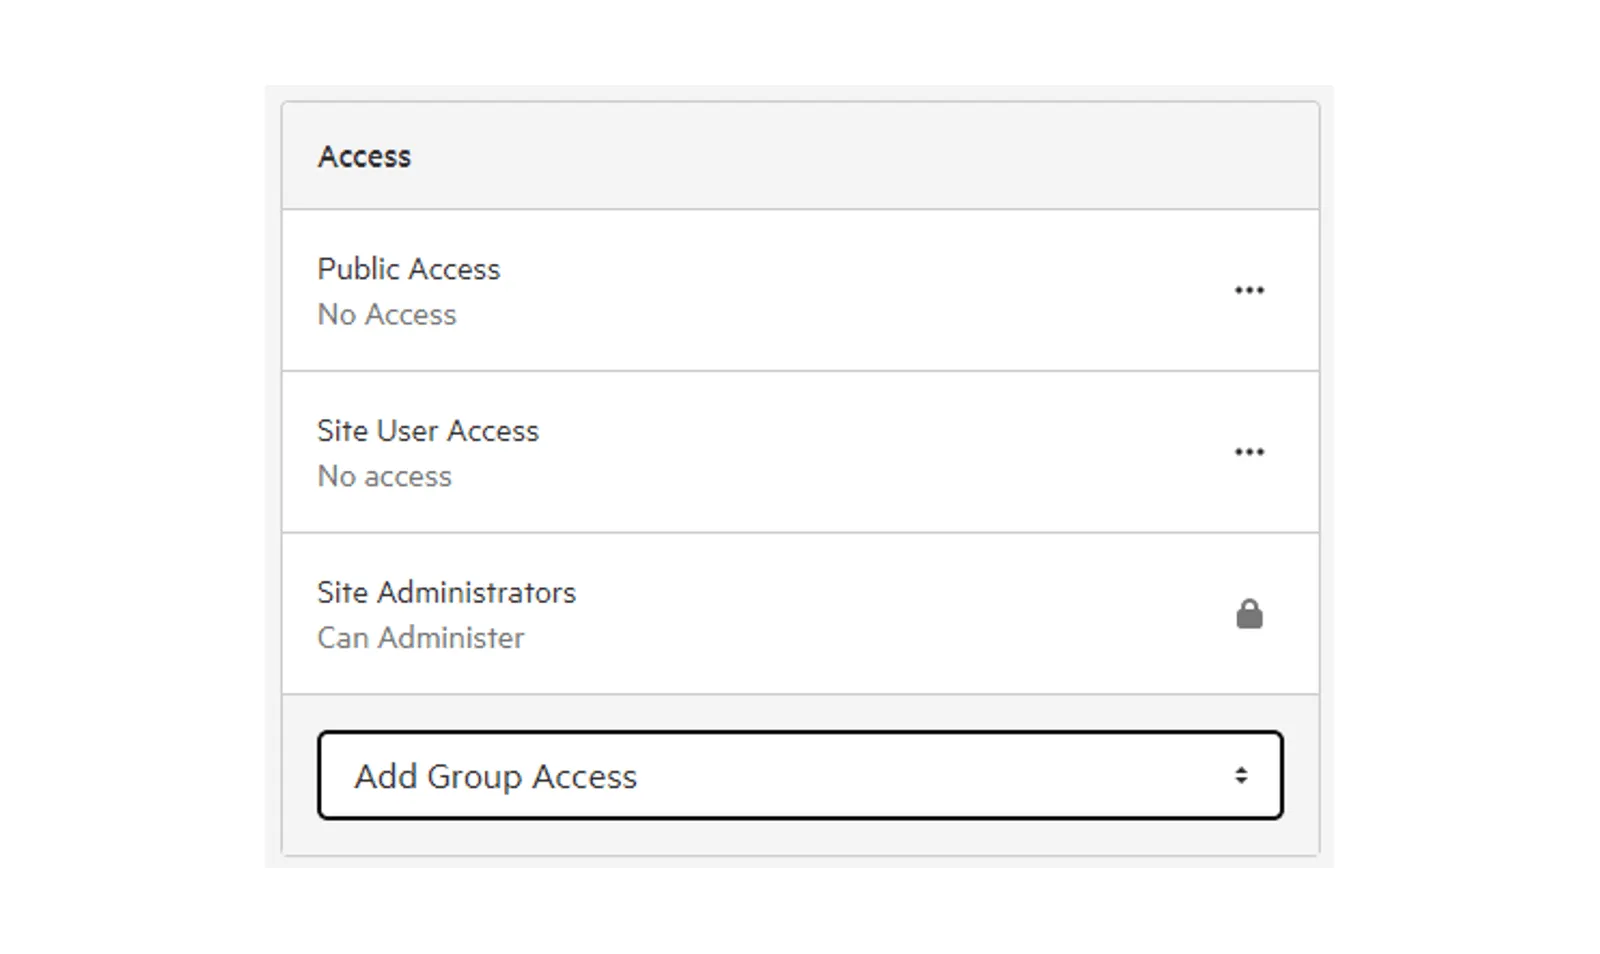
Section titled “5. Set the access permissions”In the Access panel, choose who can access the dataset. The options are the same as on a dataset’s Access tab: see Set permissions for your data. You can change them at any time after the import.
On koordinates.com you can set Public Access only. On a site you can also set access for your site’s users and groups.
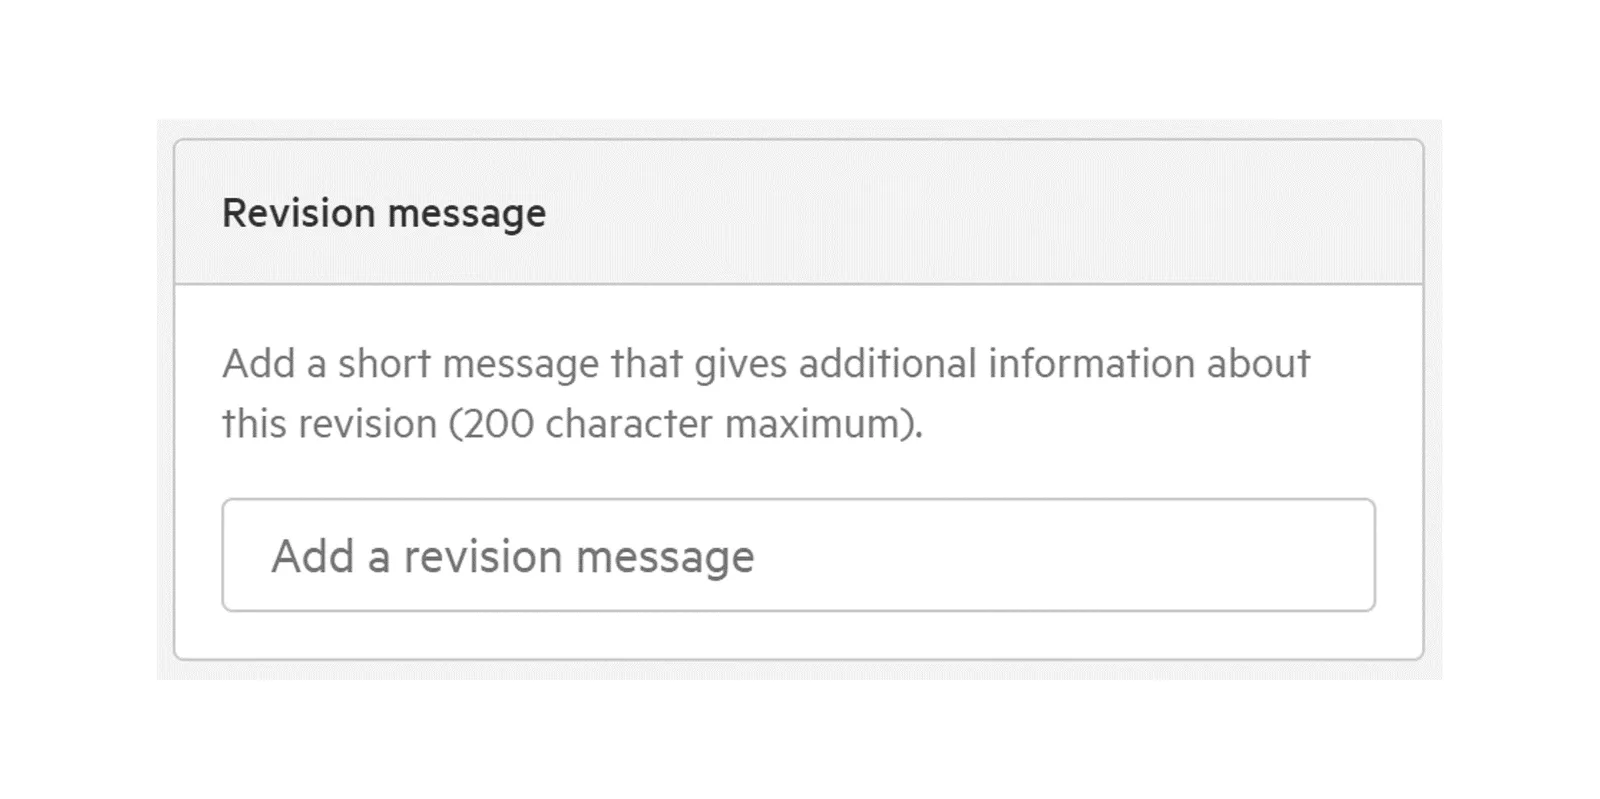
6. Add a revision message (optional)
Section titled “6. Add a revision message (optional)”A revision message is a short note saved with this version of the dataset. It helps people understand what changed.
7. Import the data
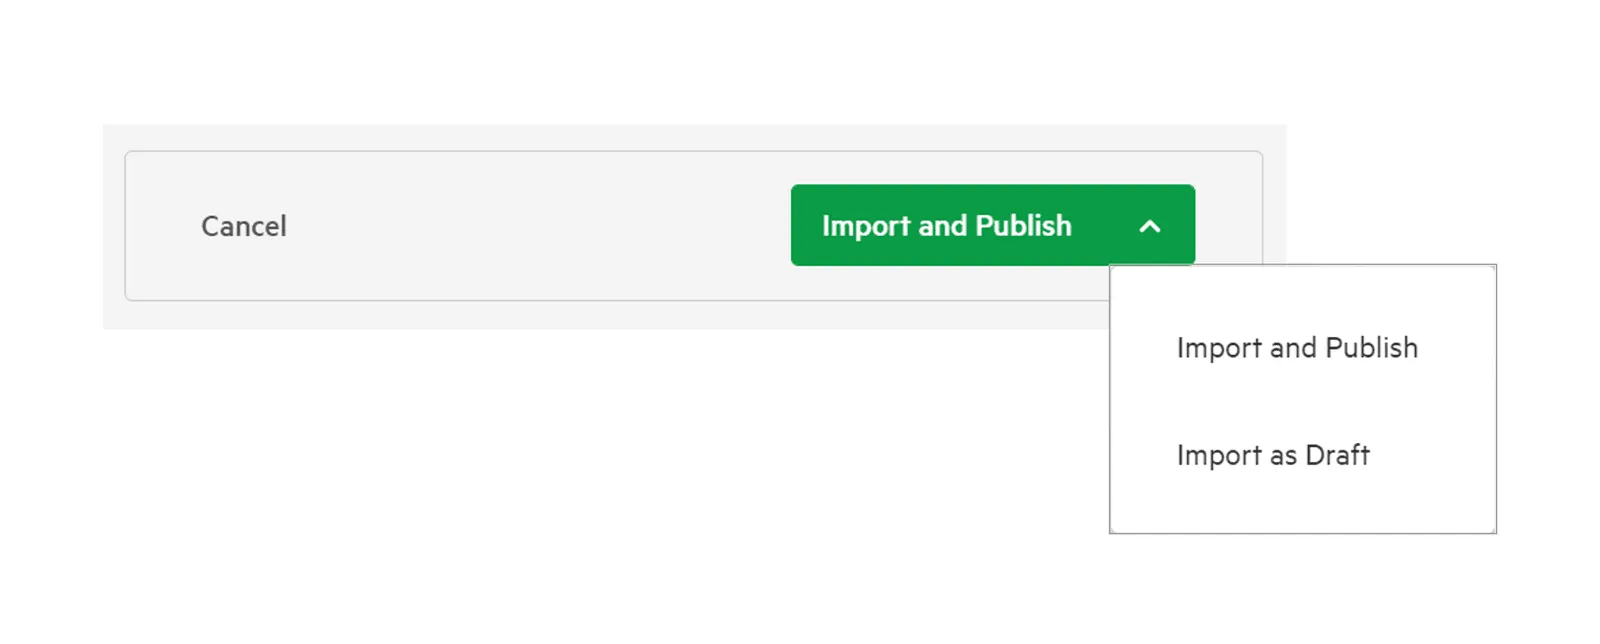
Section titled “7. Import the data”Select Import. From the Import menu, you can choose:
- Import and Publish to make the dataset available as soon as it’s imported, or
- Import as Draft to import it without publishing it yet.
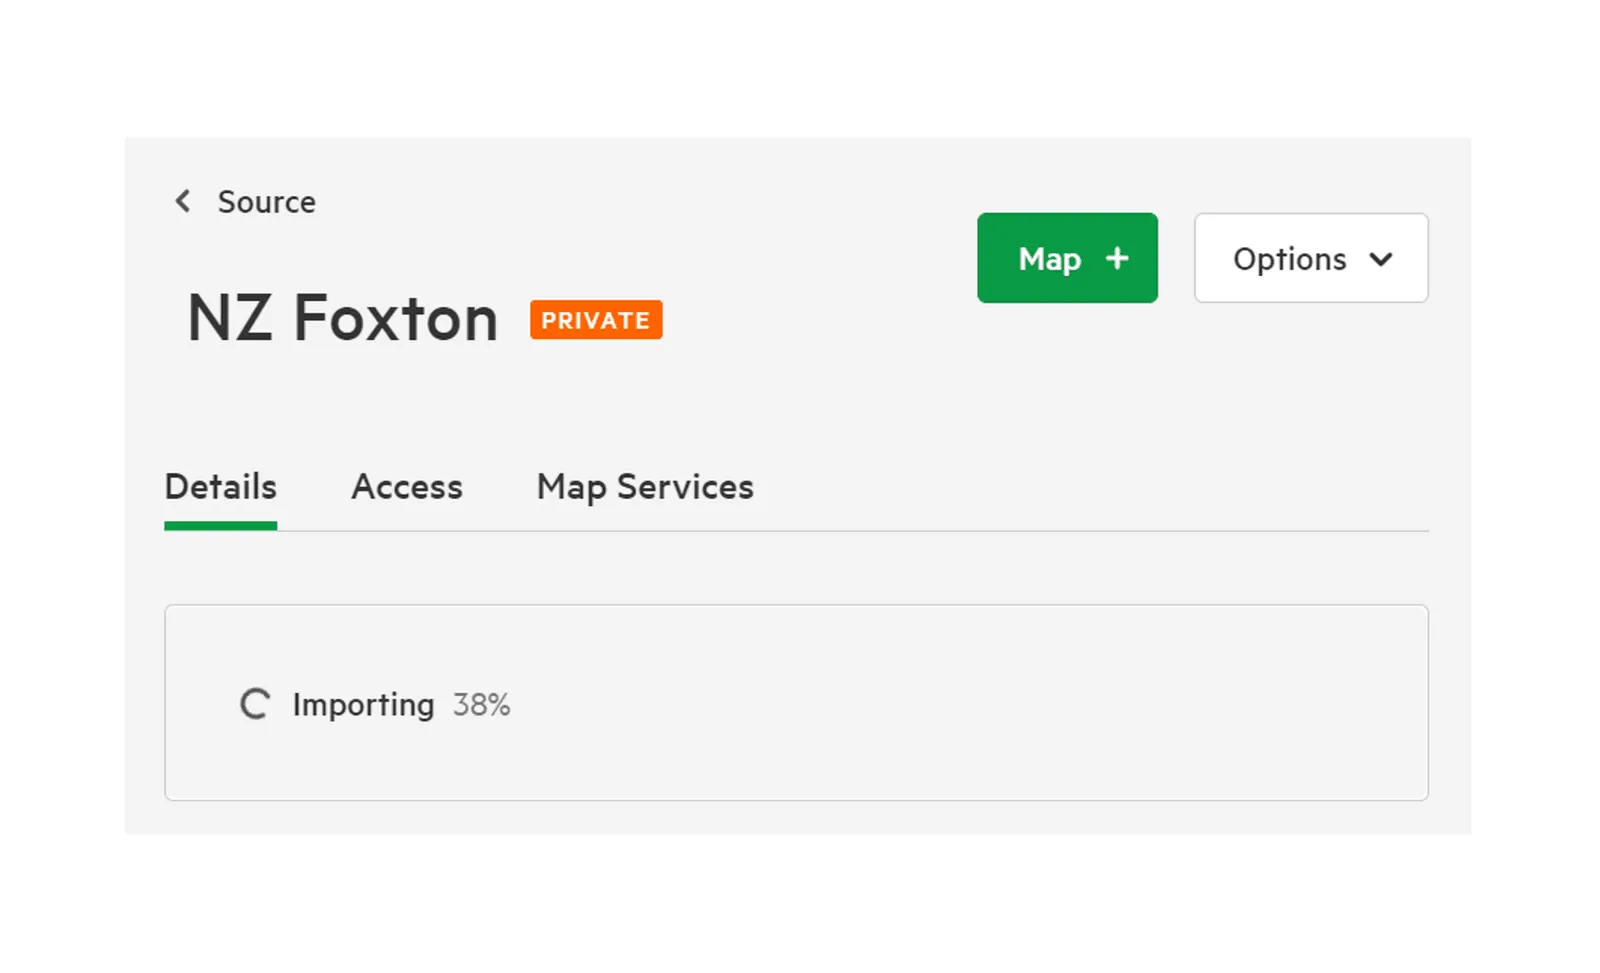
You can follow the progress of the import. Once it has finished, you’ll find the dataset in your list of datasets, where you can open it to preview the data and edit its details.