
The export page: download your data
1. Select Export
Section titled “1. Select Export”After adding the data you want to the map, select Export in the map viewer to open the export window. You can also export a single dataset from its data sheet: open the … menu and select Export.
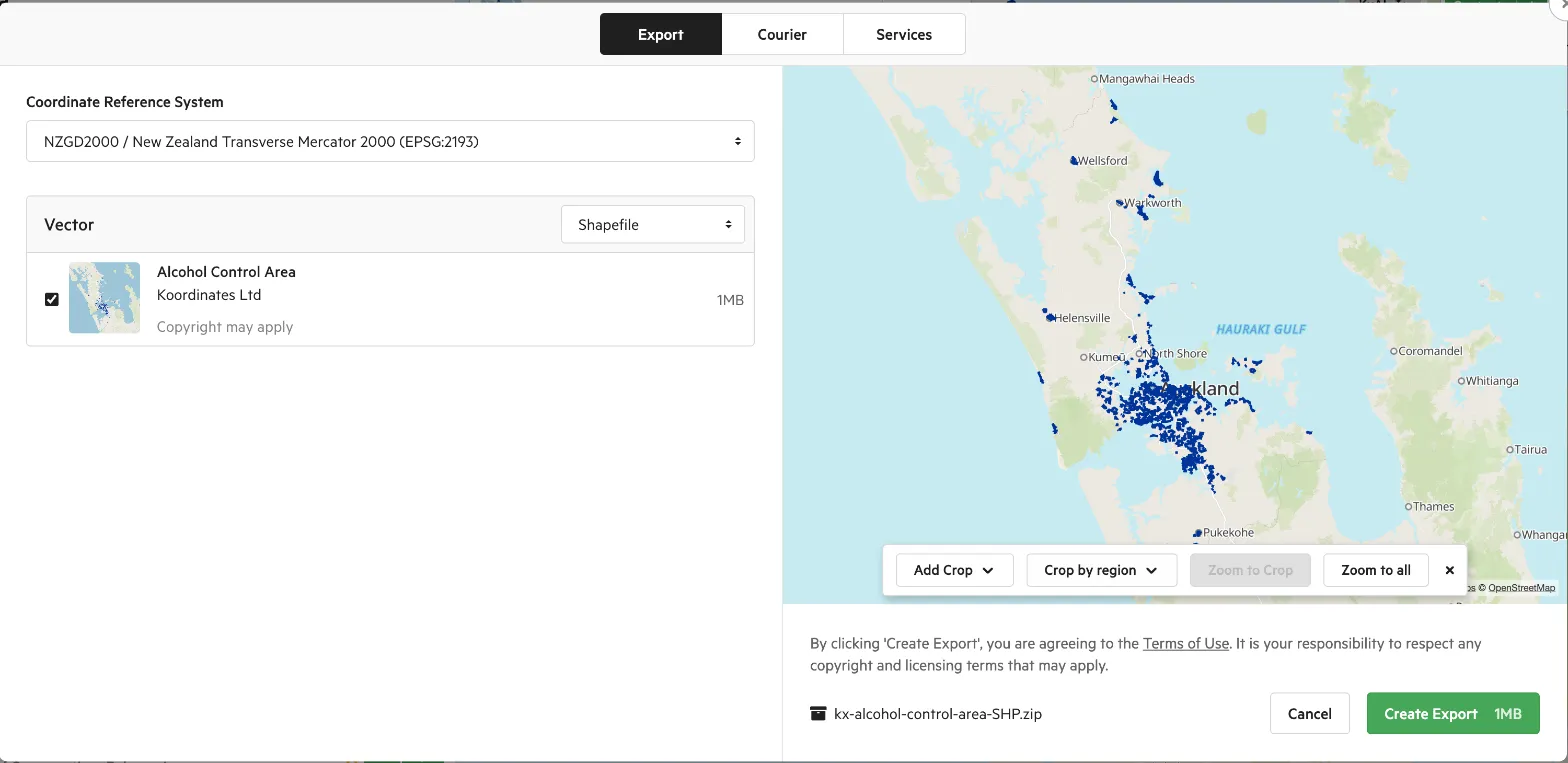
The export window has these tabs:
- Export: download your data as a file. The rest of this page describes this tab.
- Courier: on sites that offer it, order large exports on a drive. See Request data via courier.
- Services: find the web services and APIs you can use for the data instead of downloading it.
2. Select file format
Section titled “2. Select file format”Your data is grouped by type (for example vector, raster or table). Choose a file format for each type, such as a GIS, CAD, KML, CSV or PDF format. See Supported file formats.
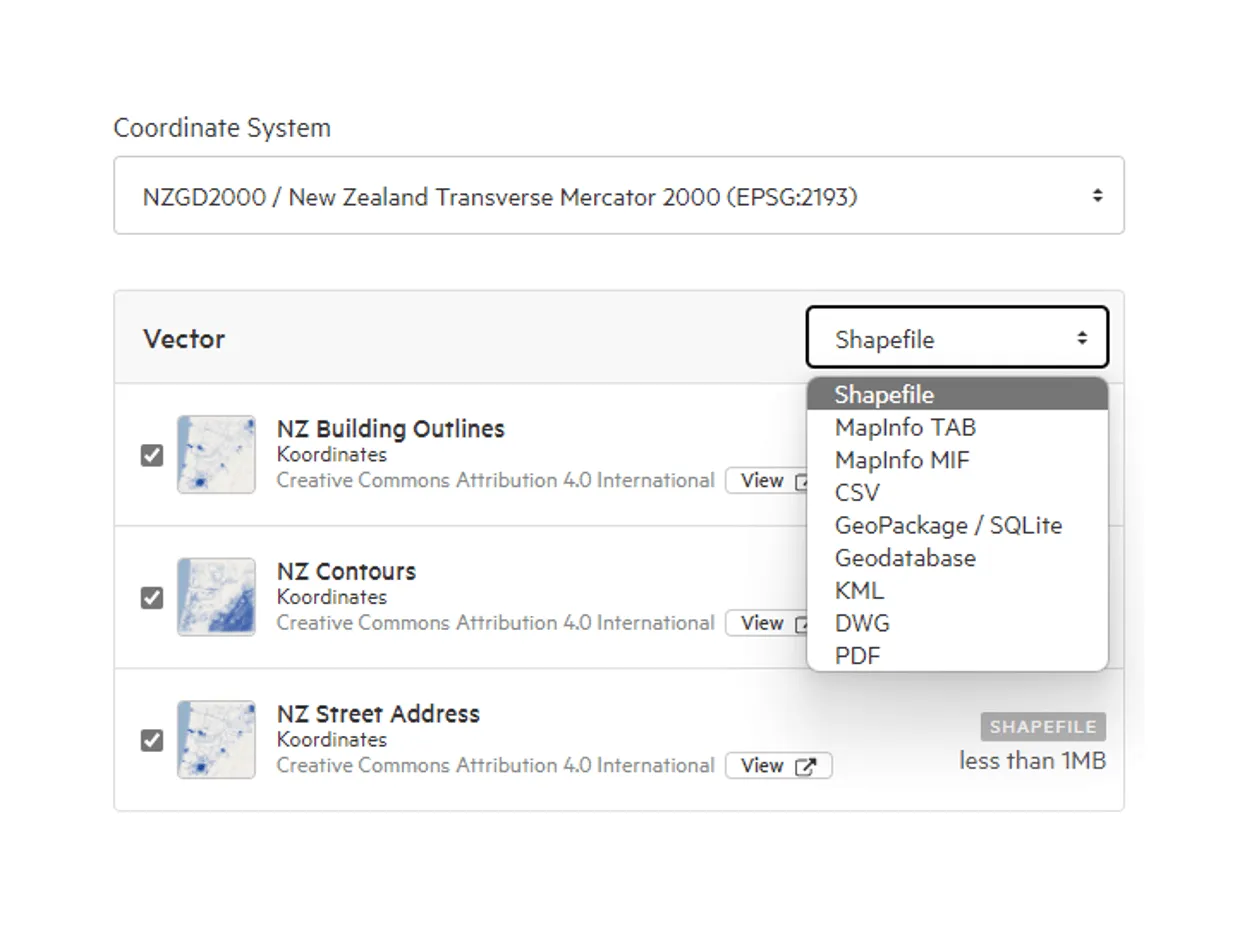
Some formats have extra options, such as raster resolution or the geometry column in CSV files. See Customising export files.
3. Choose a coordinate reference system
Section titled “3. Choose a coordinate reference system”Choose a Coordinate Reference System for spatial data. For data with heights, such as point clouds, you may be able to choose both a horizontal and a vertical coordinate reference system. Some formats (such as KML) use a fixed coordinate reference system, so you can’t change it.
4. Choose which data to export
Section titled “4. Choose which data to export”Uncheck the box next to any dataset you don’t want in your export.
You can also crop your data to a smaller area. See Crop data layers by box.
5. Rename the file (optional)
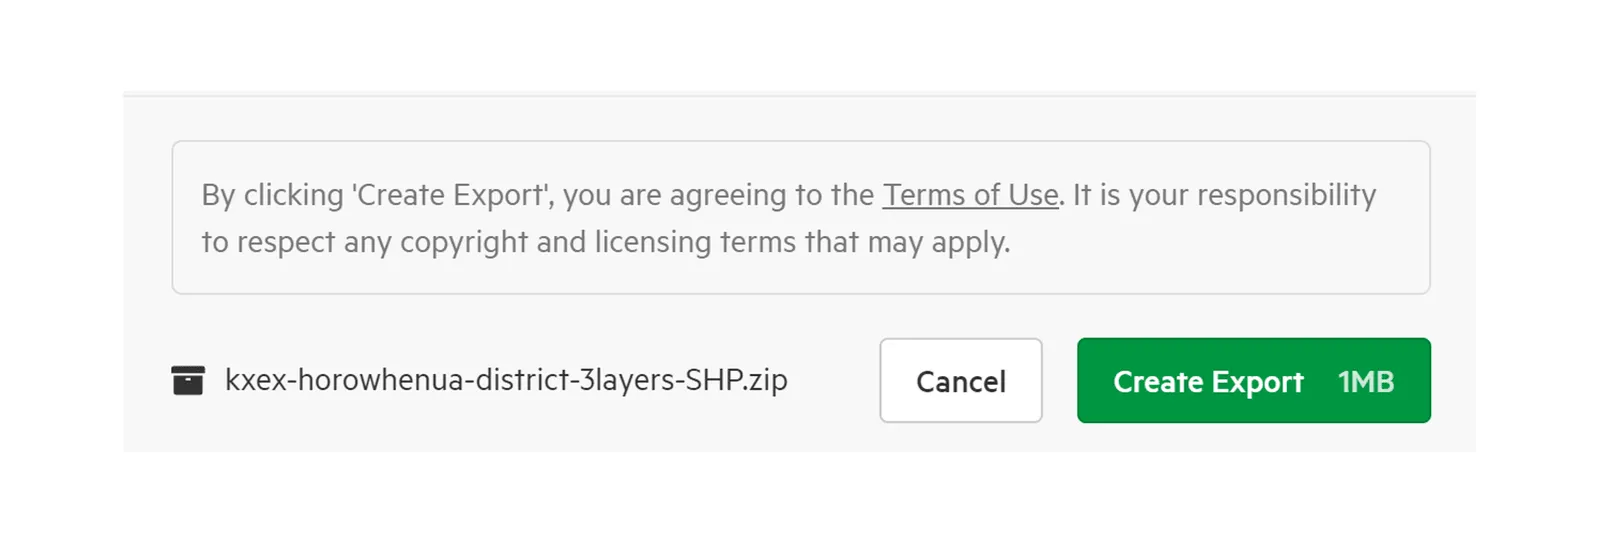
Section titled “5. Rename the file (optional)”The name of the download file is shown at the bottom of the export window. Hover over it and select Rename to change it, then select Save.
6. Create the export
Section titled “6. Create the export”Select Create Export to export your data. By doing so, you’re agreeing to the Terms of Use and to respect the licence of each dataset. Select Cancel to return to the map without exporting.
7. Download your export
Section titled “7. Download your export”You can track the progress of the export in the top navigation. For larger exports, this can take several minutes.
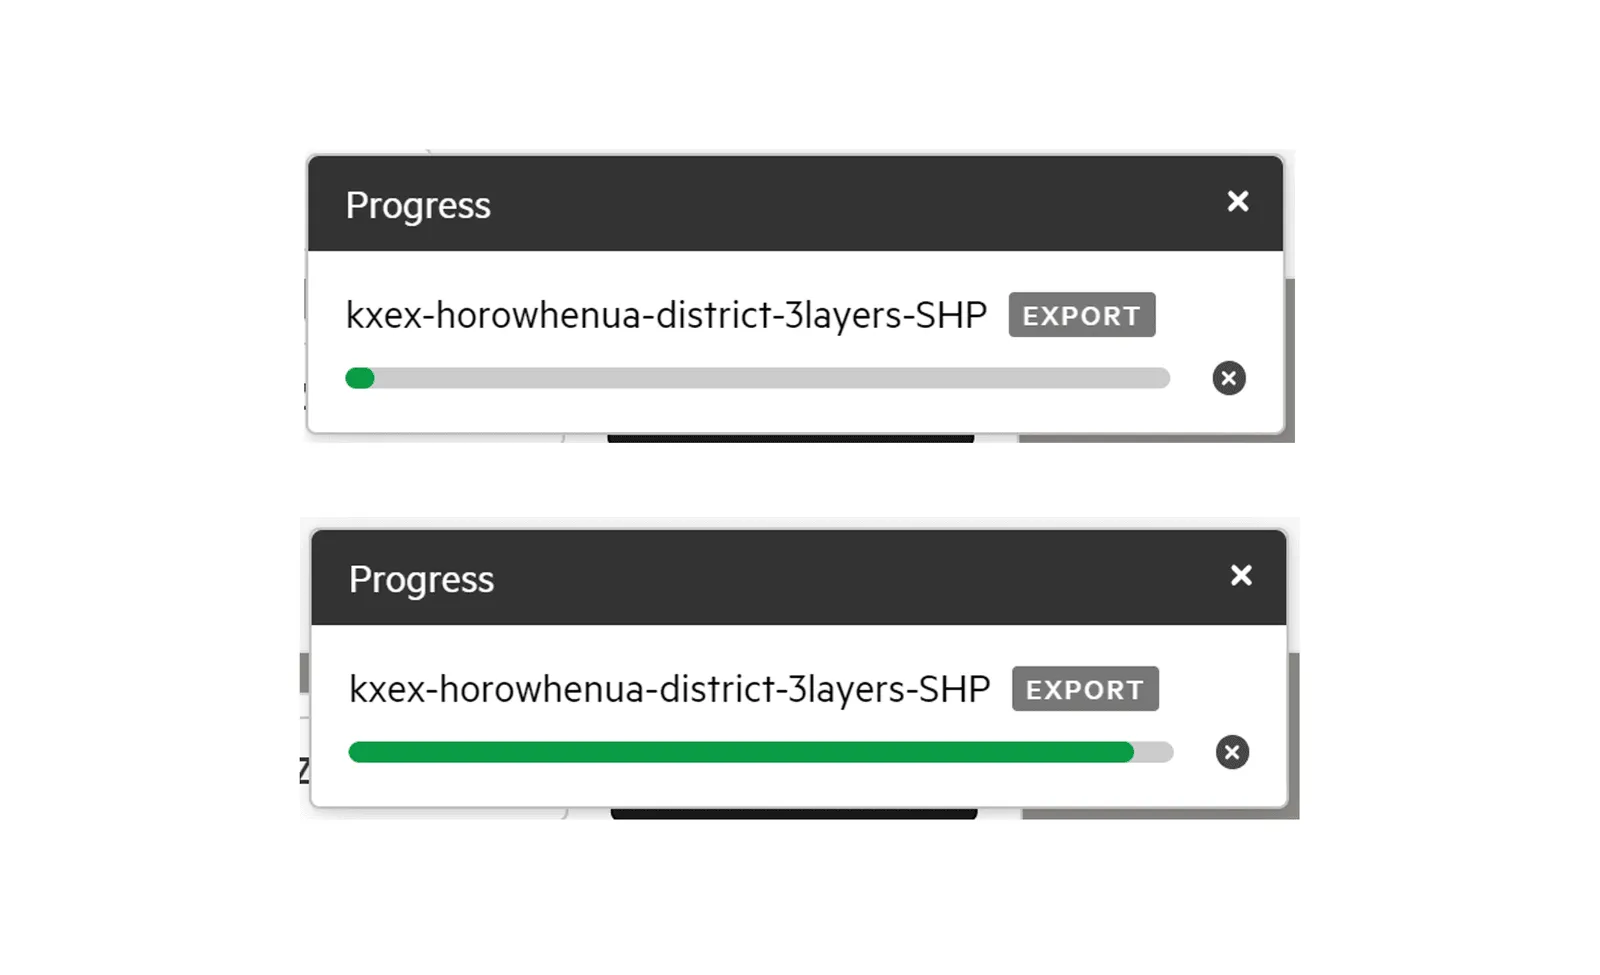
If you no longer need the data, you can cancel the export. You’ll be asked to confirm.
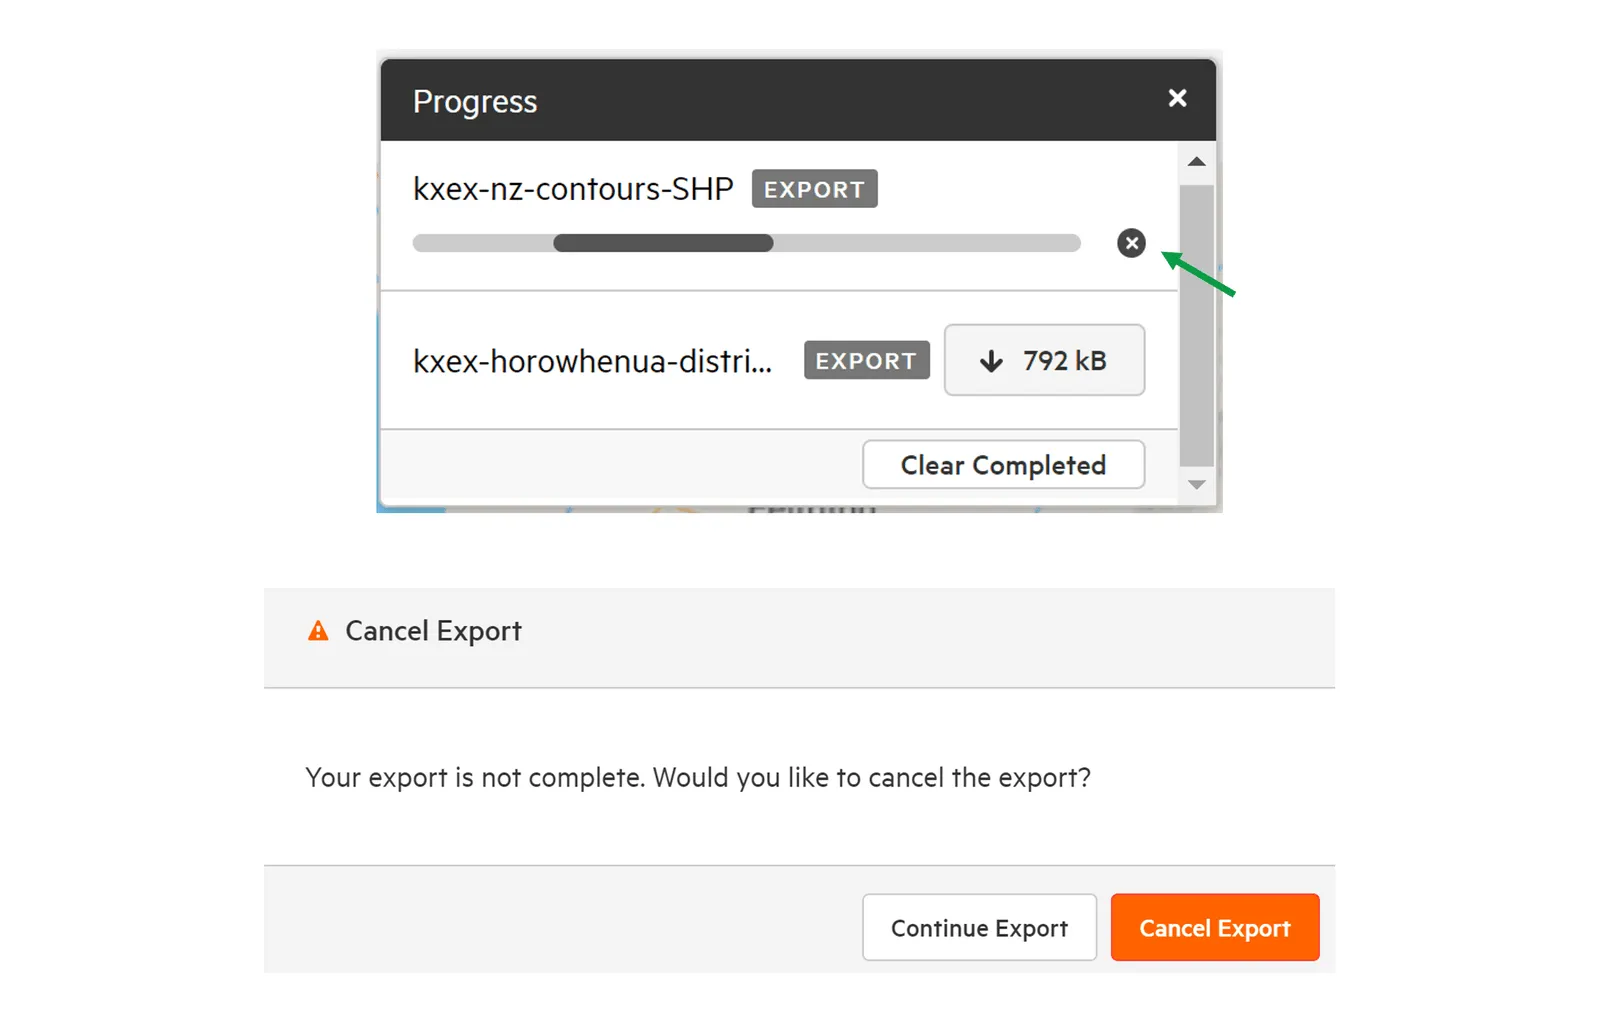
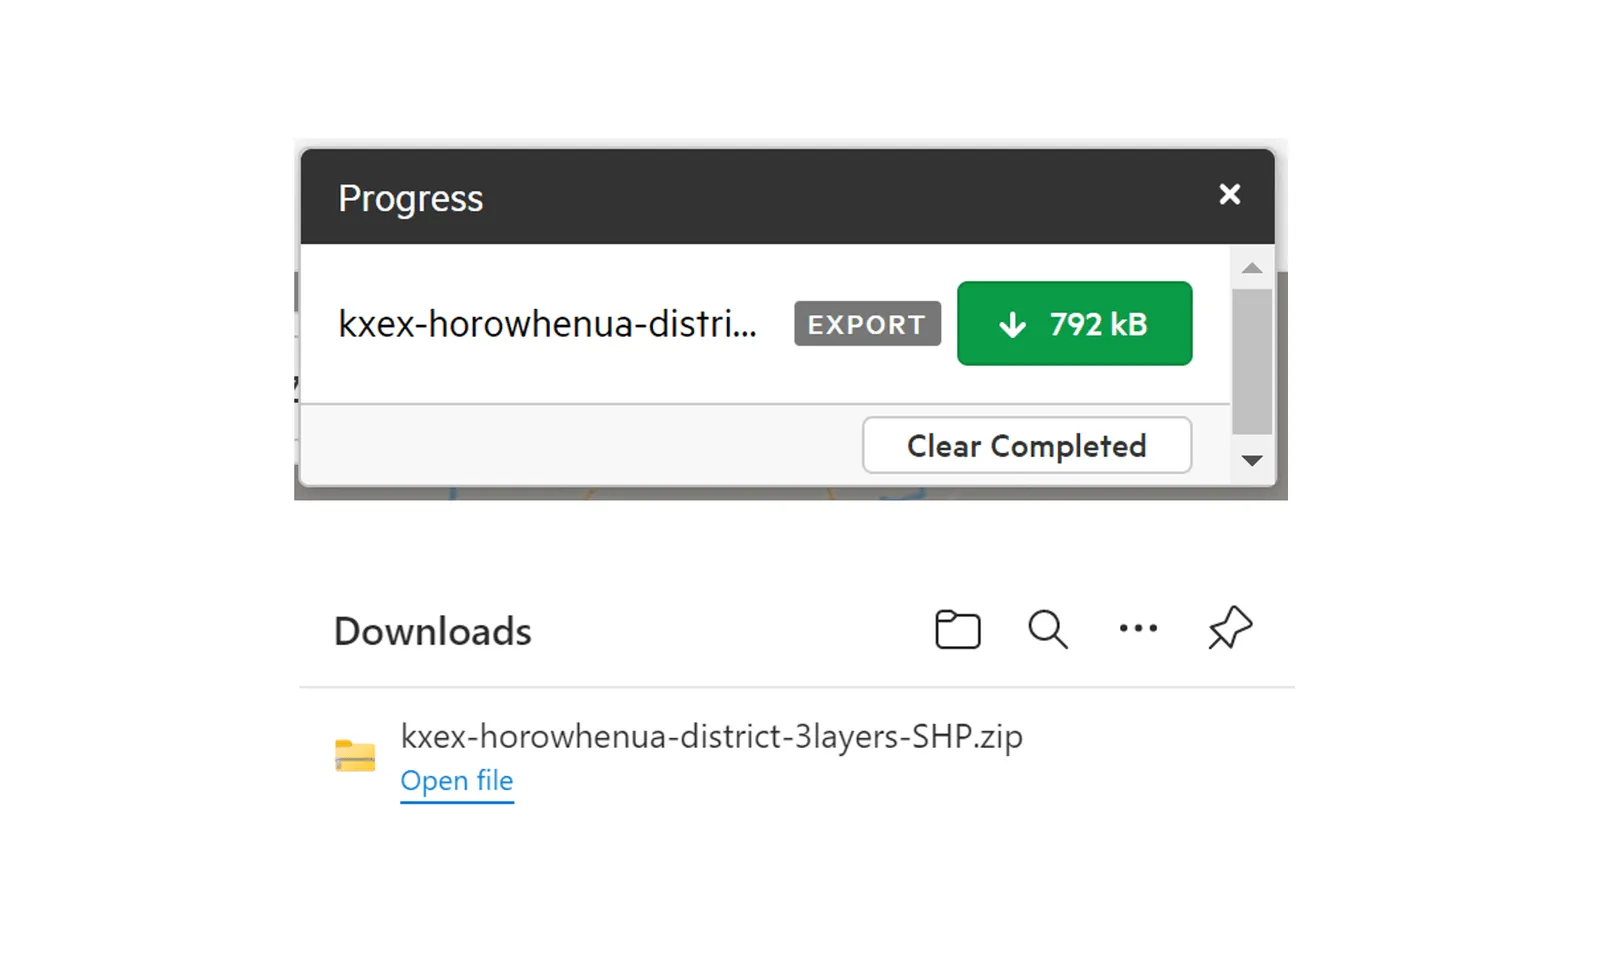
Once the export is complete, the final file size is displayed and you can download it as a .zip file. You can also find your exports under Exports in your user menu.
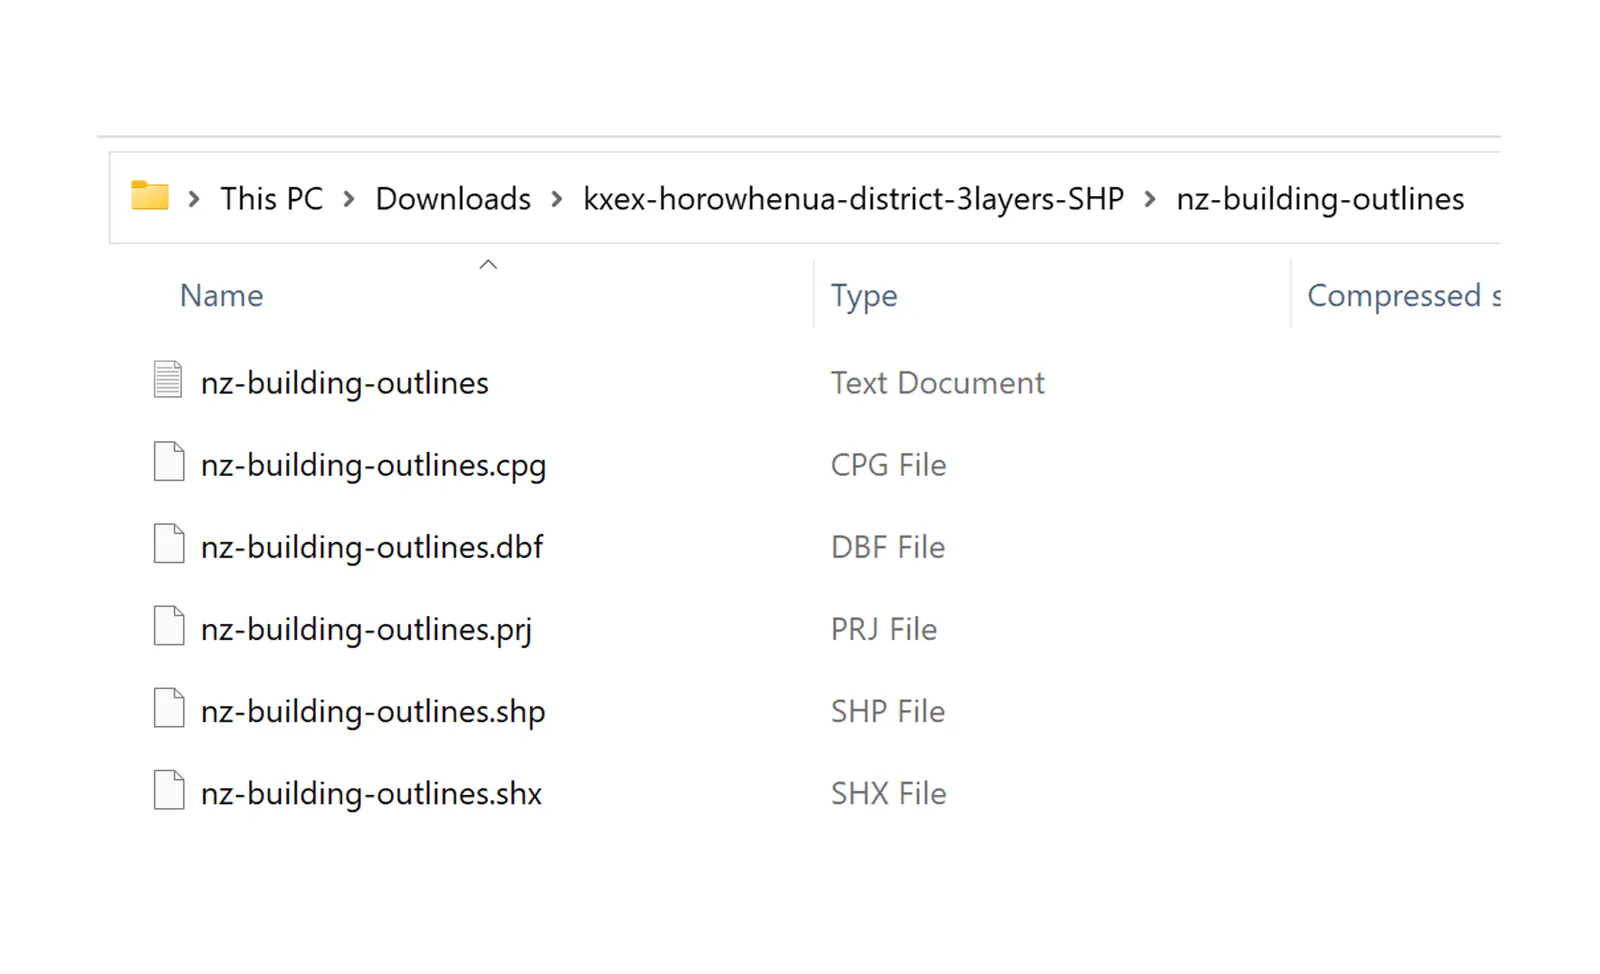
The .zip file contains your data in the formats you chose, plus a .txt file with details of each dataset and its licence.
Troubleshooting
Section titled “Troubleshooting”If there’s an error while processing the export, the export stops.
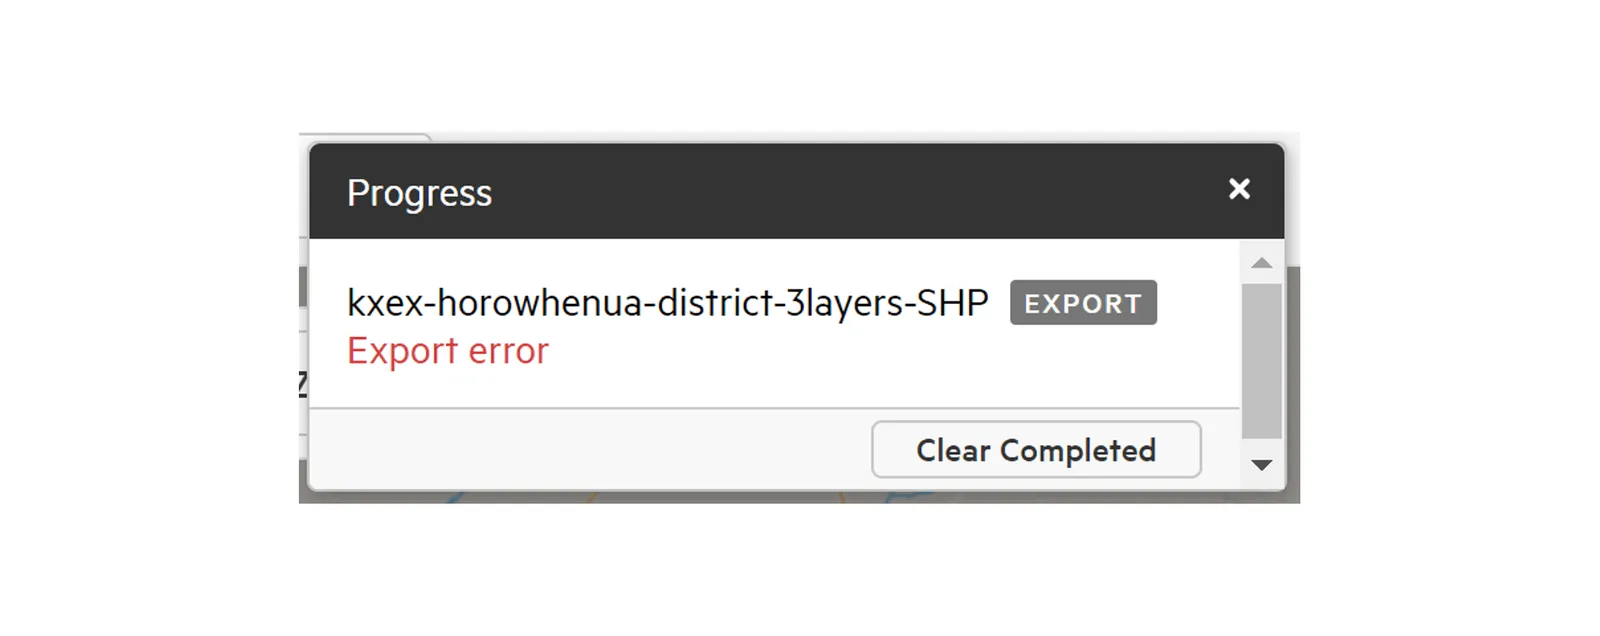
An export error automatically raises a support ticket with Koordinates. For more information on support tickets, see Raise a ticket with Koordinates support.

If the export window refuses your export or the result looks wrong, see Why did my export fail or look wrong?.