
Find & export multiple data layers
In this guide, we give a quick introduction to the process of finding and exporting multiple data layers, including how to export to a format needed.
1. Enter your search term
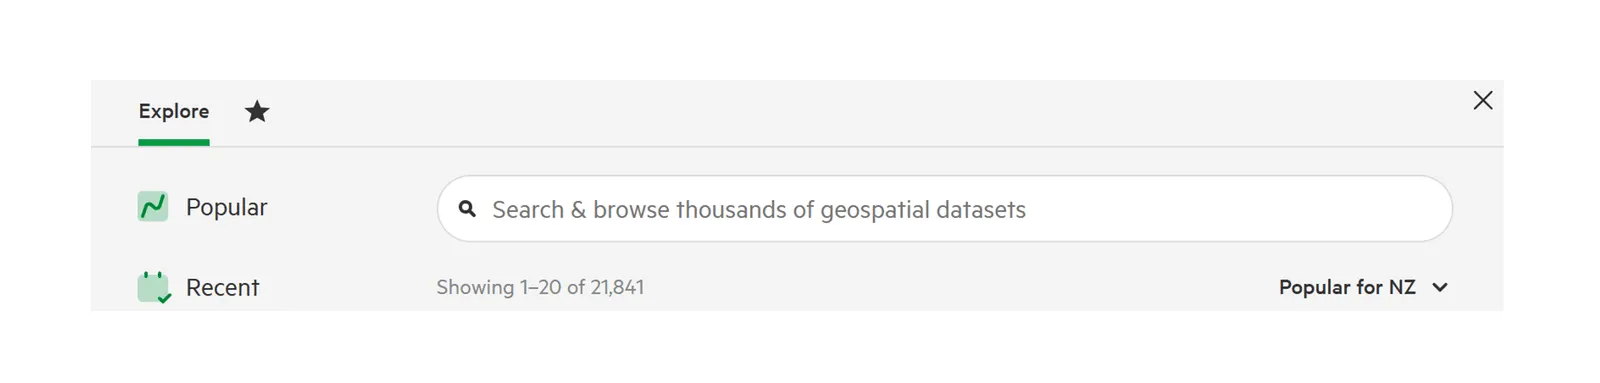
Section titled “1. Enter your search term”The first thing you need to do is enter a term in the search bar at the top of the screen and click Search.
2. Filter your results.
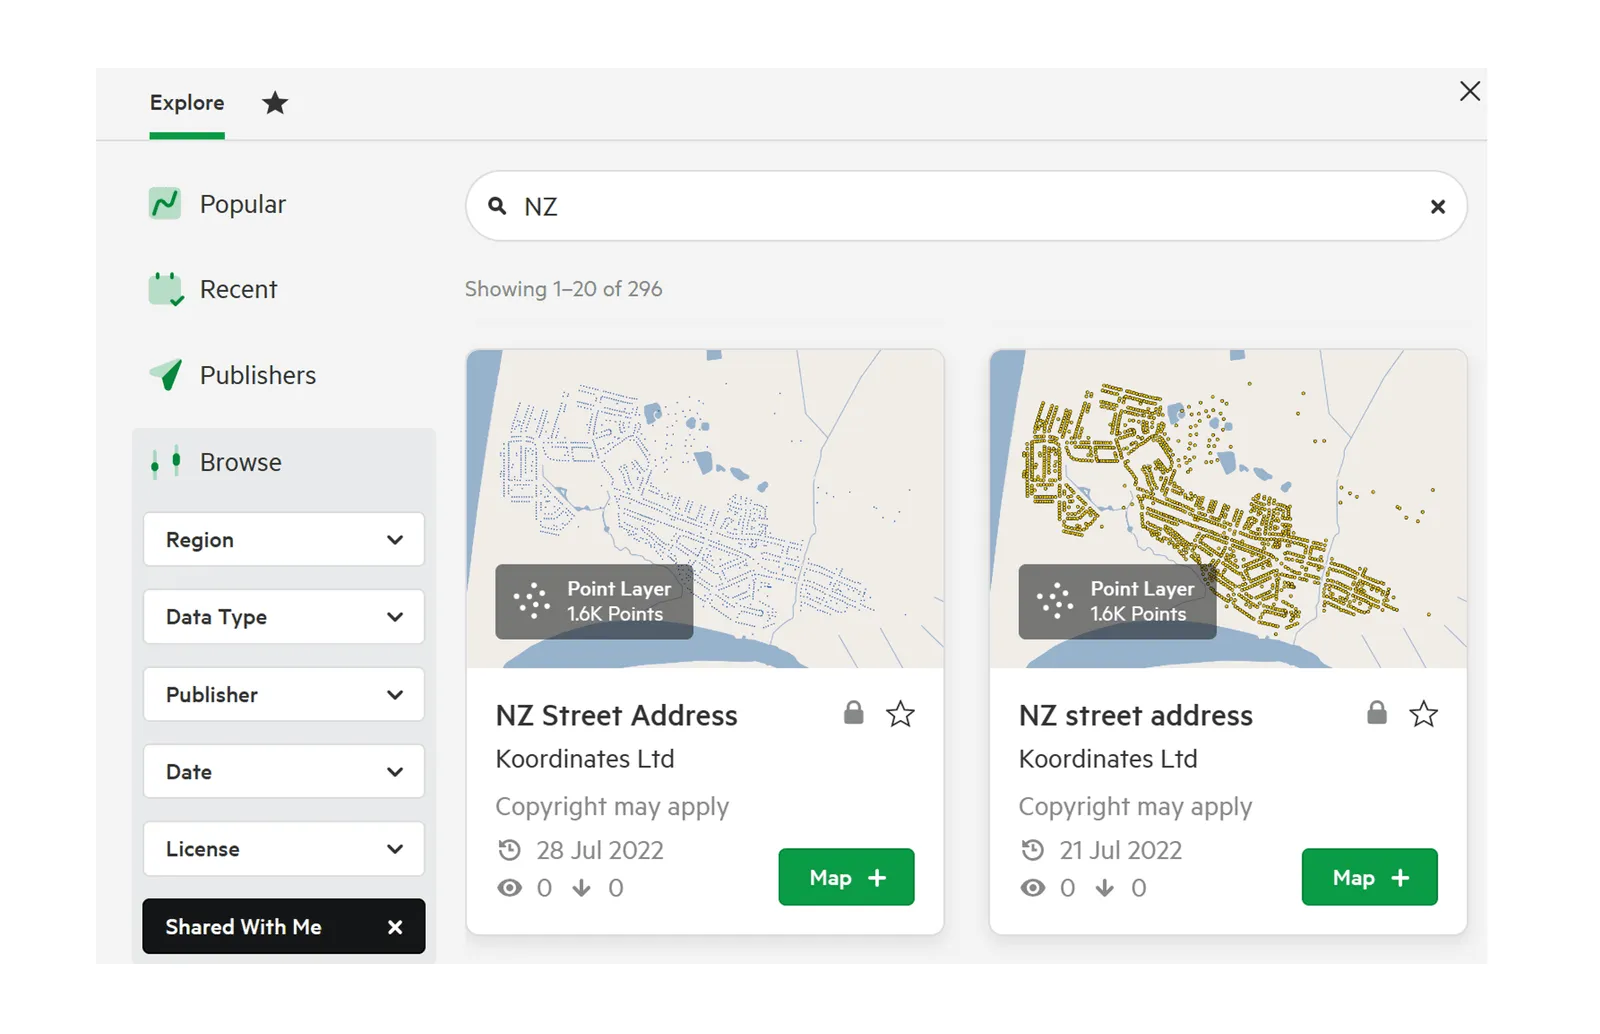
Section titled “2. Filter your results.”Use the search filters to browse your results. These include Data Type, Date, License, Group and Access.
3. Add your data
Section titled “3. Add your data”Click the ‘Map +’ icon for each data layer you wish to add to your map to export.
Repeat steps 1-3 to add multiple data layers to your collection.
4. Select Export
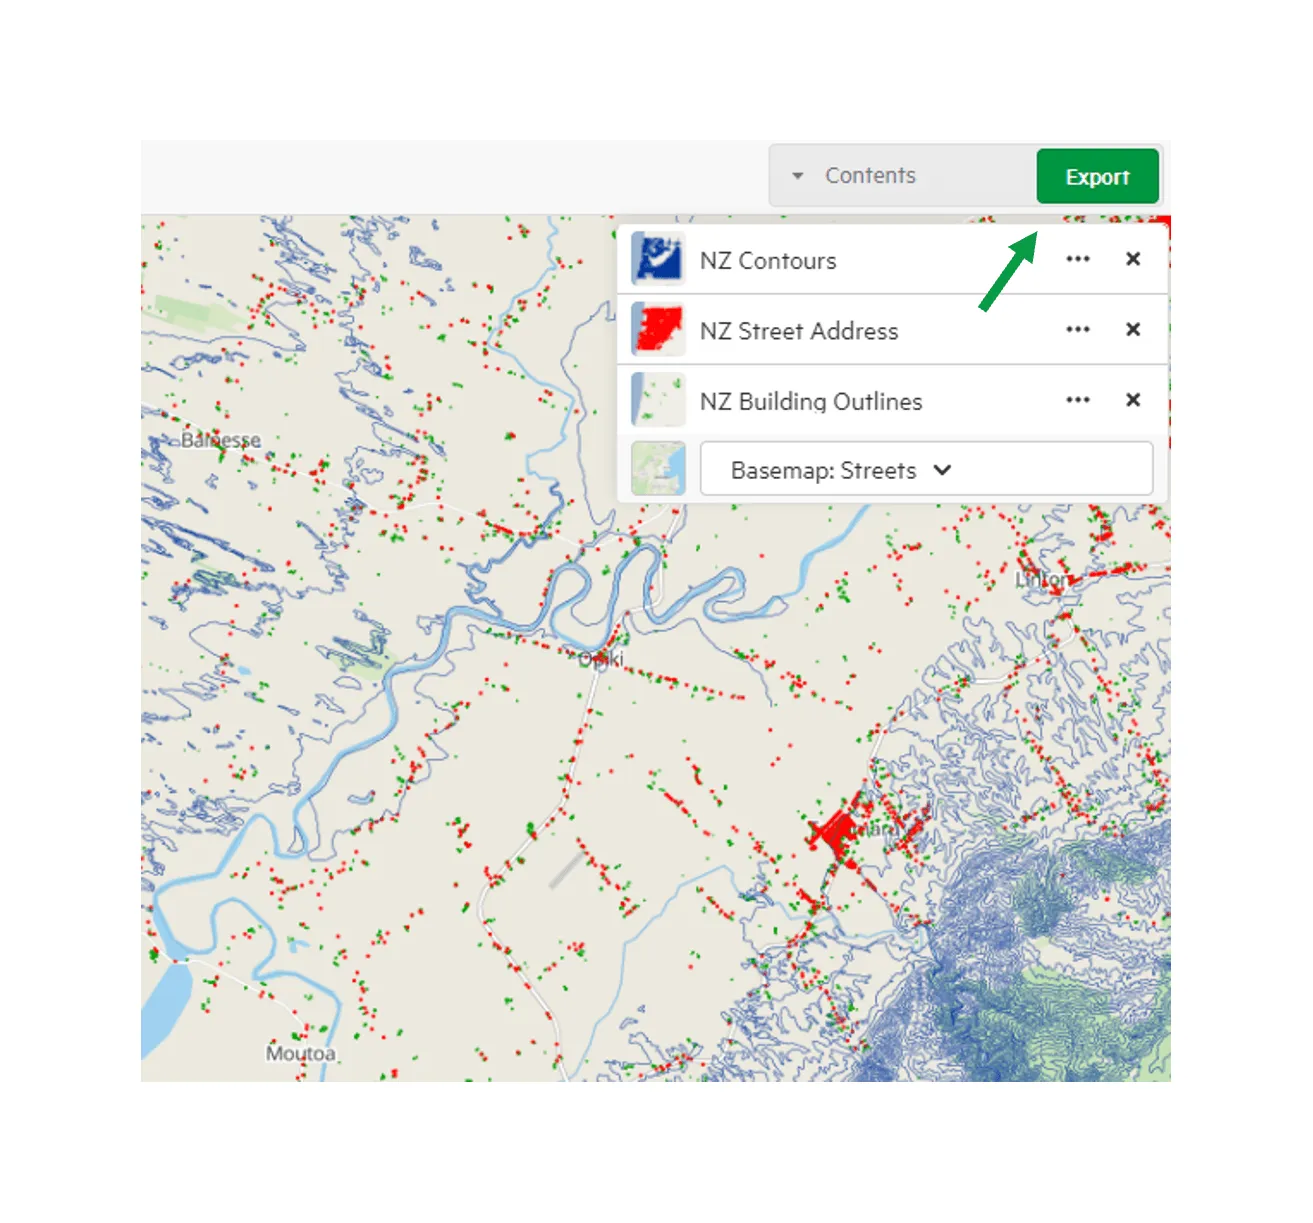
Section titled “4. Select Export”From the Map Viewer, above the layers, select ‘Export’.
5. Crop your data
Section titled “5. Crop your data”Once you have explored and chosen to export your dataset, you may decide you only want to download a small part of it.
To crop your data, select ‘Crop’ in the small map in the collection pane.
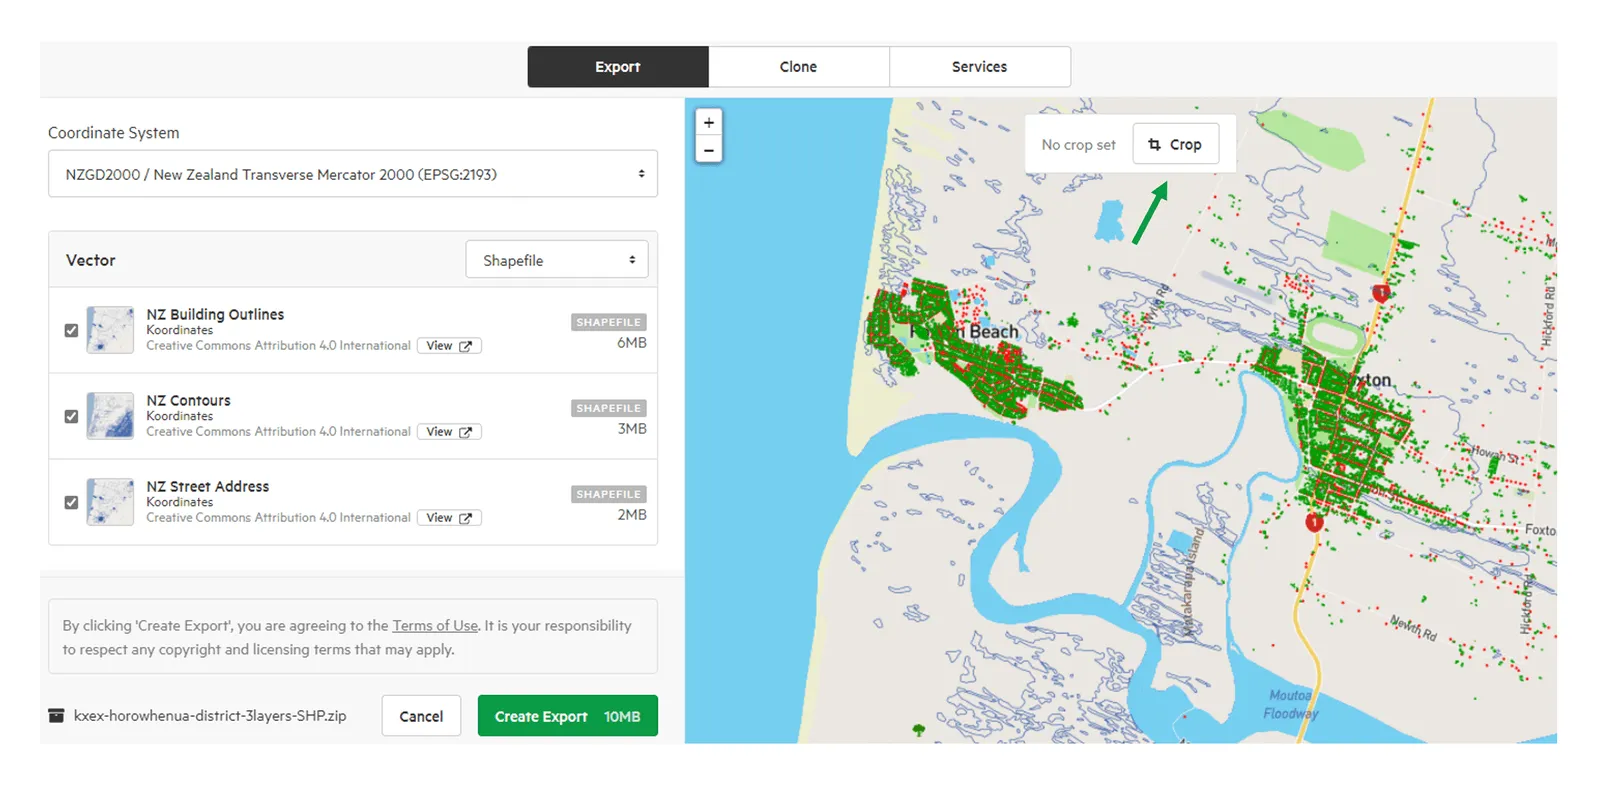
Then, manipulate your map to zoom into a selected area. This will enable you to select a smaller section of your chosen dataset.
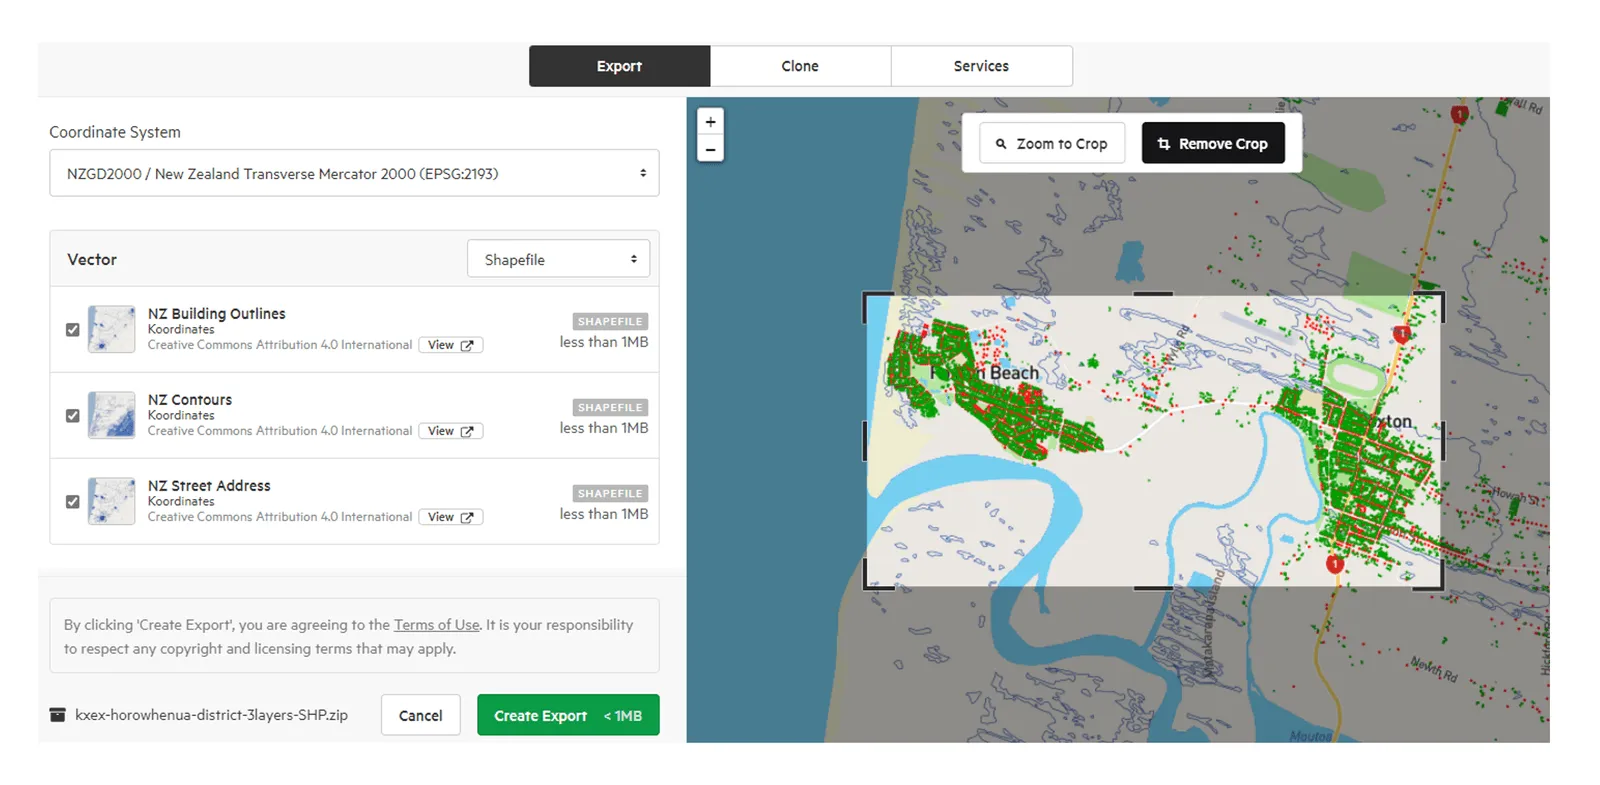
6. Choose your format
Section titled “6. Choose your format”The export screen will present you with a range of download options, including GIS, CAD, Google Earth KML, PDF and XML data formats. You’ll also be able to see the licensing terms for your chosen dataset.
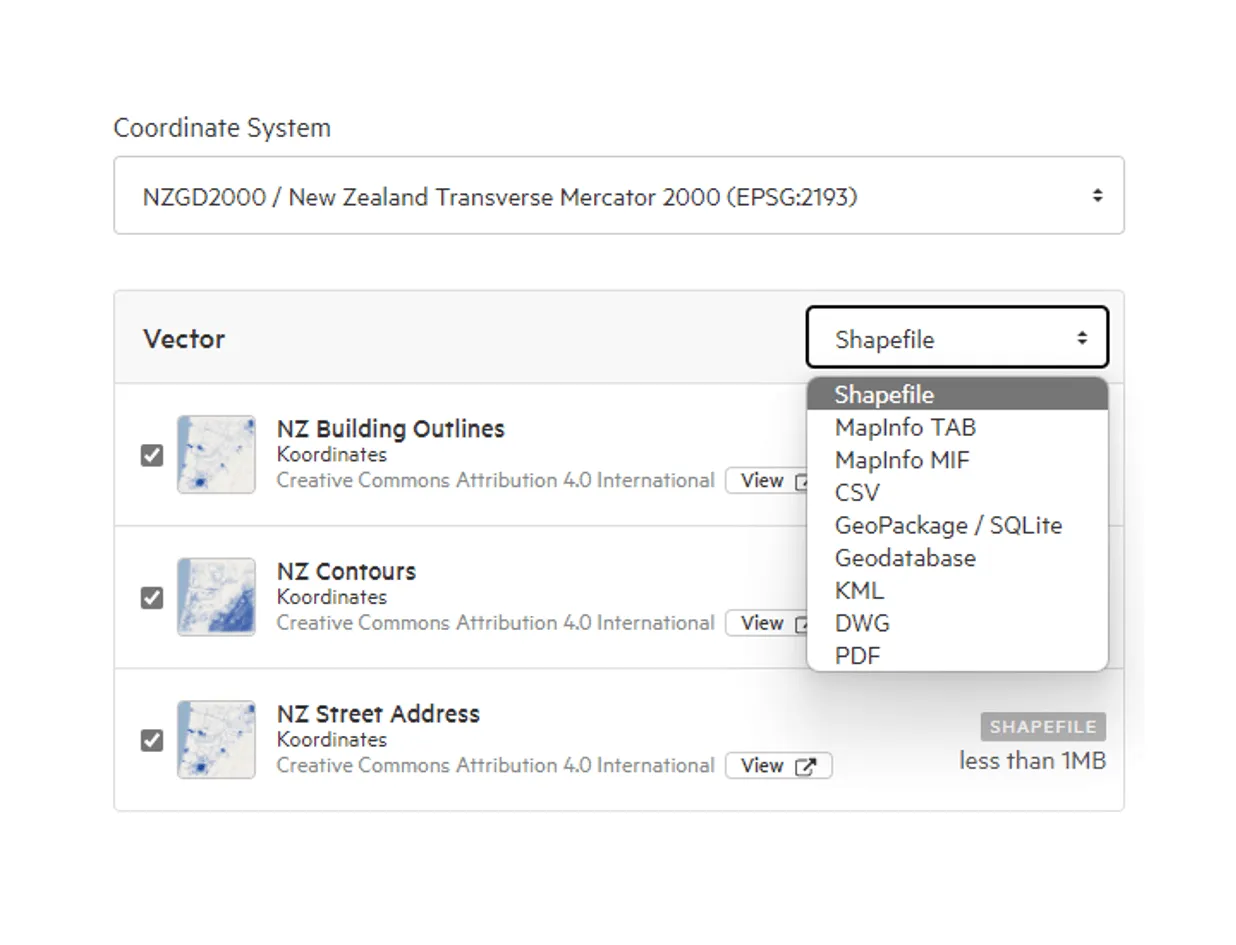
7. Click Export
Section titled “7. Click Export”If you haven’t registered for Koordinates, you’ll be asked to sign up for a Koordinates ID. After signing in you’ll be able to create your export.
Once your export is ready, you’ll receive an email with a link to a ZIP file.